My 5 year old has been asking for a bunk bed since she could talk. This past summer I had a few months off between my time at Microsoft and starting at Amazon. So we built one. Well actually, it ended up being loft bed rather than a bunk bed. But you get the idea. This is post 1 of 3 covering how I built a loft bed for my daughter.
Being Pintentional
For me, the first step in any project is getting the creative juices flowing. Since my daughter had only ever seen a few bunk/loft beds, I wanted to give her a chance to know the full range of crazy possibilities. We curled up in a big arm chair, together with her younger brother who shares the room, and spent almost two hours immersed in Pinterest. They pinned and pinned and pinned some more. And days later they were still asking to pin. Good times.
During all of this pinning, I kept an eye out for themes. What sort of things were they drawn to over and over? Was it specific colors? Specific arrangements of top/bottom bunks? A slide? When I’d notice a pattern, I’d ask them what it was they liked about it. Sometimes they could explain it, but sometimes, well… they are 3 and 5.
Plantastic
Once I had a good sense of my daughter’s taste, I switched gears and started to figure out the overall room layout. Since we were going to be screwing the bed into the wall for stability, we needed to be pretty sure the room was going to fit all the other things that needed to share the space. I sketched up at least ten different arrangements of beds/dressers/arm chair. I even had a few versions with slides and climbing walls. (In retrospect, wow I am glad we didn’t add those features. Our bedroom shares a wall with the kids’ room and it’s noisy enough just from her rolling over and bumping the wall while she’s sleeping!)
PICTURES OF SKETCHES HERE
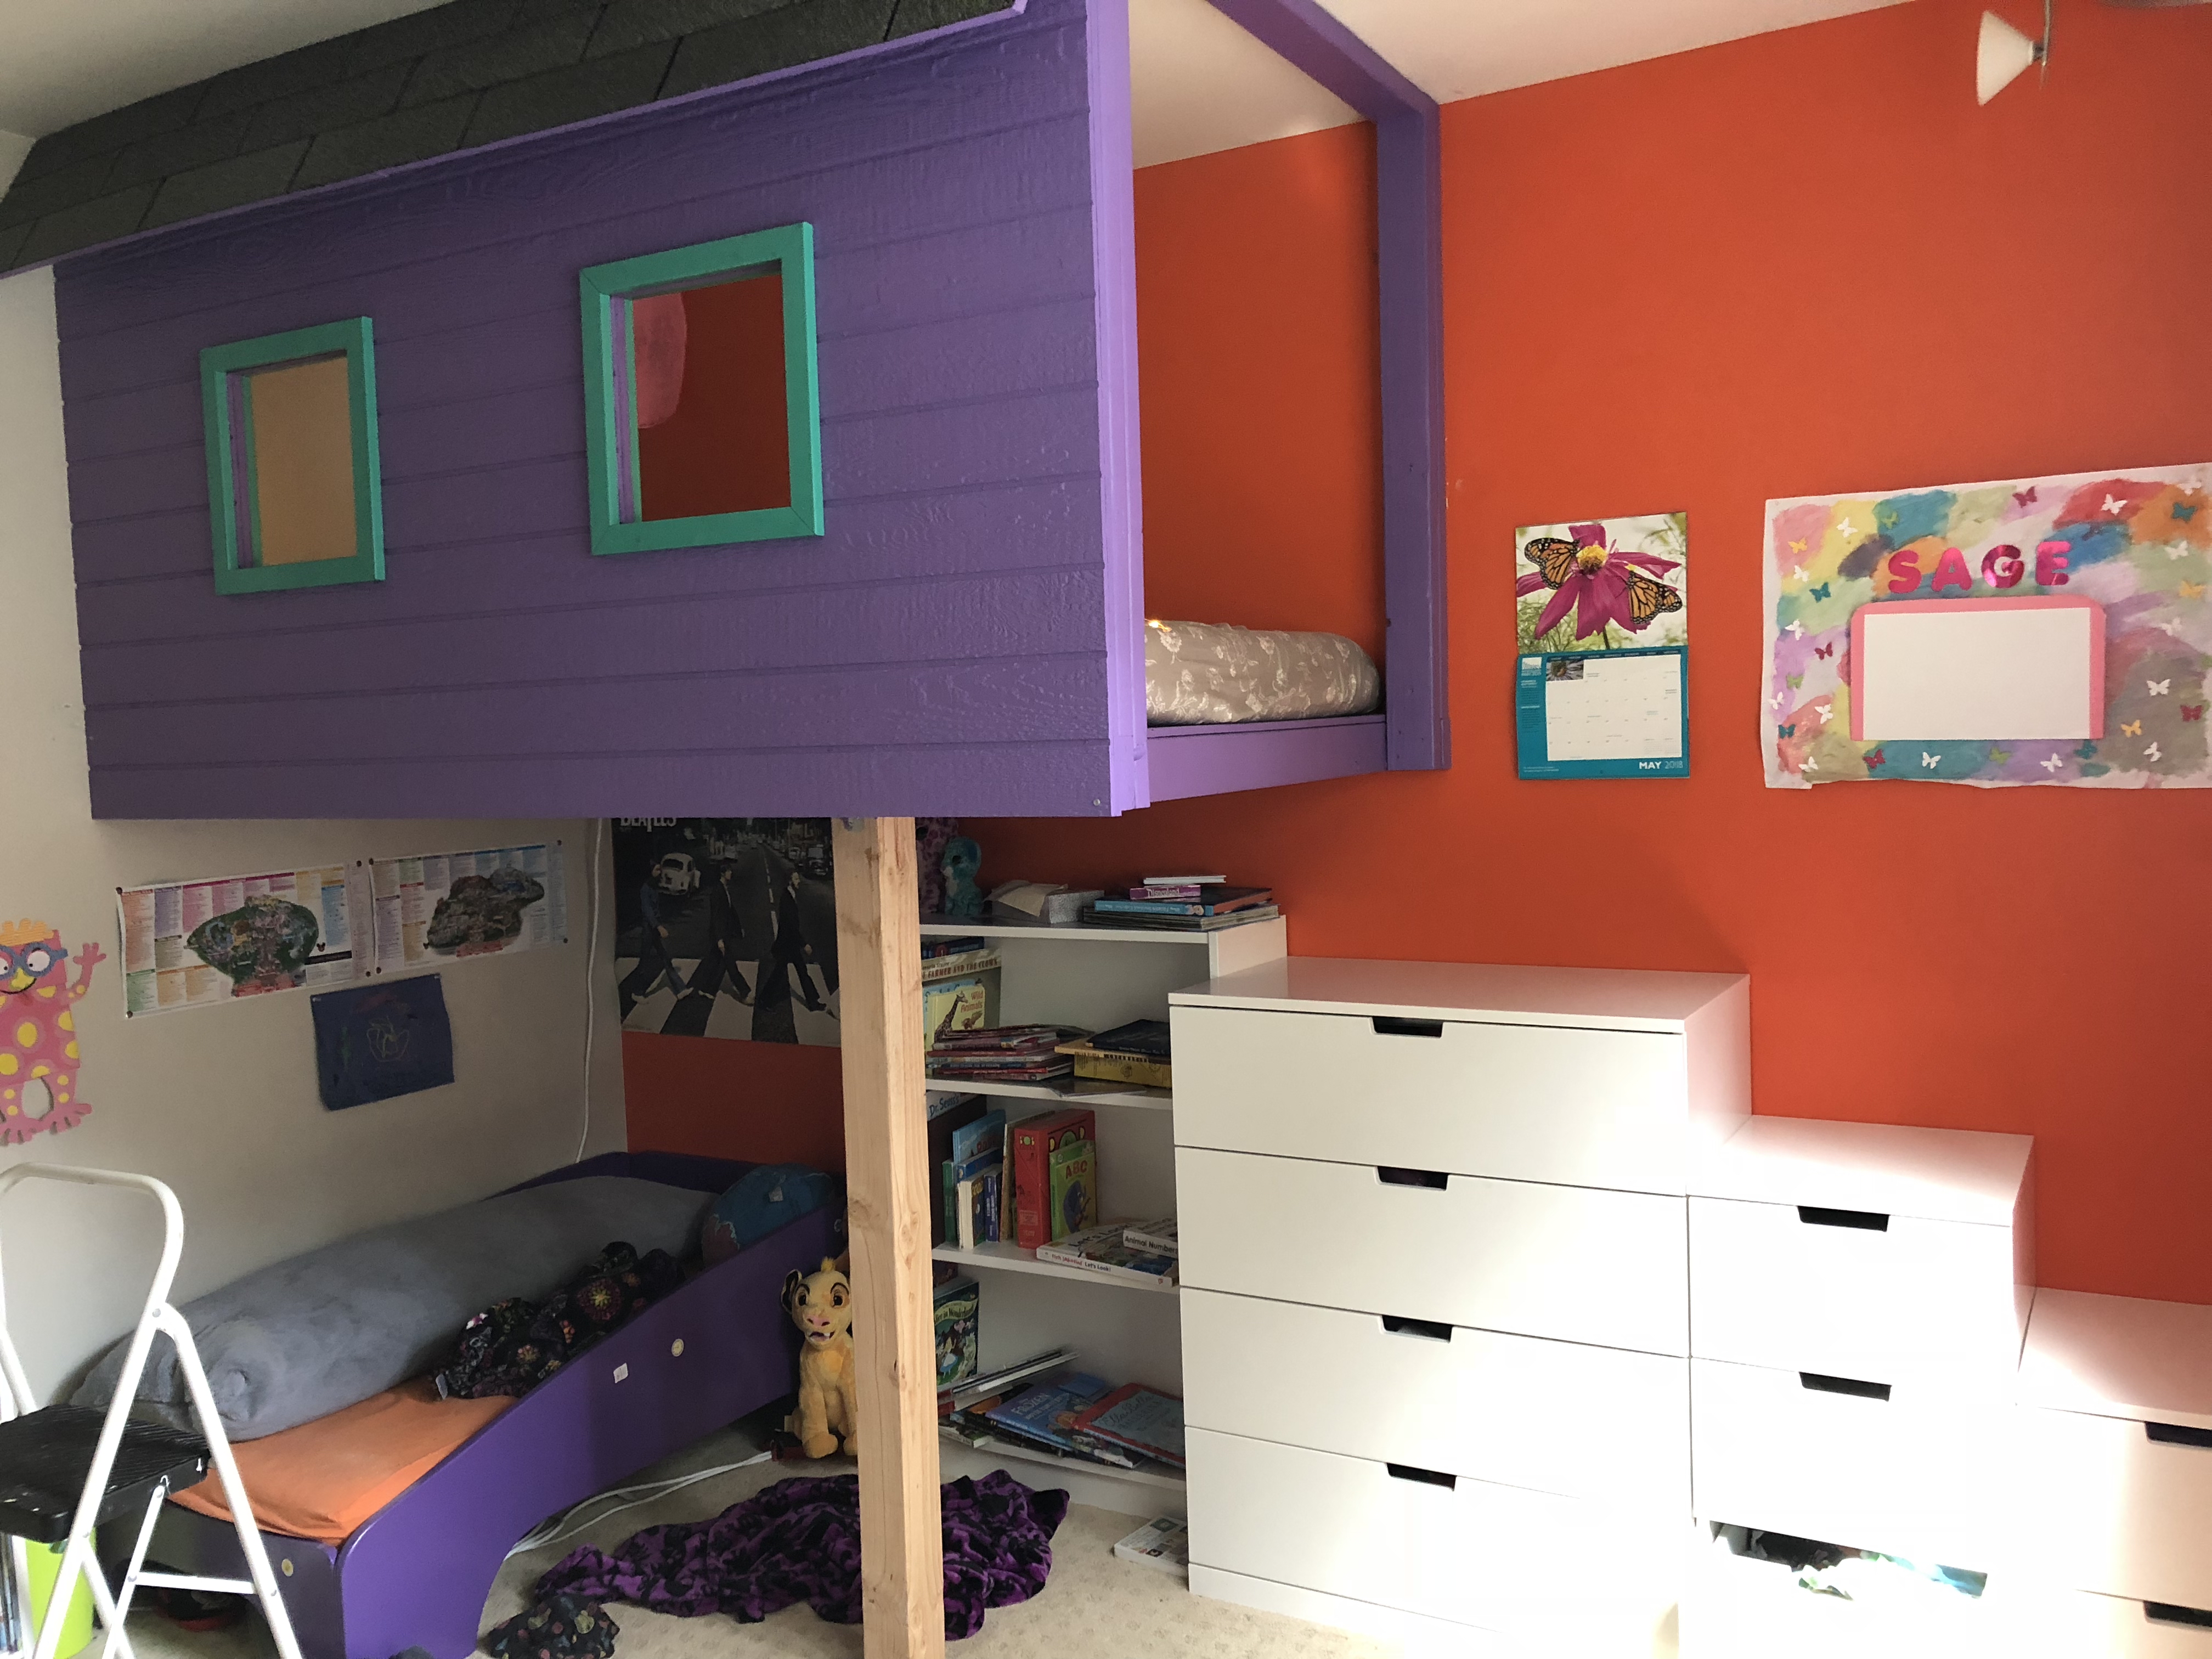
We picked a few of those ideas and used a measuring tape and small strips of painters tape to get a sense of how the space would actually feel. It was pretty quickly apparent that there was only one wall/corner that the bed would fit comfortably. And it turned out, while I was doing all that sketching and planning, my daughter decided she wanted a “tree house” theme. We were ready for step three.
Structured Thinking
My kids are crazy. And strong. And did I mention crazy? They will climb and jump on just about anything. They also love to snuggle with us before falling asleep. So we knew that this loft bed was going to need to hold a lot of weight. We decided our design should safely support about 500lbs of people, some of whom may be jumping.
As part of the tree house aesthetic, I wanted to limit the floor support to a single 4x4 post that could be decorated to look like a tree trunk. That meant most of the support would need to come from attaching directly to wall studs or ceiling joists.
To ensure the bottom of the bed wouldn’t bow with weight on it, I decided to use 2x4s as “floor joists” spaced 16 inches apart.
PUT PICTURE OF SKETCH IN HERE
Computer Bits Before Drill Bits
Once I had decided on a rough plan for the structure, my next step was to put together detailed plans in SketchUp. I started off by making a 3D model of the room, including the window, closet, door, and light switch. I probably didn’t need to start with this, but it did end up being useful to visualize how the final design fit into the space.

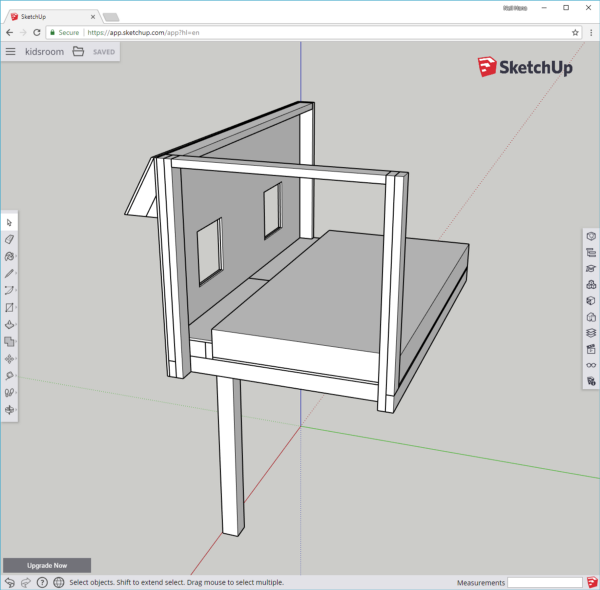
I then built the plans for the loft bed, dividing each part into separate layers. Doing it this way allowed me to toggle on/off layers so I could easily experiment with different design choices such as window position, roof angle, and shelf placement (more on that later). As I worked, I added “dimensions” elements in a separate layer I kept hidden most of the time. Once the design was was finished, I flipped the layer on and had the Home Depot shopping list put together in under 10 minutes. The automatic measurements also reduced the chance for human error during construction since we didn’t need to manually calculate each cut.
That it for now! Stay tuned for part 2 in which we manage not to cut off any human limbs!