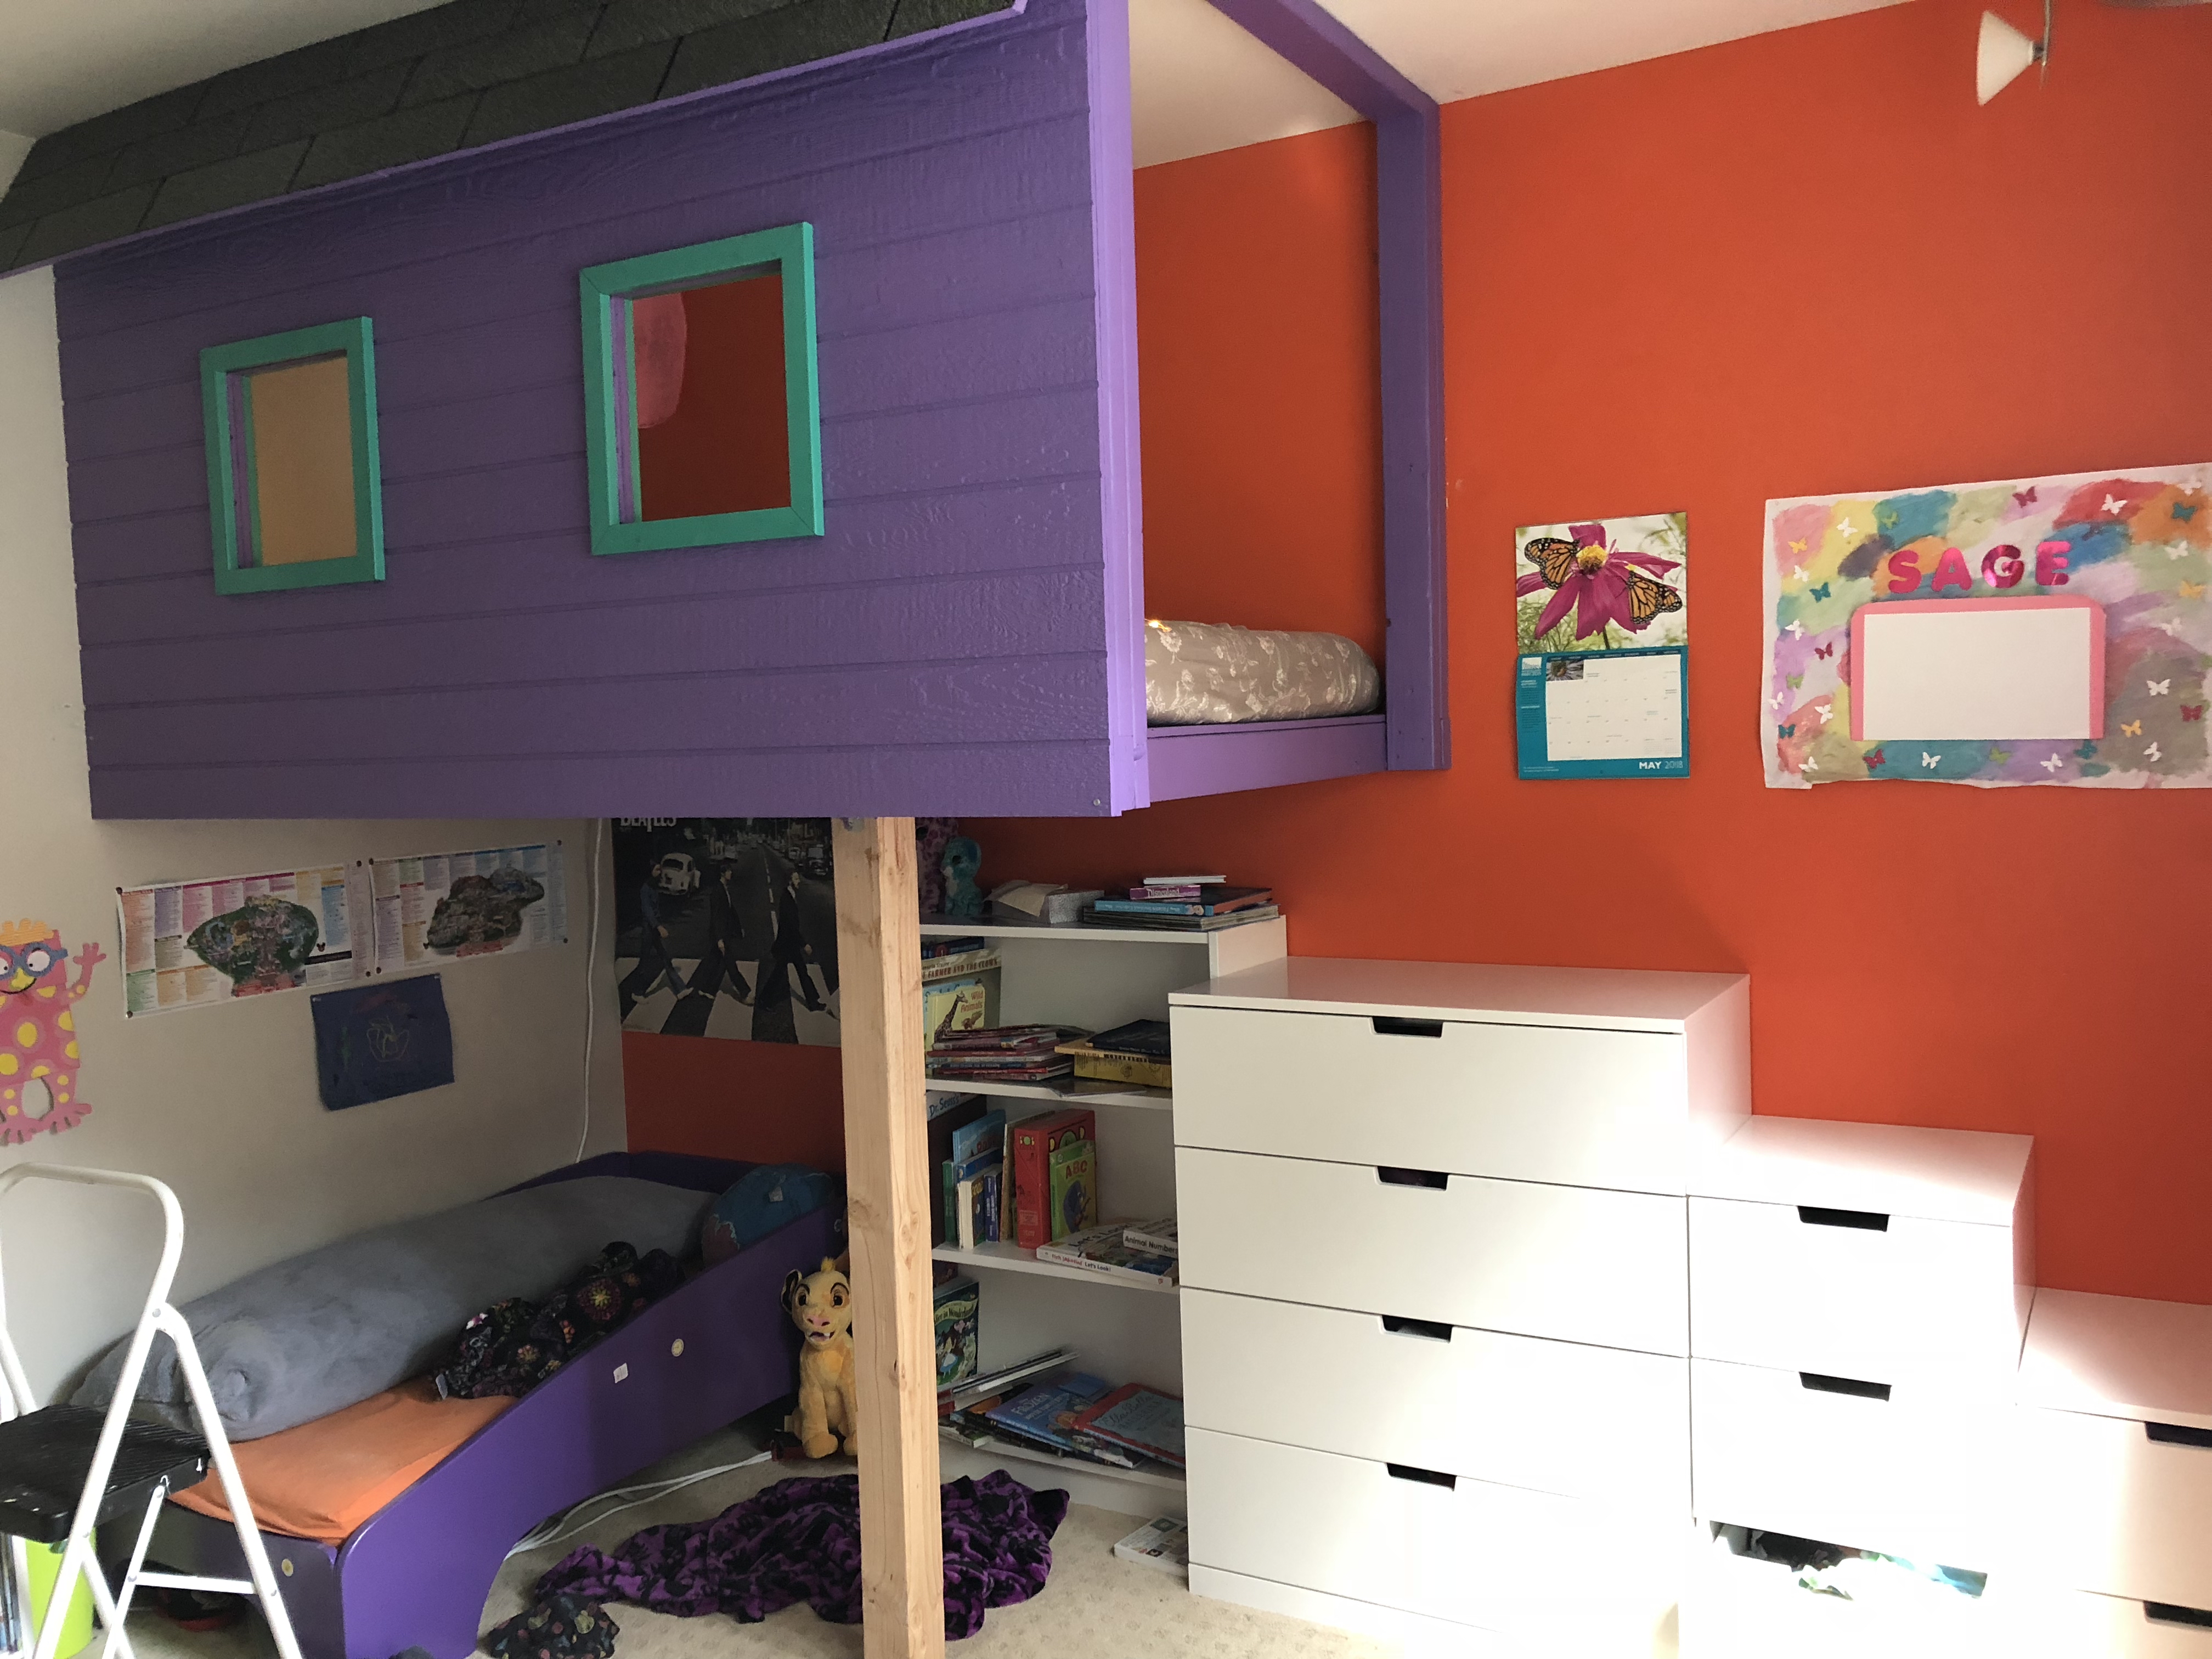
This is post 2 of 3 covering how I built a loft bed for my daughter.
Picking up where we left off last time, we have a plan for what we’re going to build and we have the parts to build it. Time to get started building.
Drawing On The Walls
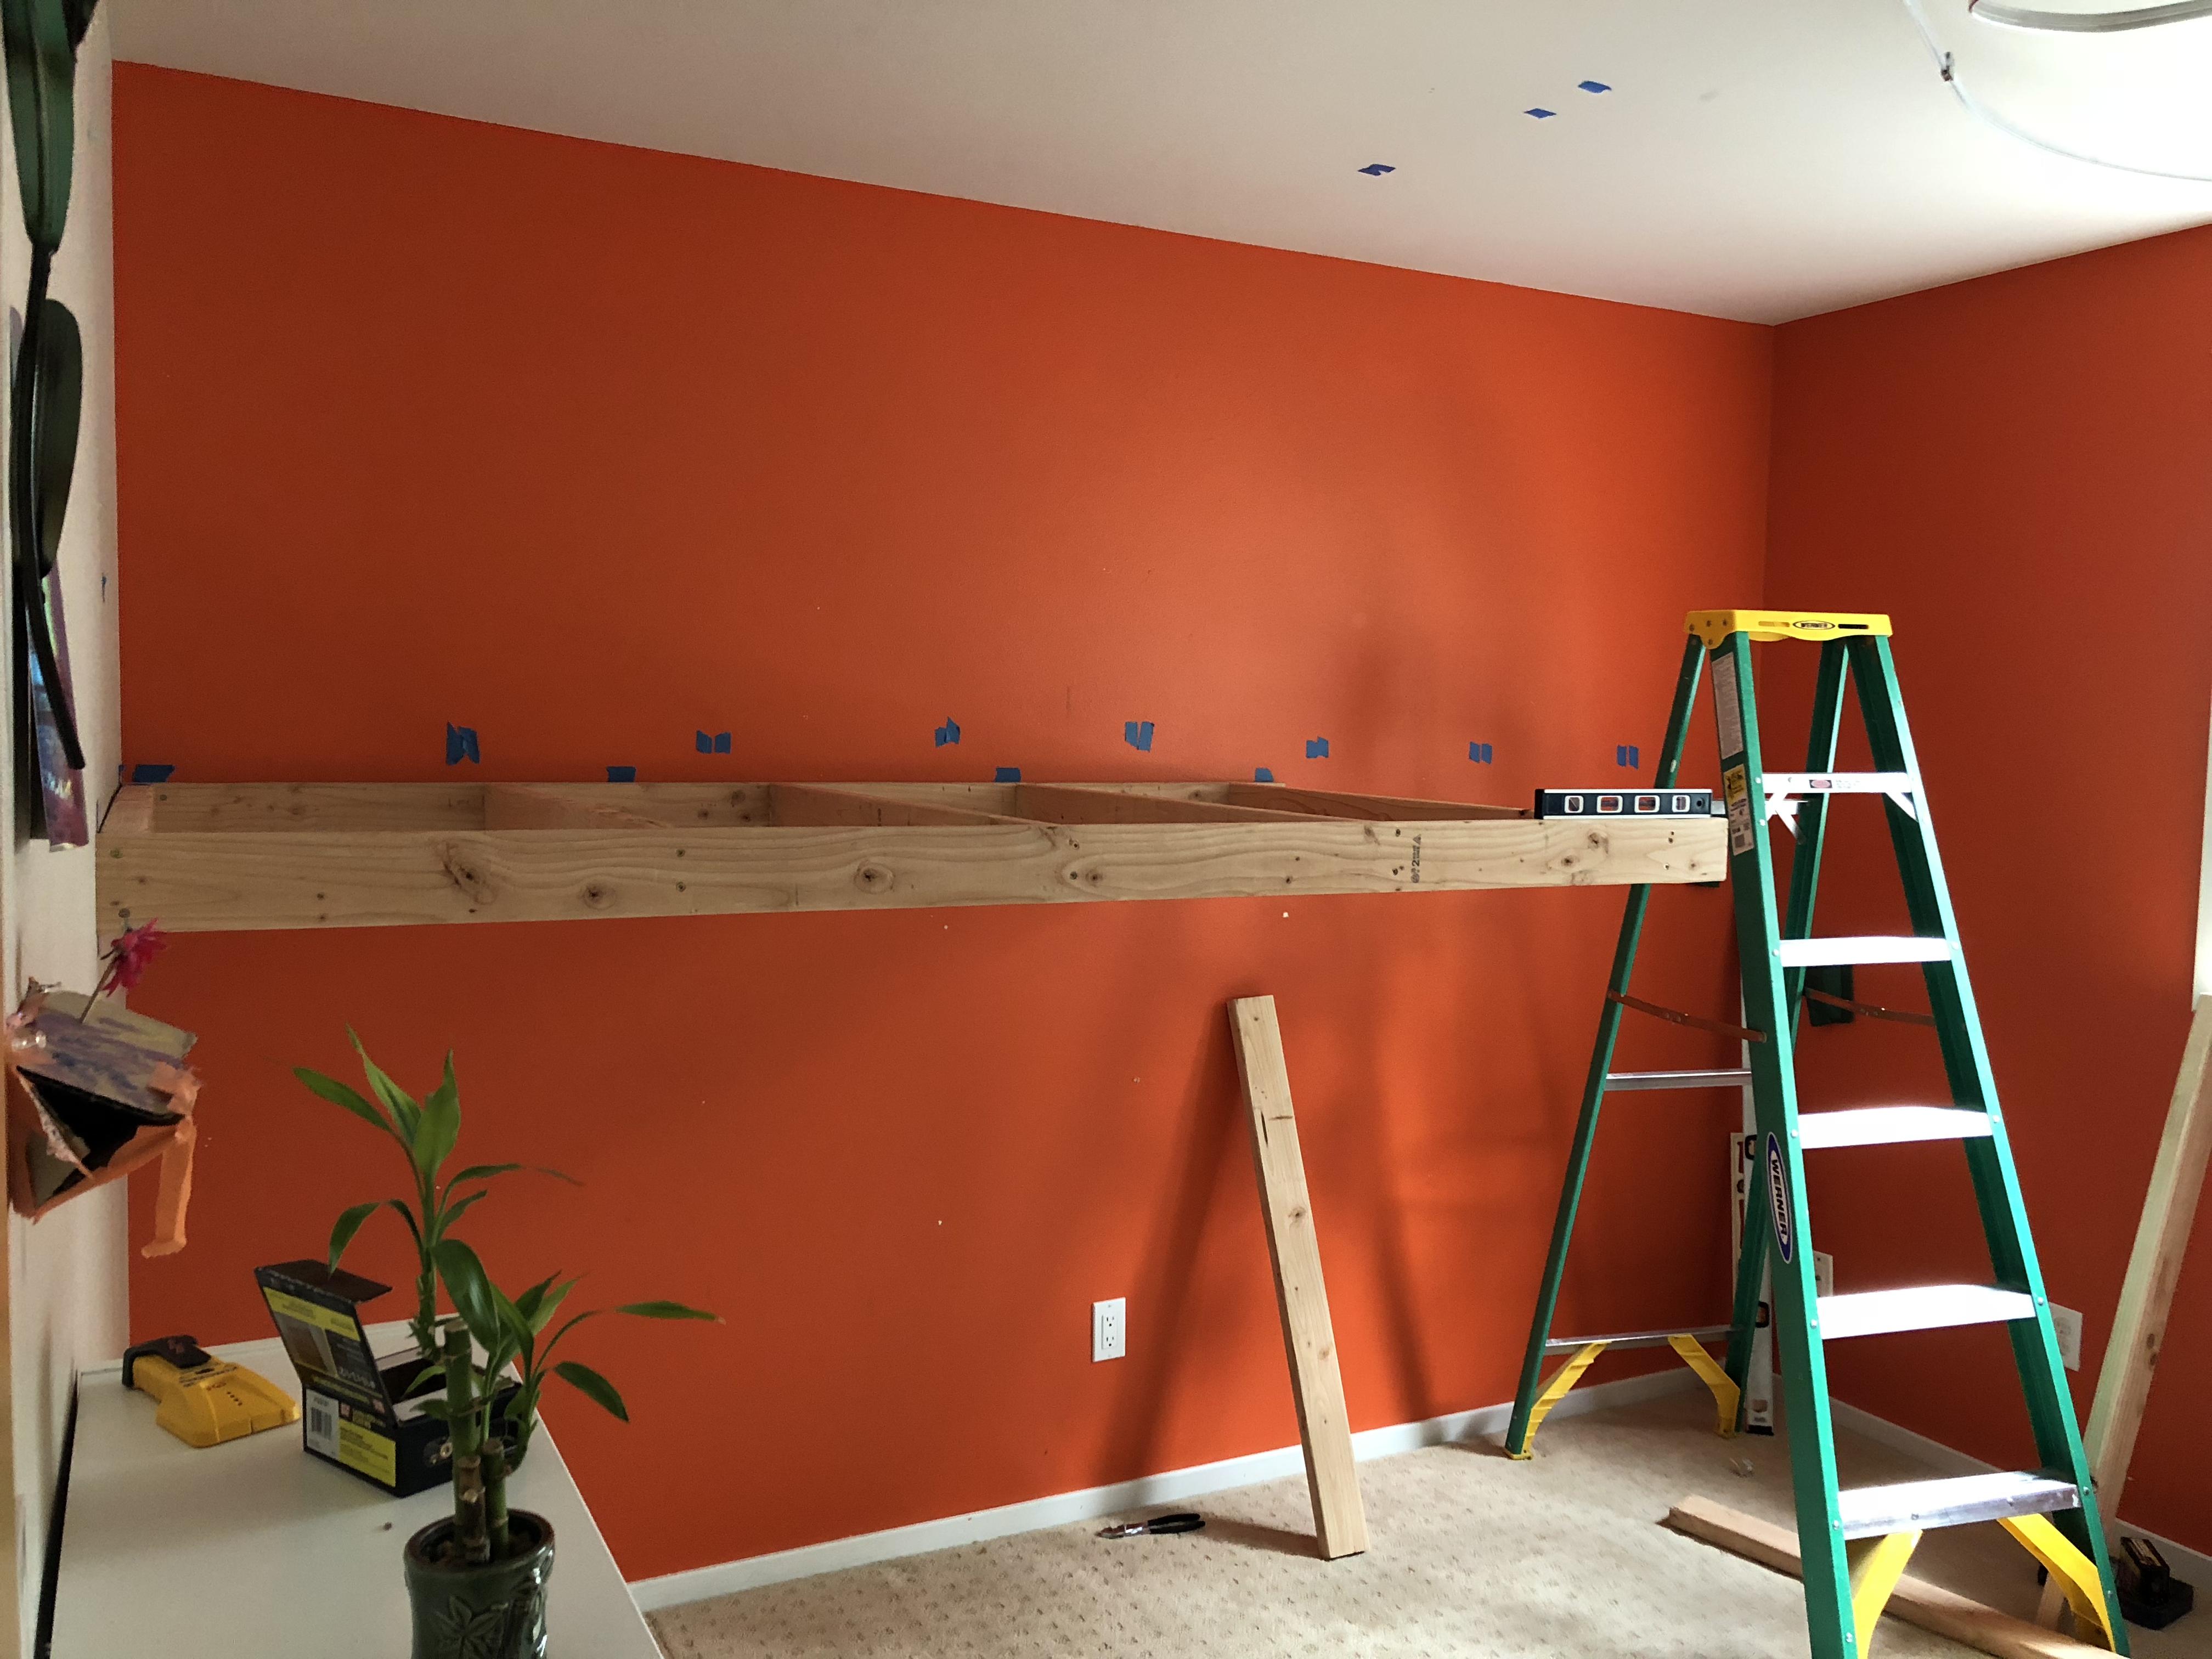
The first step was getting the room ready for the new bed. This of course meant removing most furniture and toys, but it also meant preparing the walls and ceiling. Using a good quality level, we drew horizontal lines on both walls 52” from the ground. Then using a stud finder we located the wall studs and put small pieces of painters tape on either side. Reaching overhead, we found the joists in the ceiling and marked them as well.
The most important reason to do this step before starting assembly was to confirm our tree house’s “floor joists” wouldn’t overlap with the existing wall studs. If they had, we could have easily shifted the design a bit, but as it turned out there was no conflict. We were ready to start assembly!
Help! I’ve been Framed!
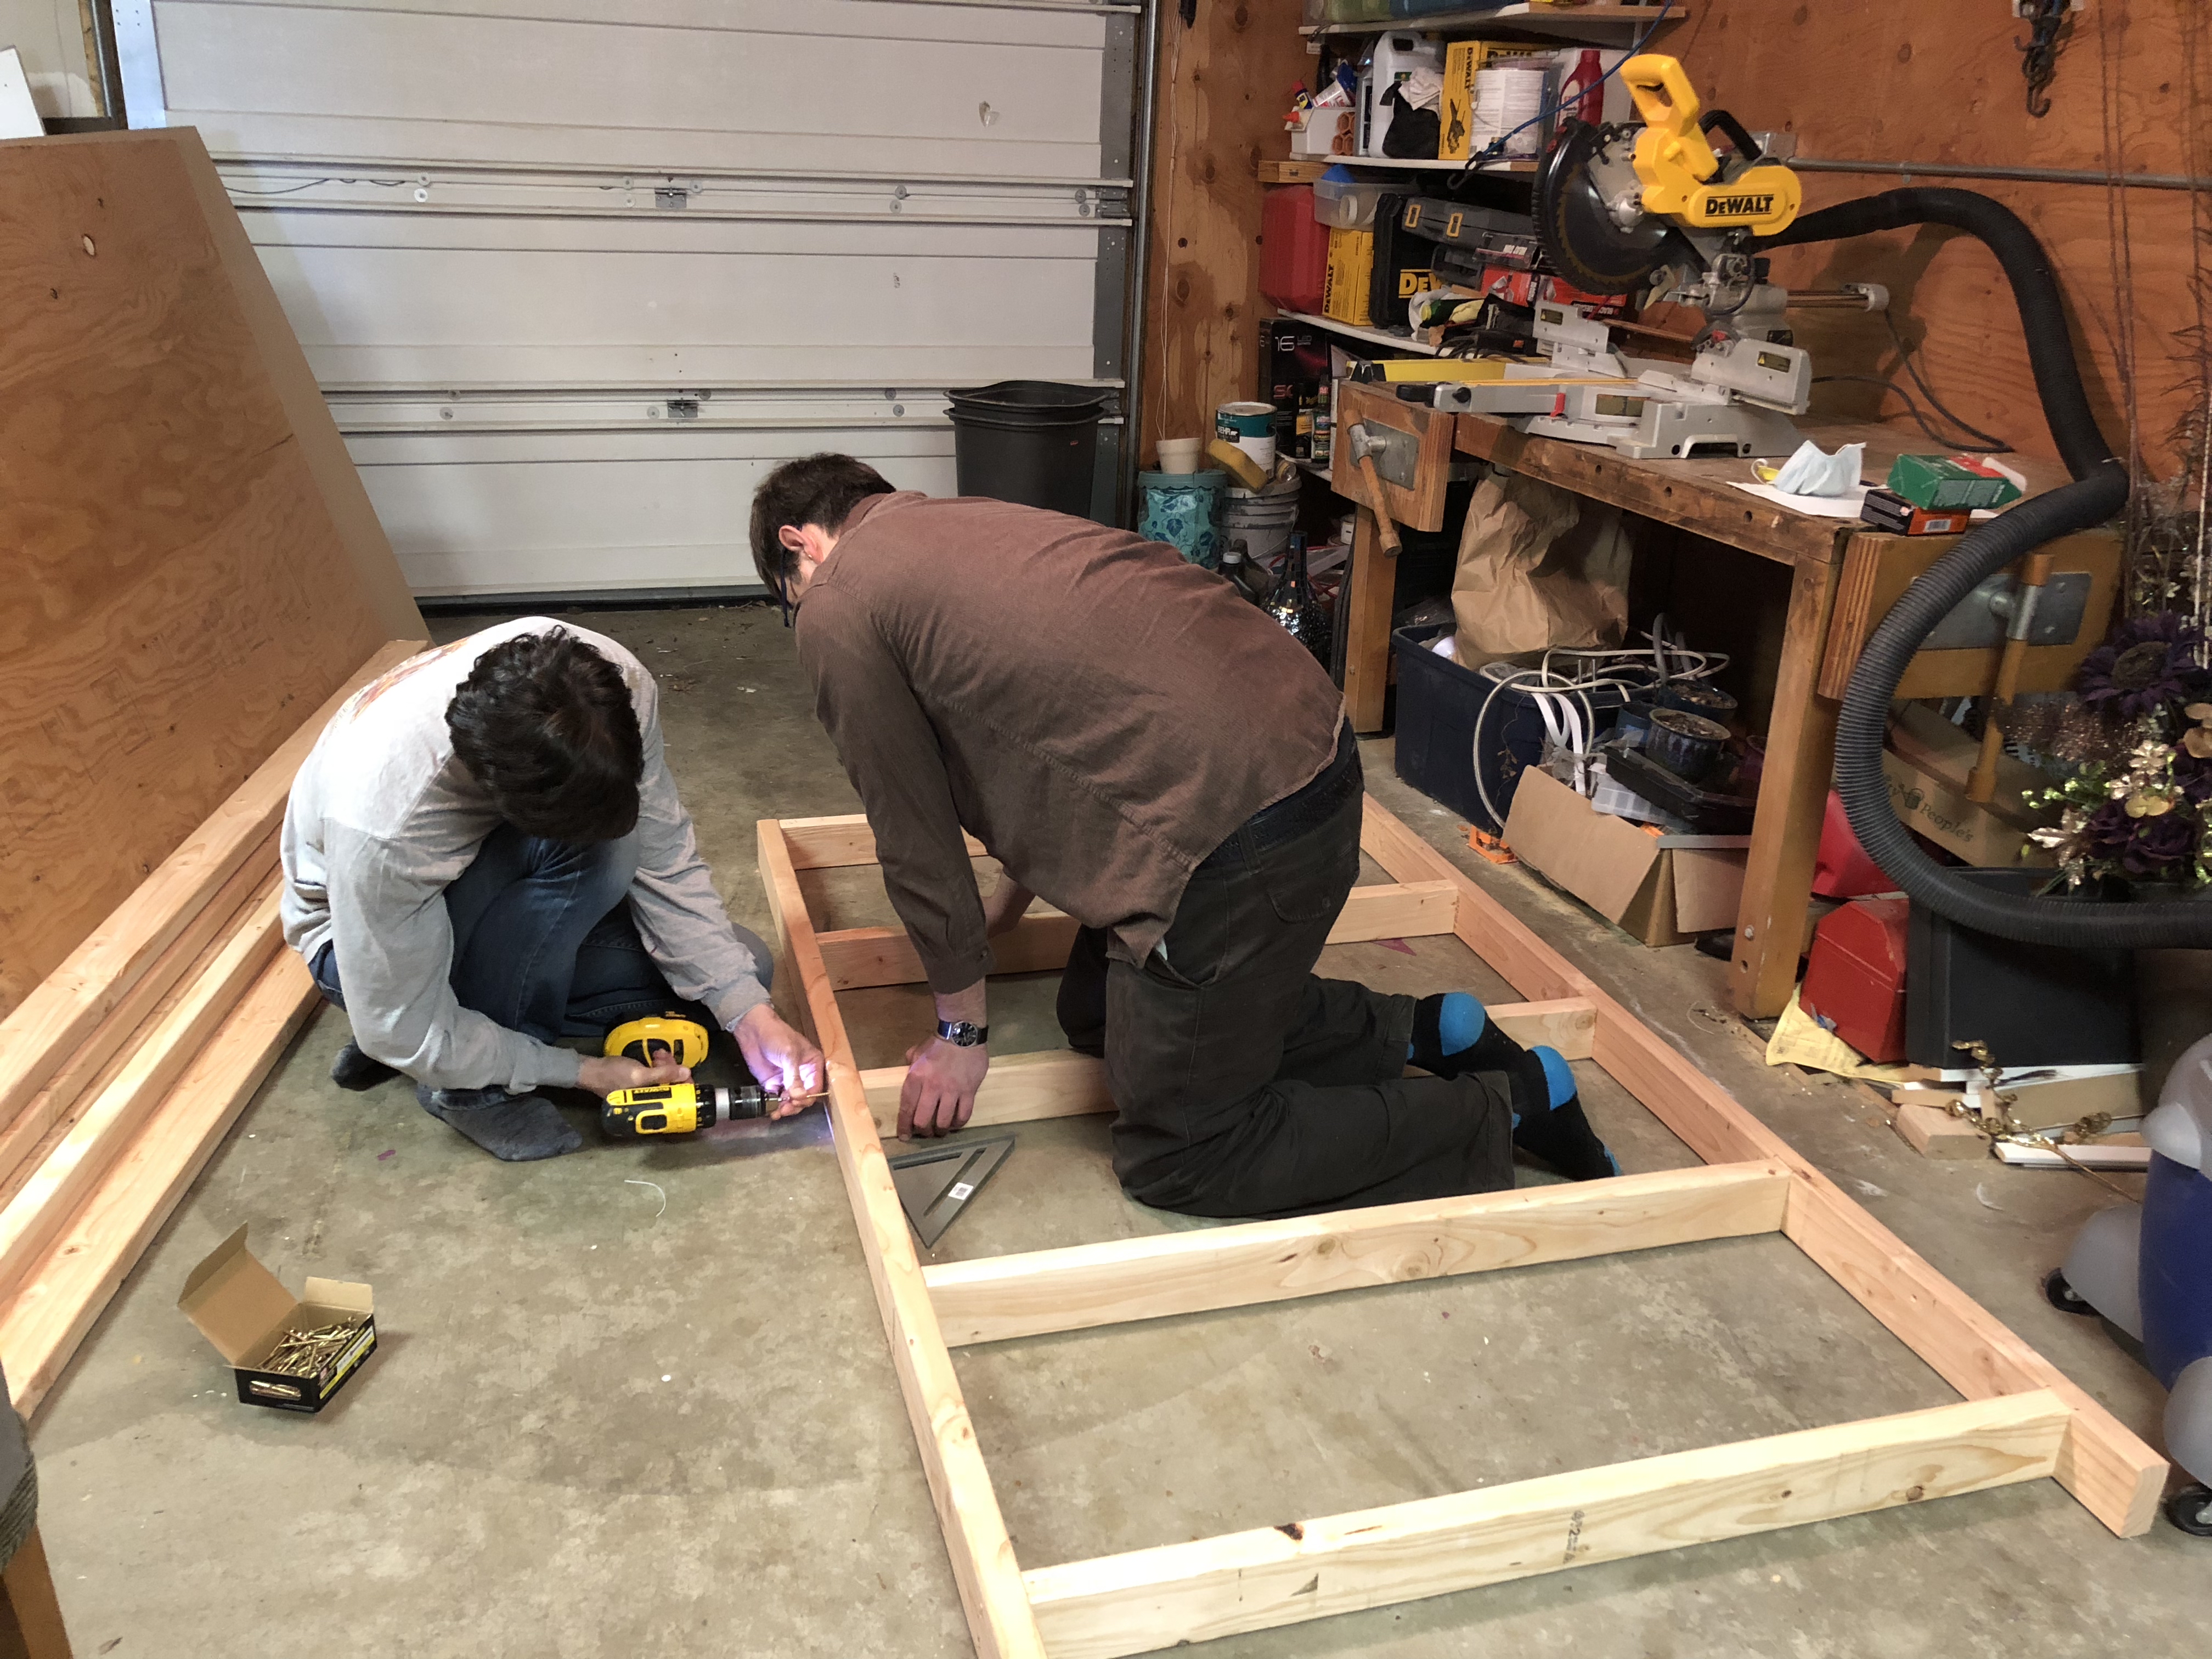
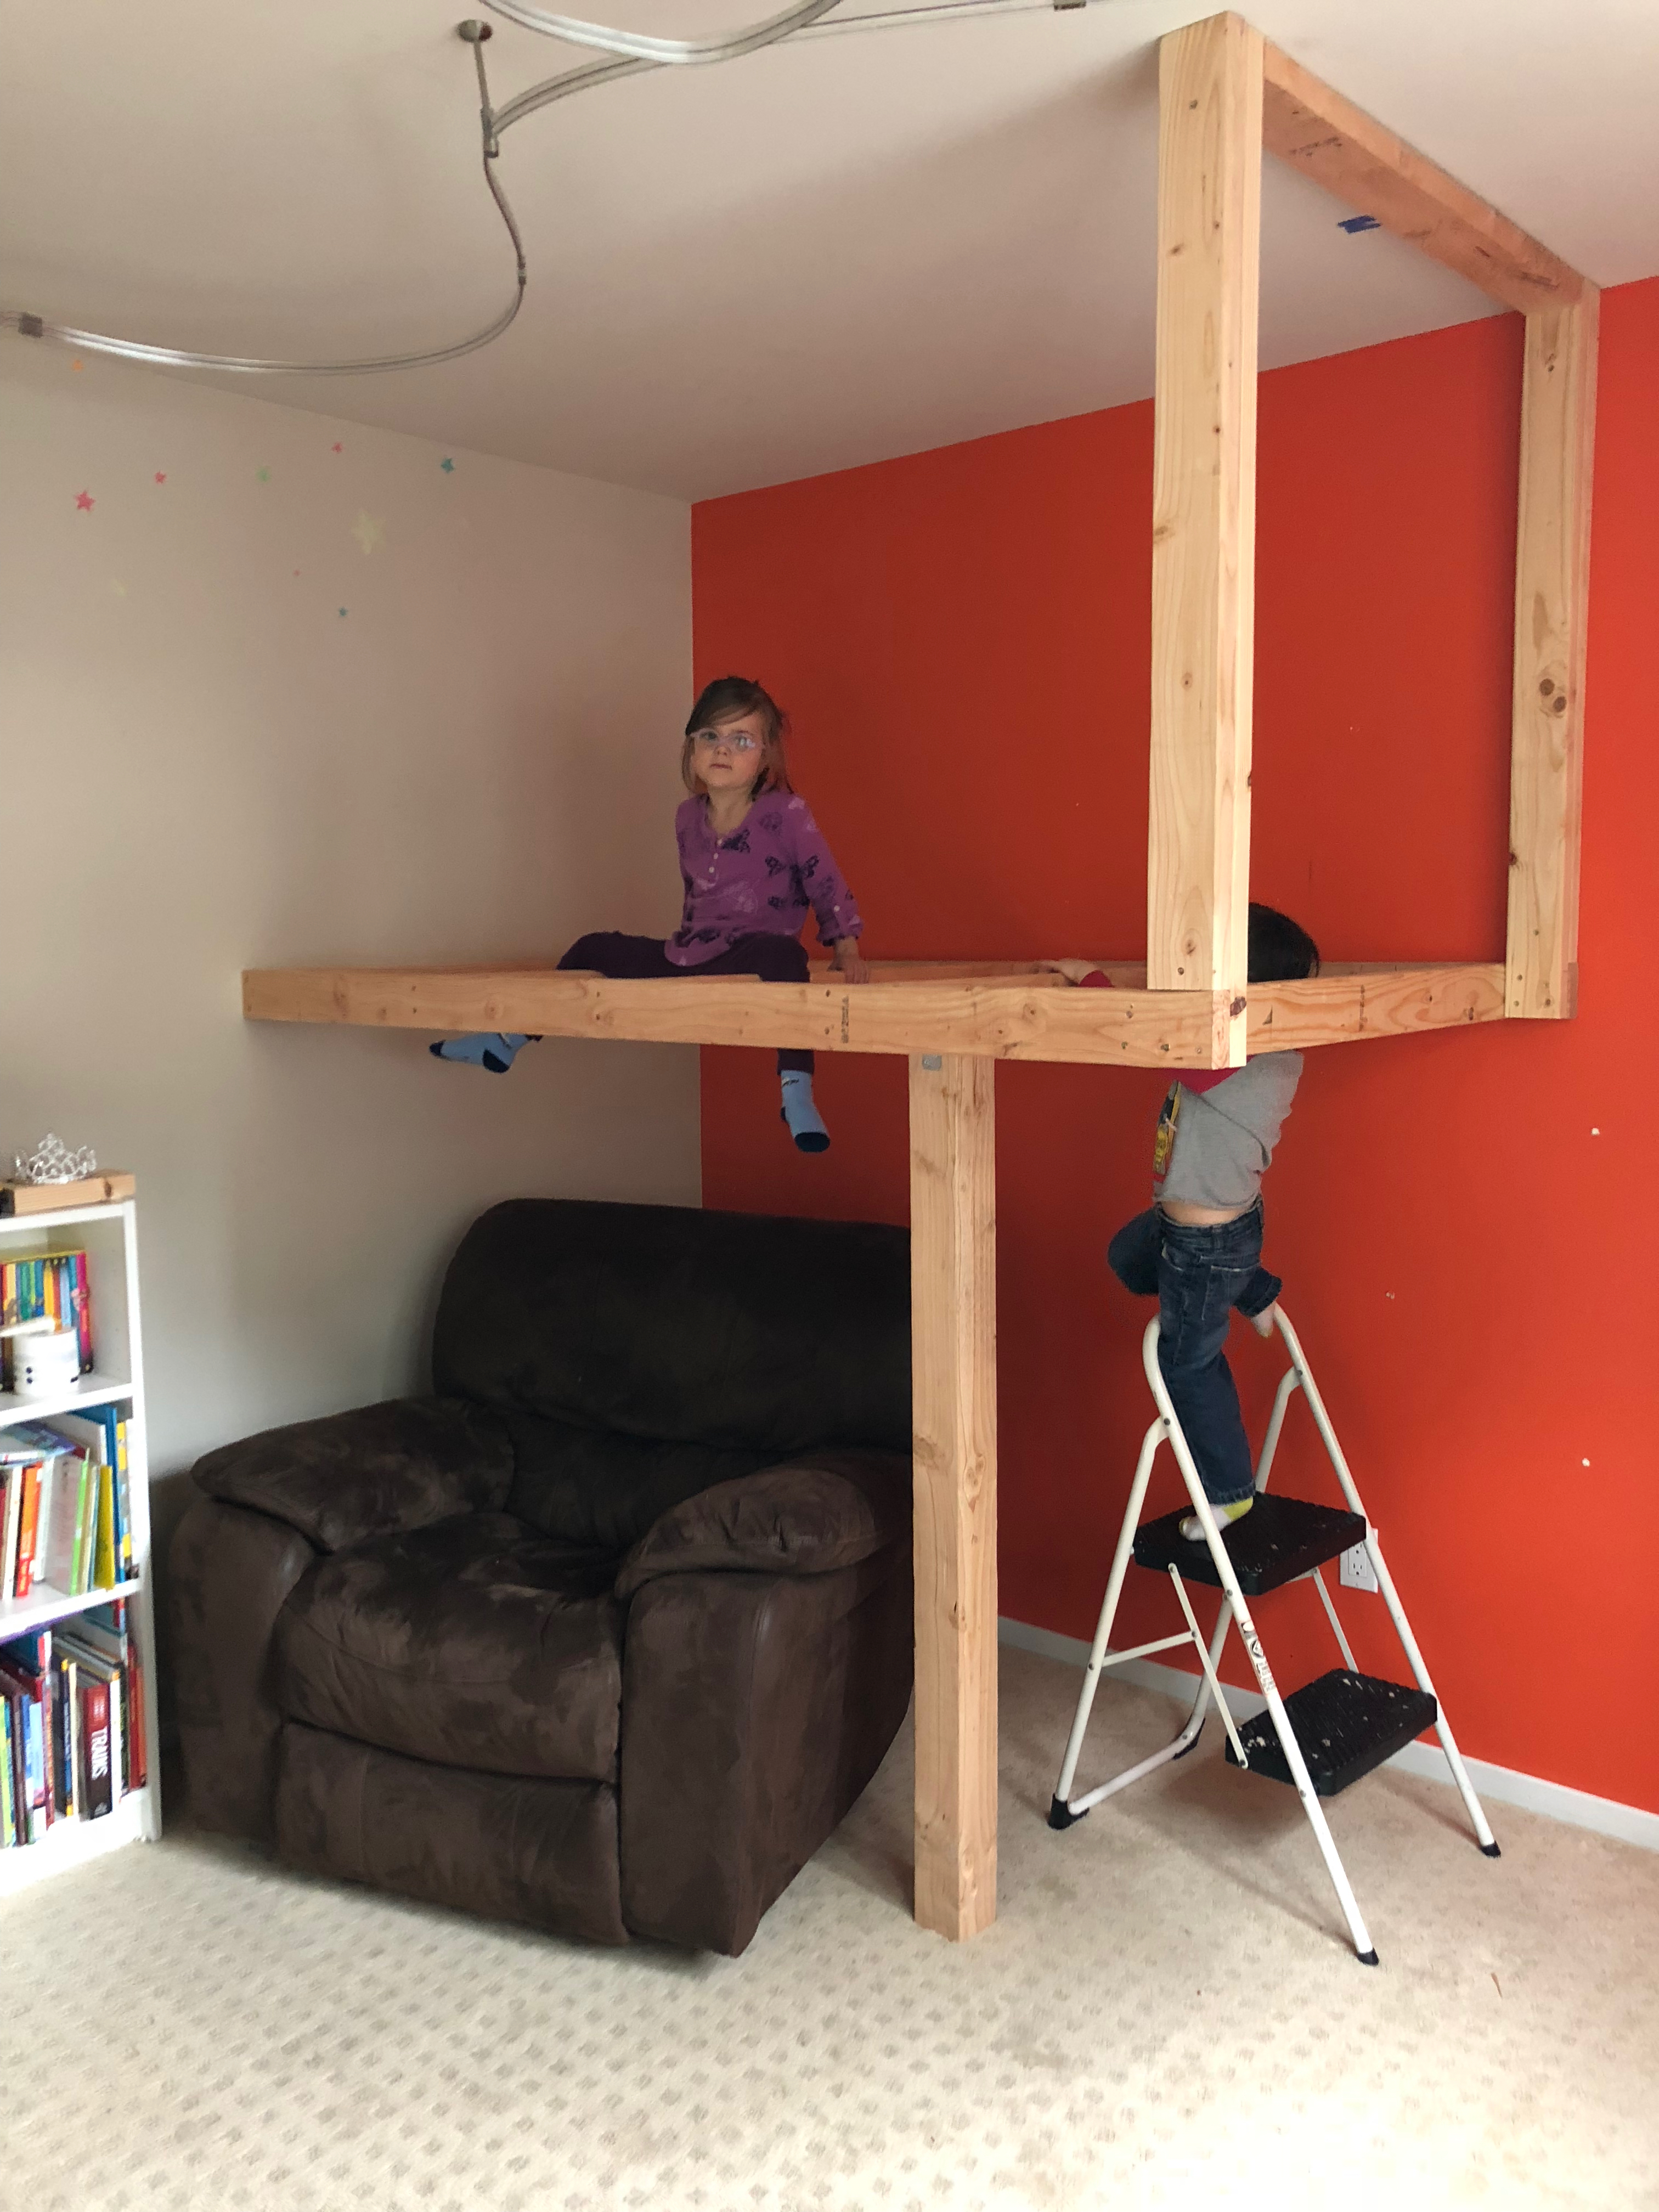
To build the floor of the tree house, we attached all the shorter boards (the “floor joists”) to one of the long sides. We then attached the free end of all the shorter boards to the other long side. In both cases, we made sure to square the connections with a carpenter square. Once the floor was assembled, we carried it downstairs, held it up along the level line we’d drawn earlier, and screwed it into all the studs it crossed.
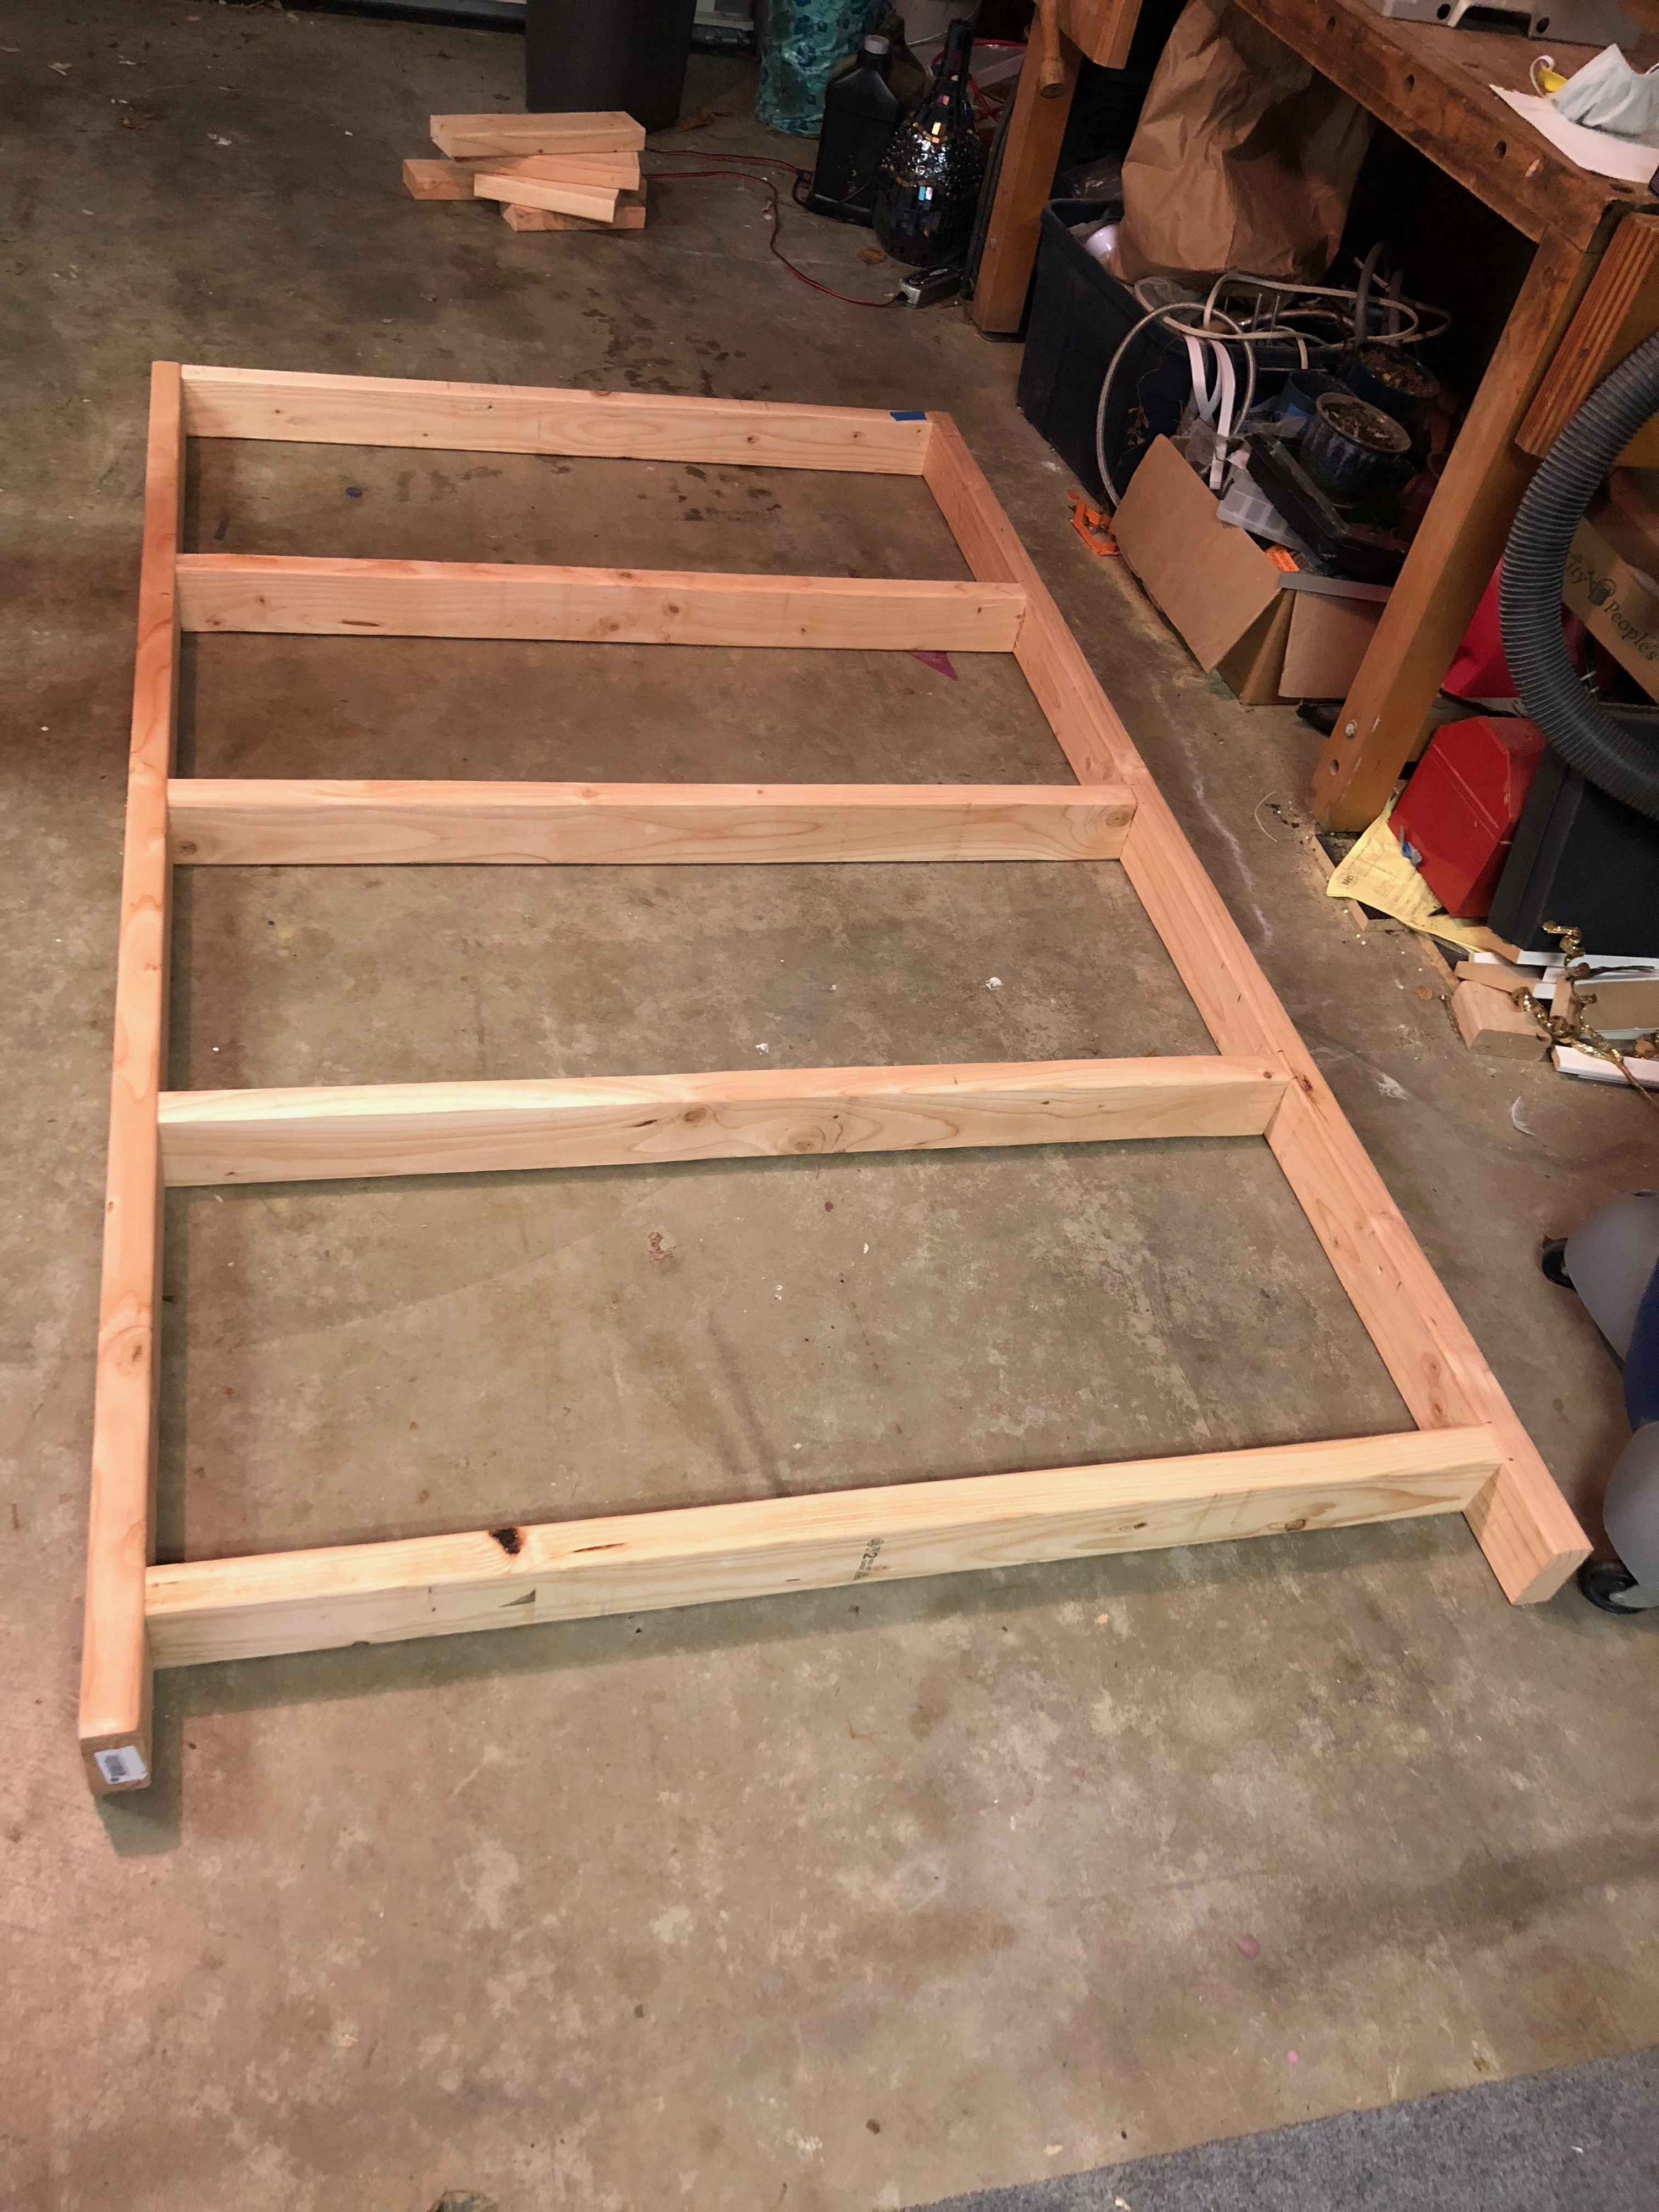
You may have noticed above that the two long boards stick out past the last “floor joist”. This gap was left to attach the ceiling support segment to the tree house floor. If you zoom in on the picture below, you can see 5 boards in the ceiling support. To assemble it, the two longer vertical boards were attached to the ends of the horizontal one at the top. The two slightly shorter vertical ones were then added to the outside to pad the ceiling support segment to match the overall dimensions of the tree house.
SKETCHUP THINGIE HERE?
Sliding the ceiling support segment into place, we first attached it to the joists in the ceiling. Then we attached the floor to the ceiling support segment using a level to ensure the floor’s floating corner remained at the right height.
Post-it
The last structural support component was the 4x4 to be hidden inside the tree trunk. Instead of using the calculated height from the SketchUp file, we decided to measure the actual spot the post was to go.
We didn’t want it too loose or too tight, so we had someone stand on a 2x4 to simulate the amount the carpet would compress under the post. It was exactly 52”. Go figure. To attach the 4x4, we used angle brackets on either side instead of trying to screw at an angle into the 2x4 “floor joist” above it.
Closing Time
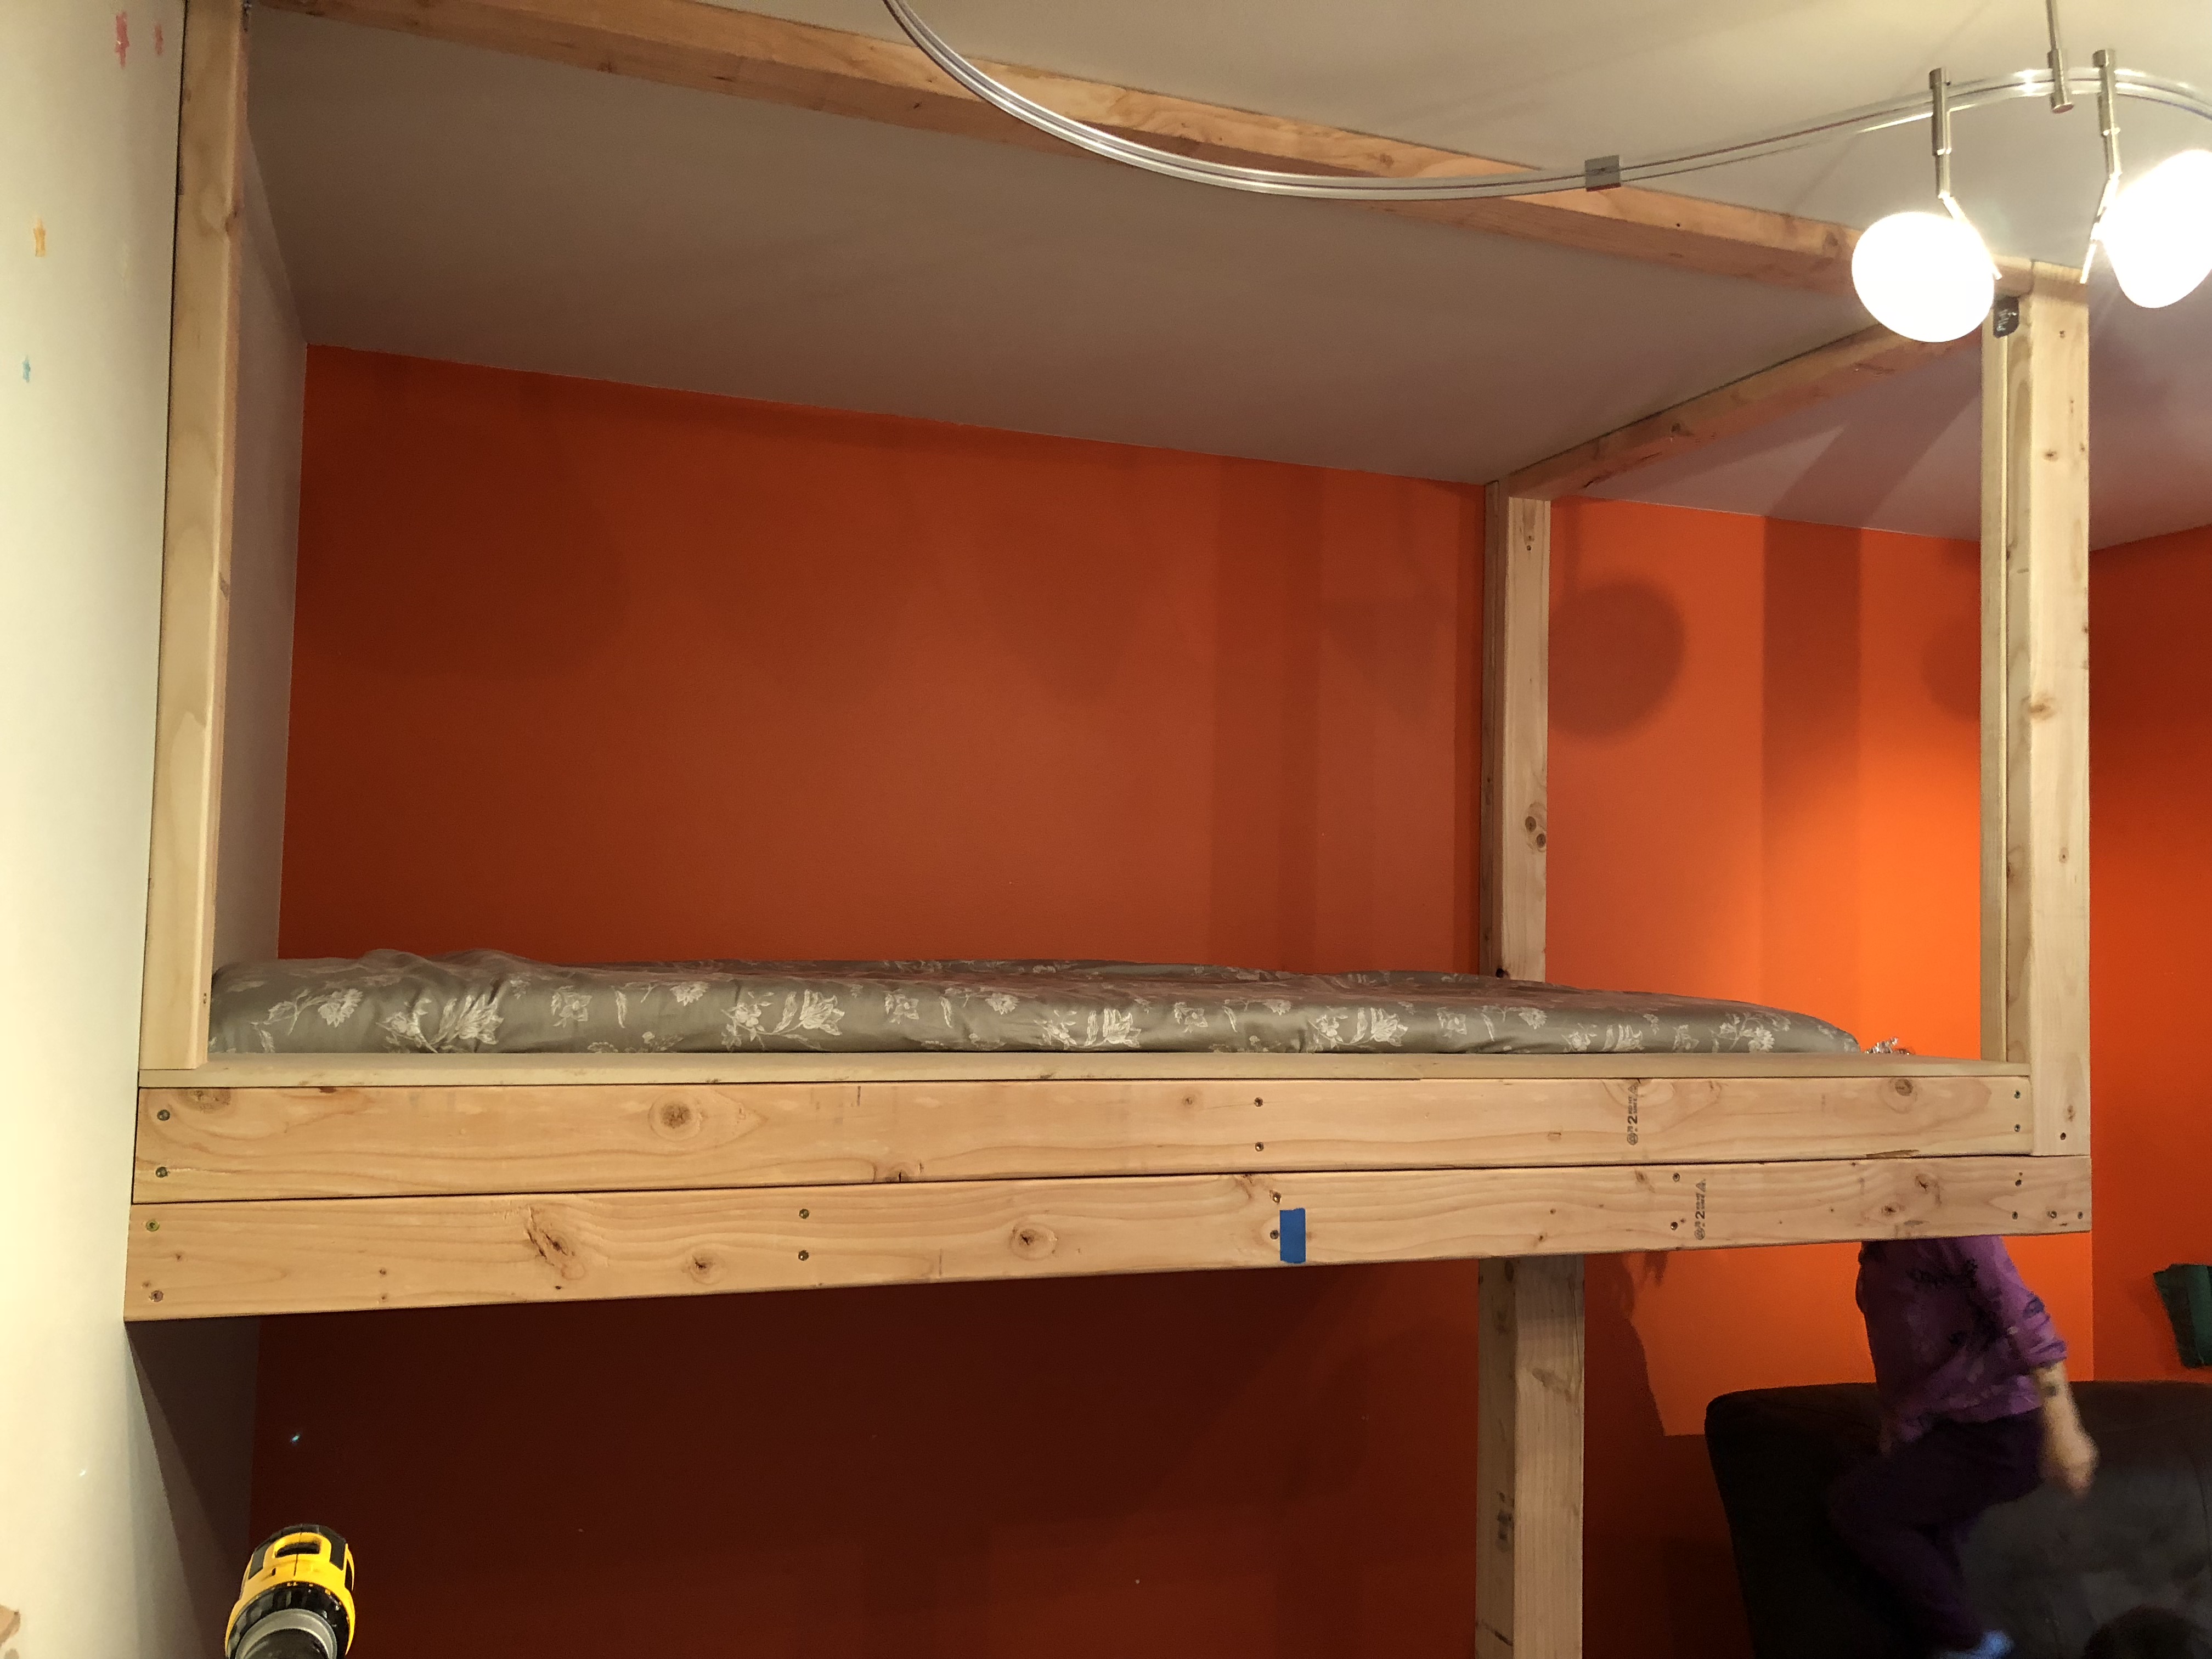
With the structure in place, the next step was to add the shelf. Early on we decided to make a shelf that ran the length of the mattress rather than one at the head of the bed. In the original design, the top of the shelf was a single, long piece of plywood, but during construction, I realized I should have chosen MDF for a smoother surface instead. Thankfully, we were able to use two scraps from the 4’x8’ sheet purchased for the tree house wall. One the box was built, we attached it to the tree house floor from underneath using flat metal brackets.
With the shelf in place, we were ready to measure and cut the plywood for underneath the mattress. To ensure the mattress was able to breathe, we drilled a dozen or more 1/4” holes throughout the plywood. The panel was then screwed down to the “floor joists” in a number of places to keep it from rattling around.
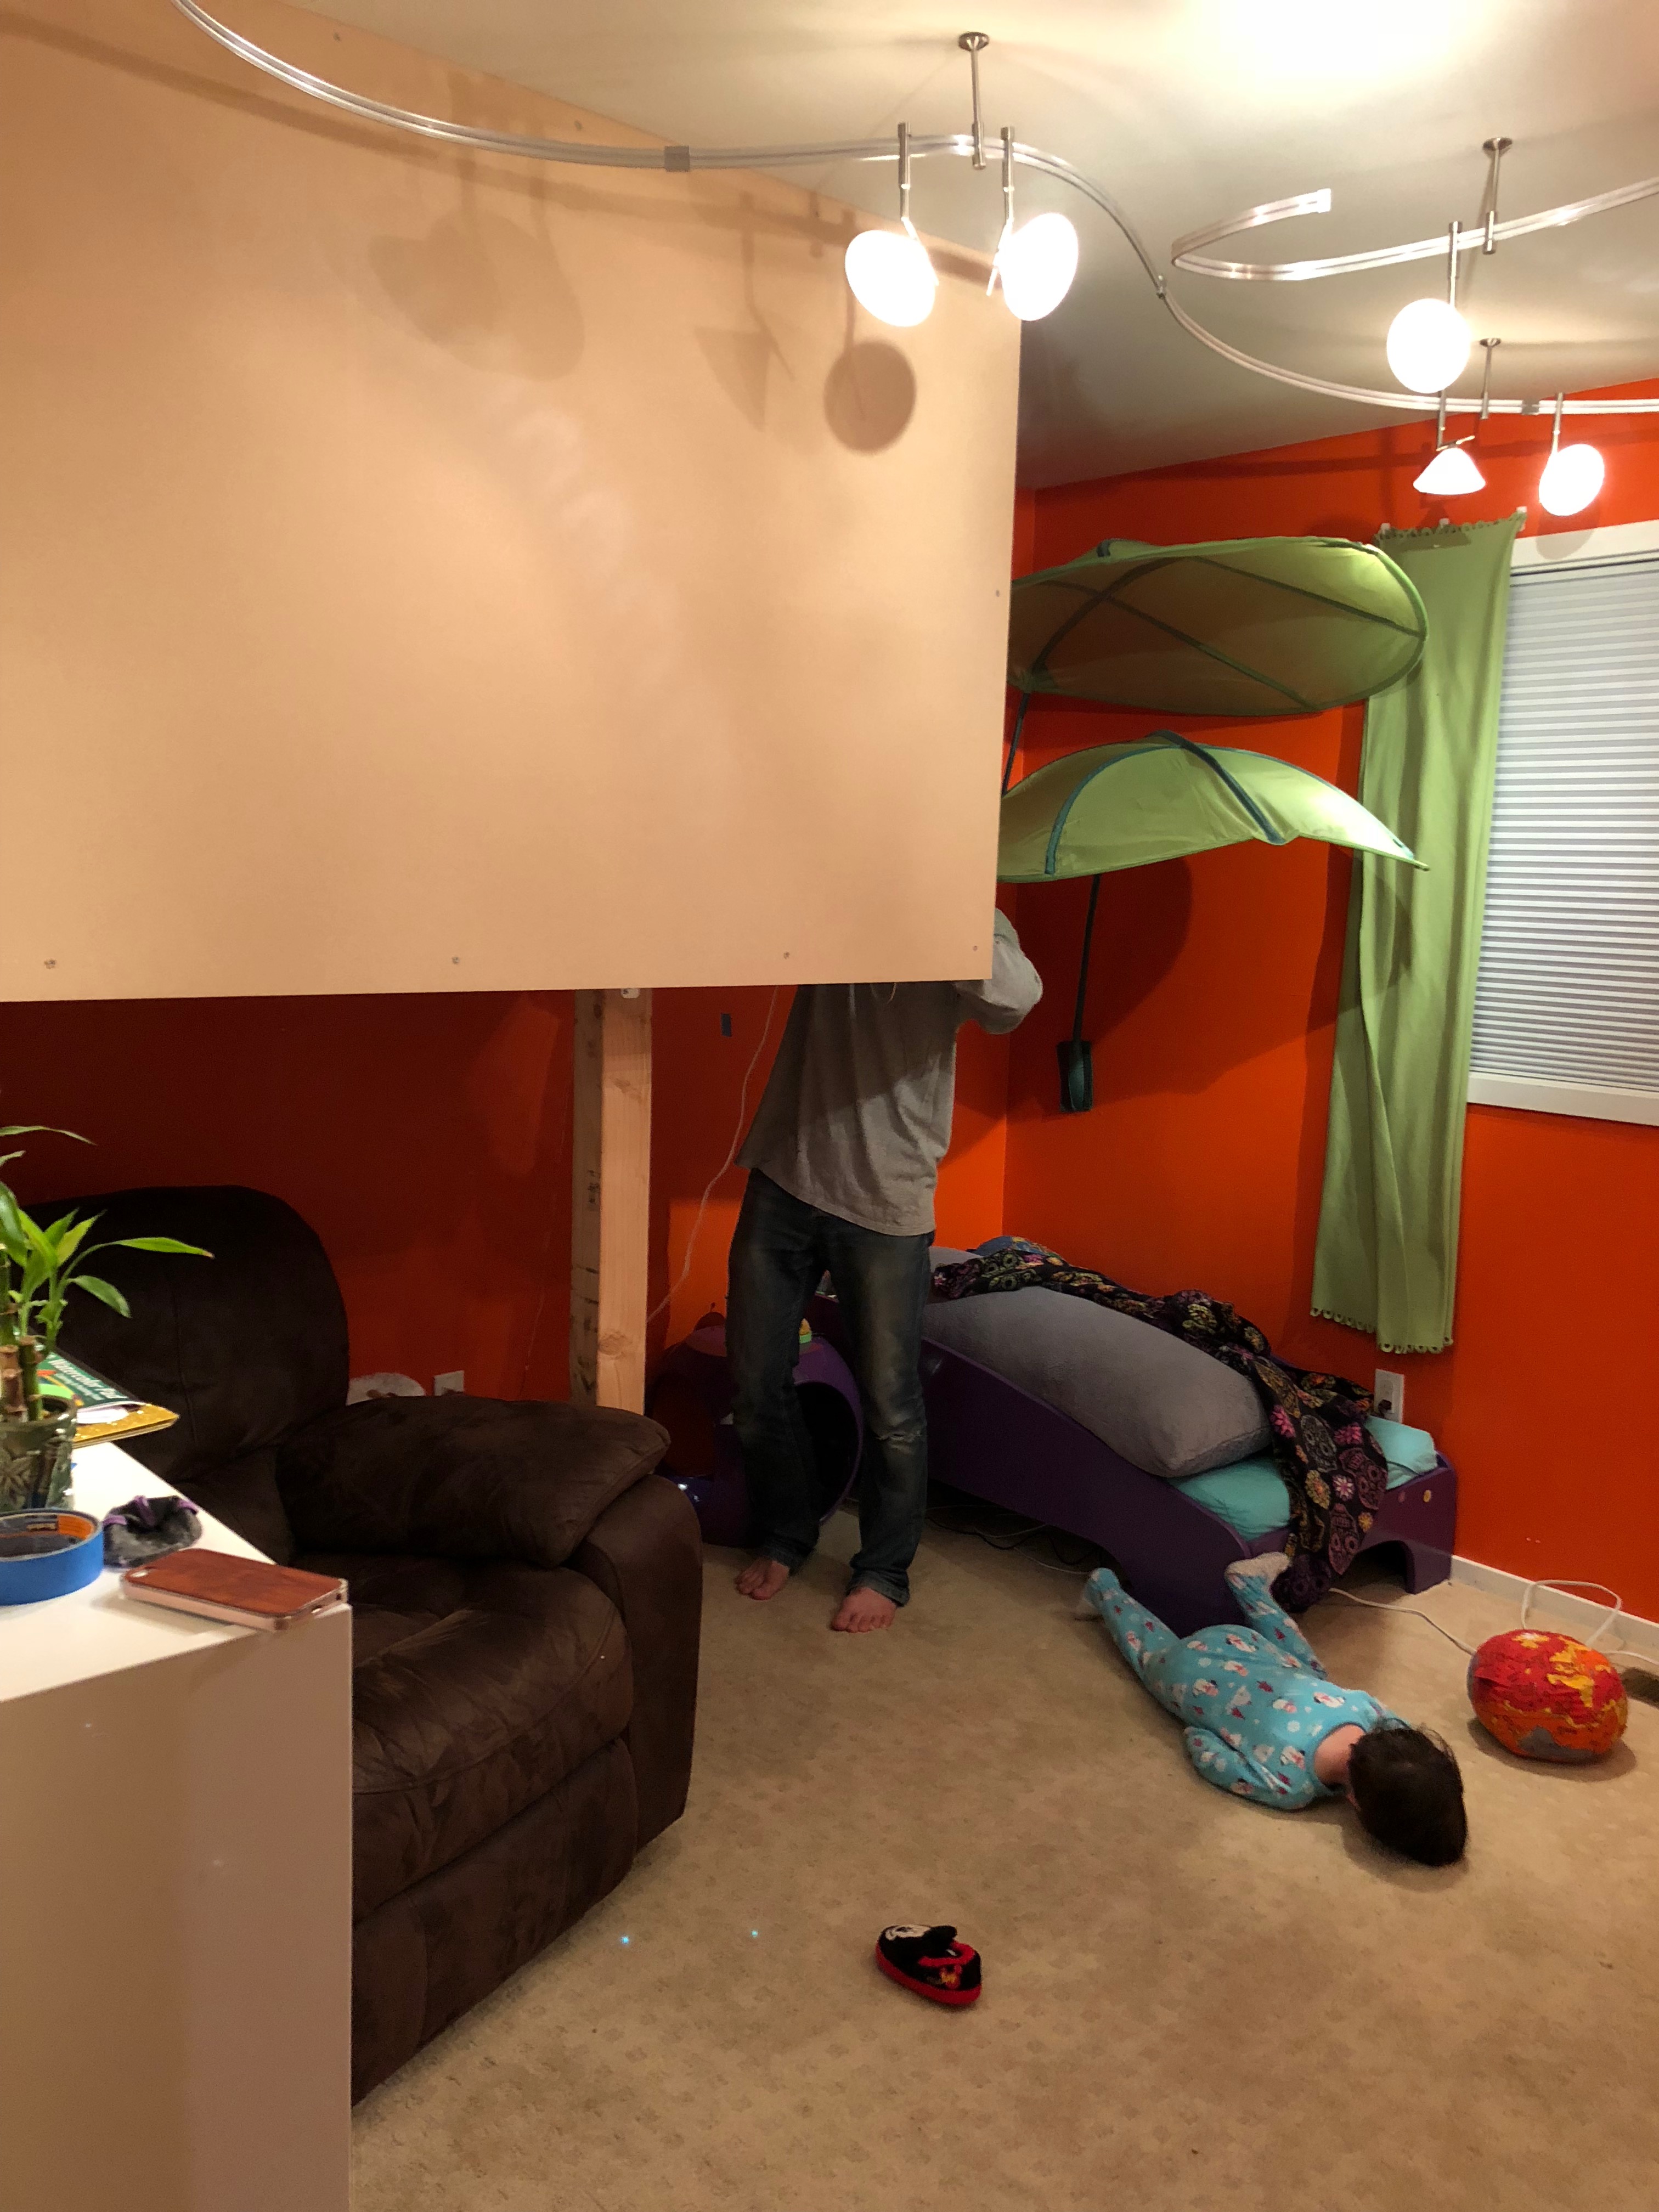
At this point it was getting close to the kids bedtime and we wanted our daughter to have somewhere to sleep. We quickly put up a 2x4 vertically along the room wall, put one along the ceiling, and attached the 1/2” MDF panel to the side.
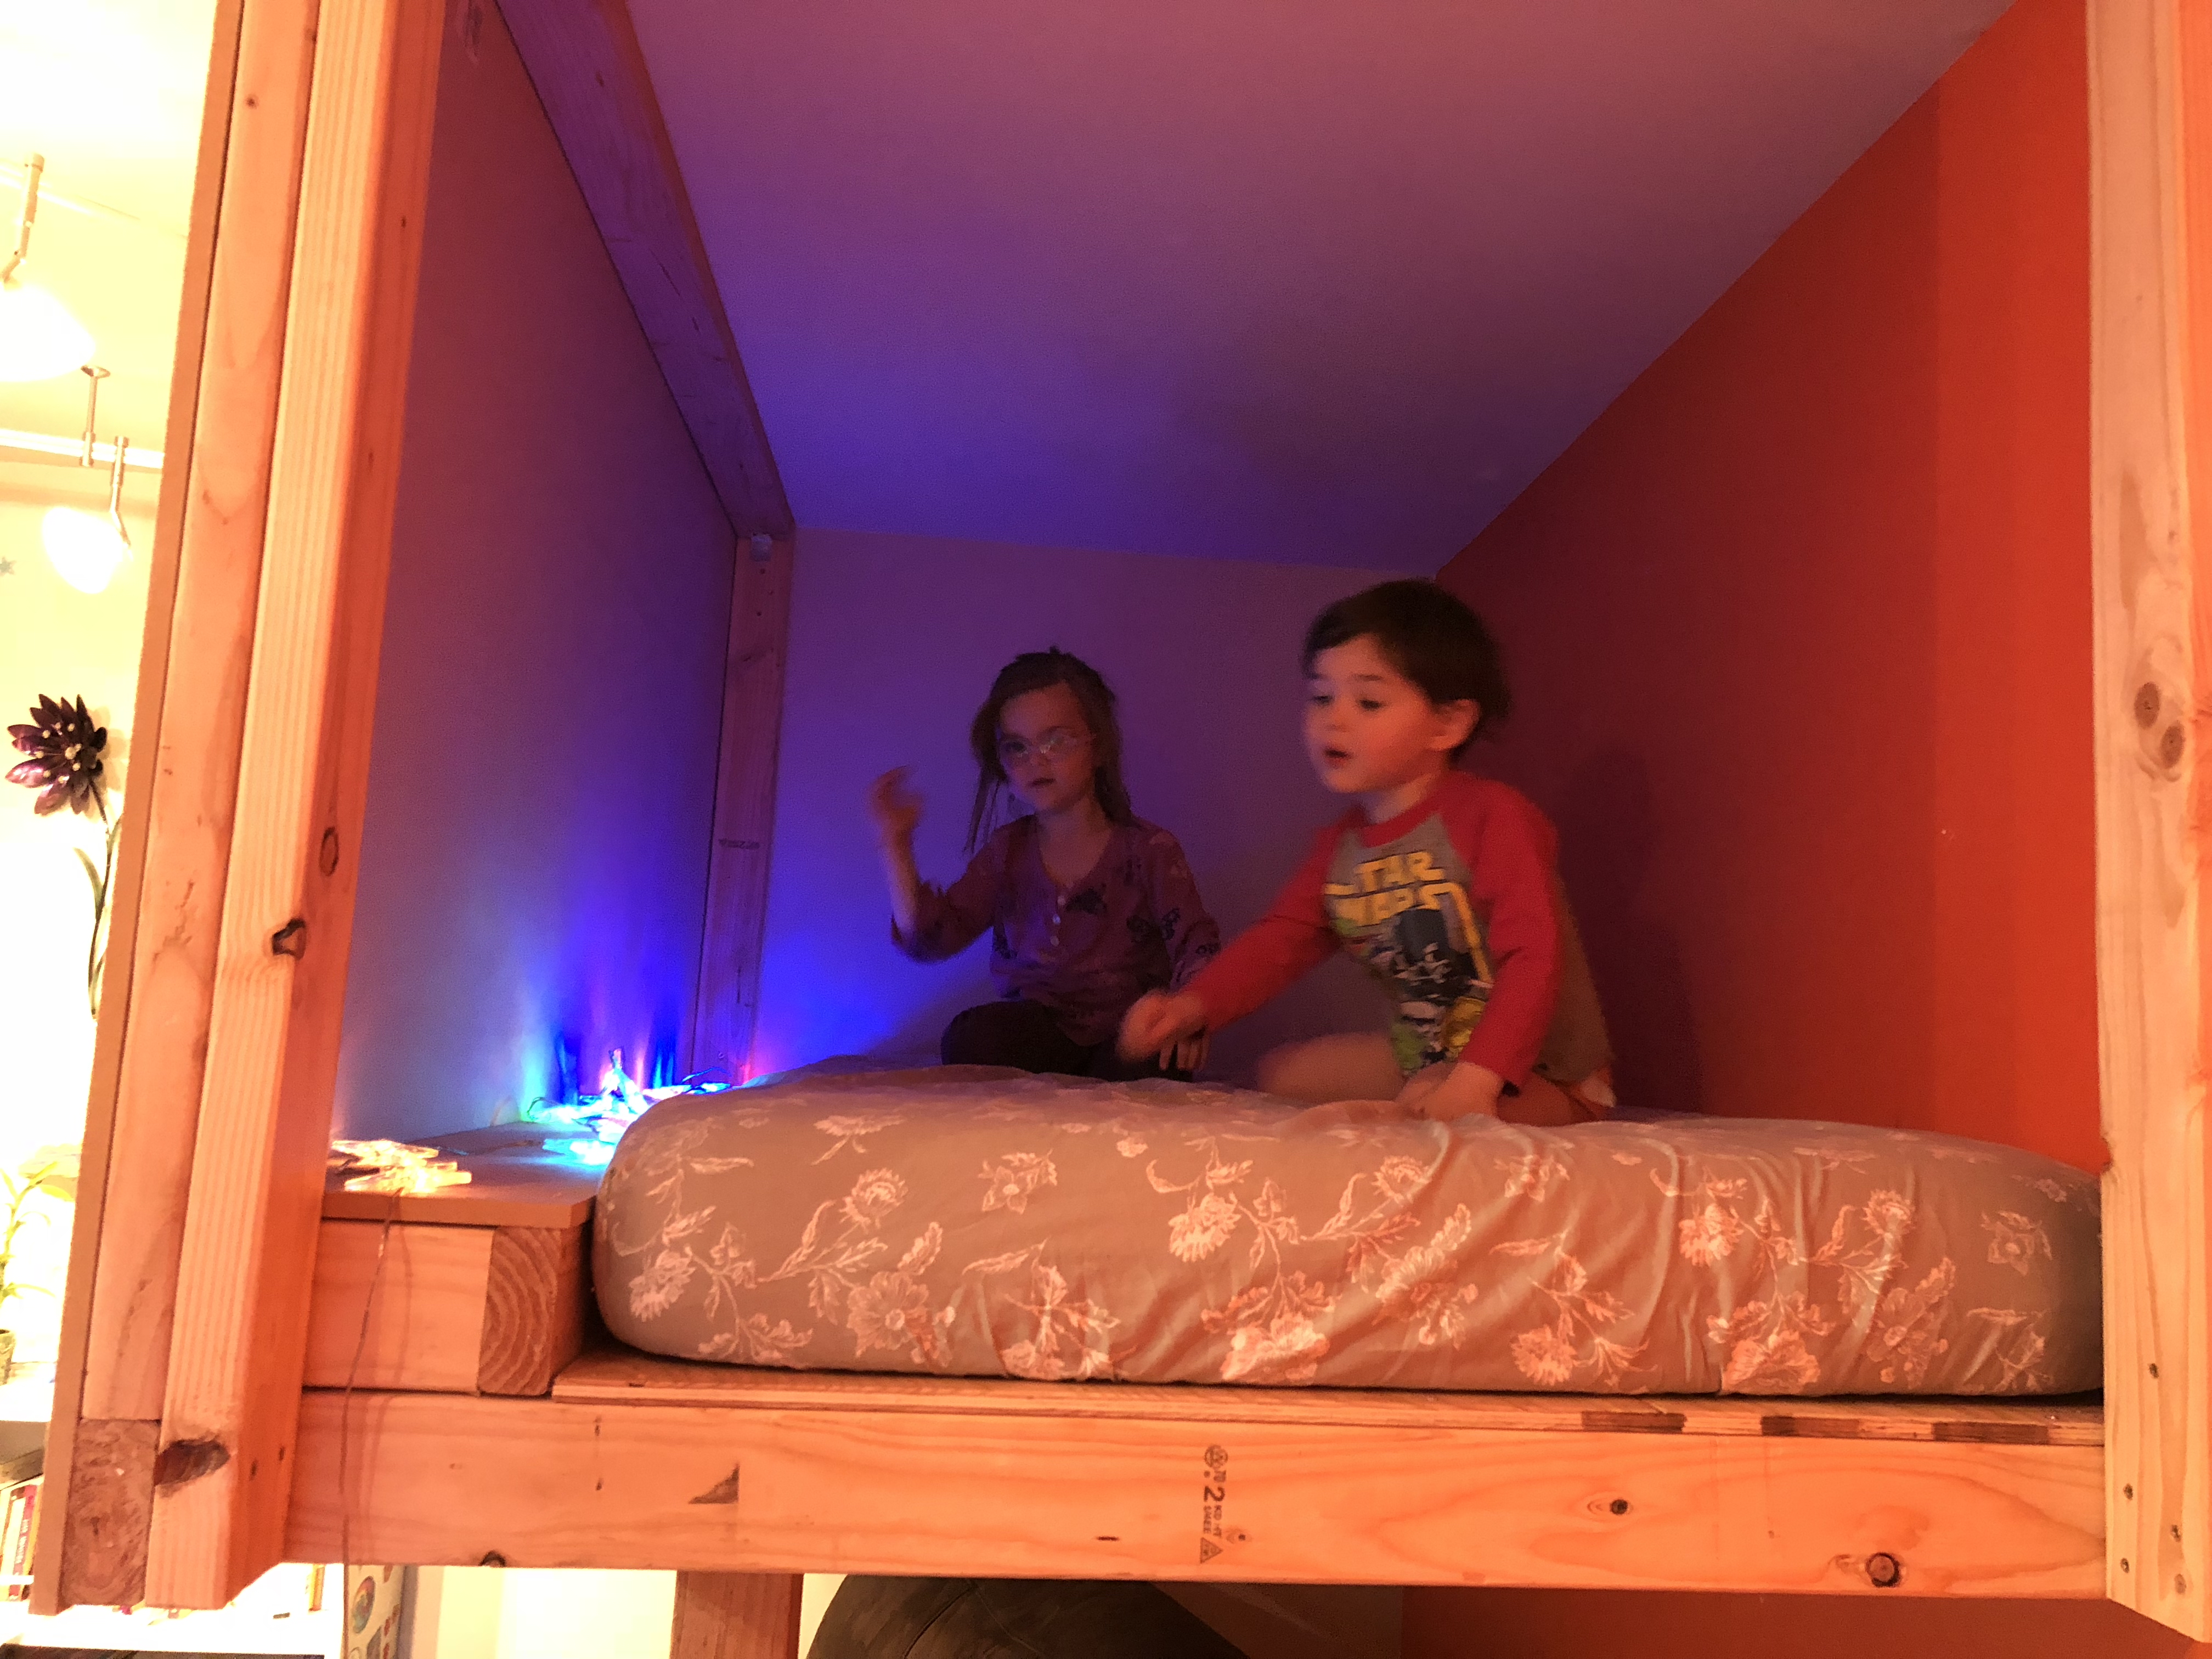
Thanks to the up front preparation, all the construction was done in a single day. Measure twice, cut once. It’s real.
Thanks for following along! Stay tuned for part 3 in which it starts looking more like a treehouse than a box.