This is post 2 of 3 covering how I built a loft bed for my daughter.
Picking up where we left off last time, and putting the finishing touches on
Painting
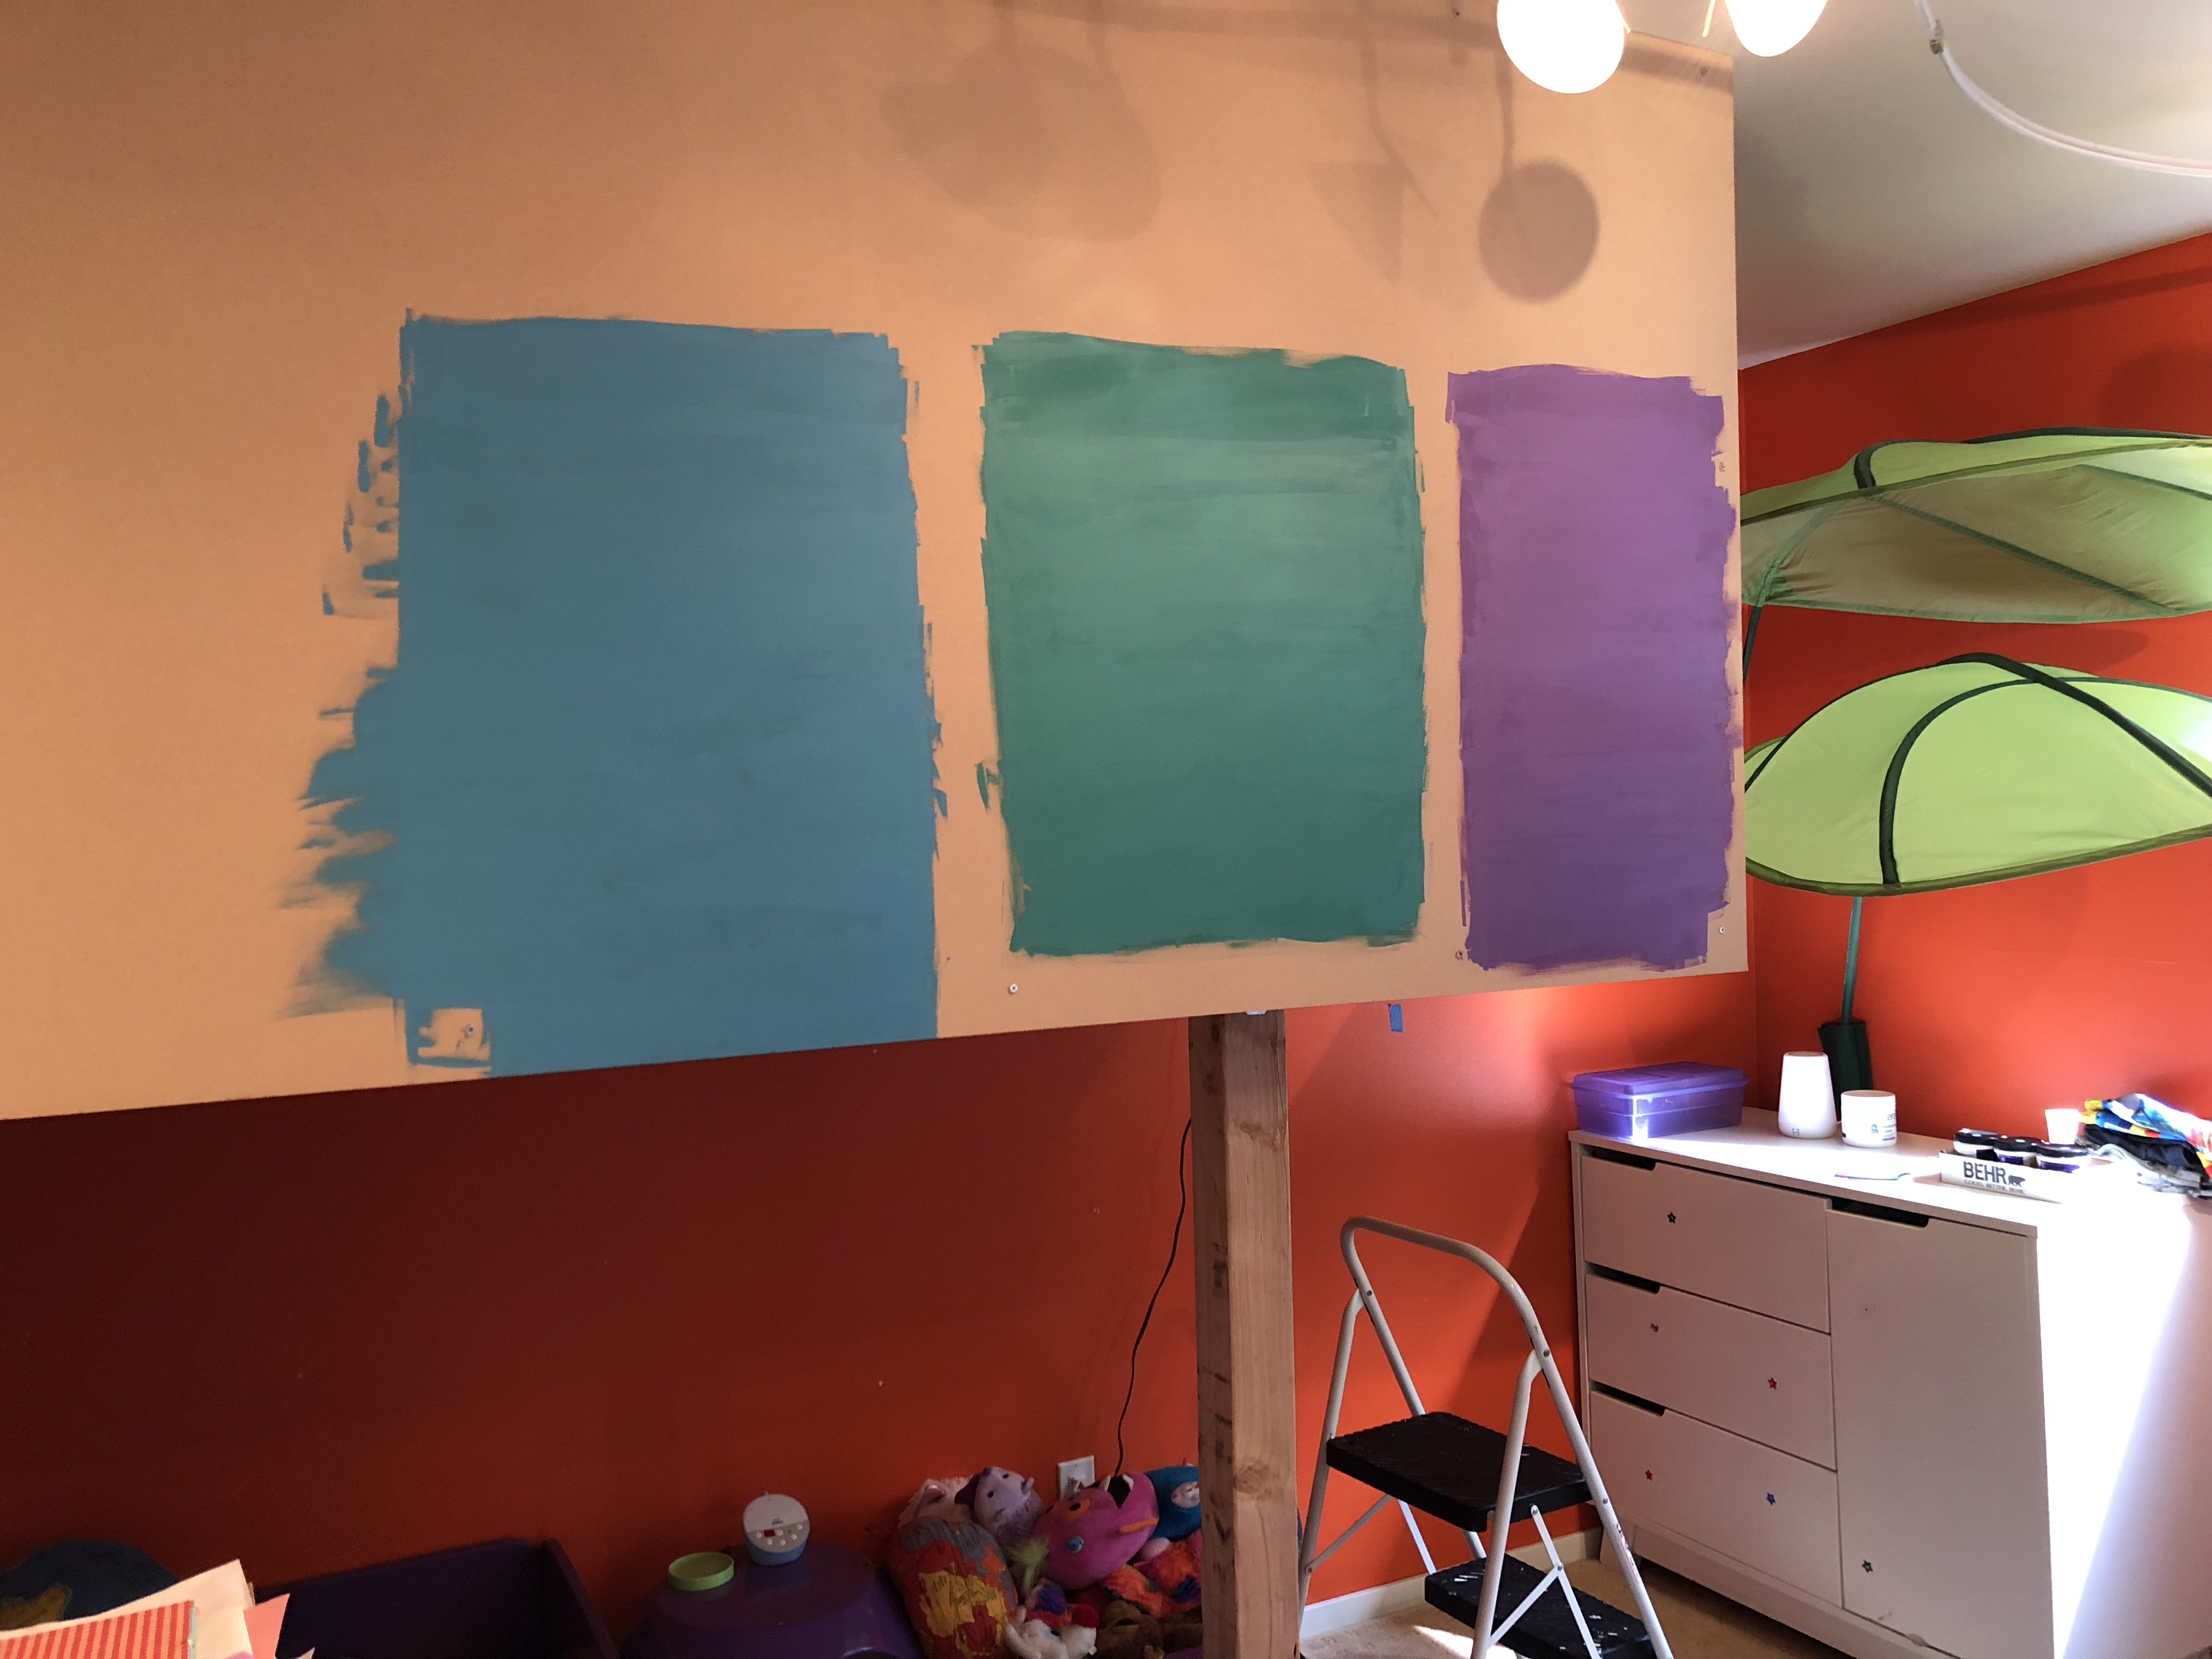
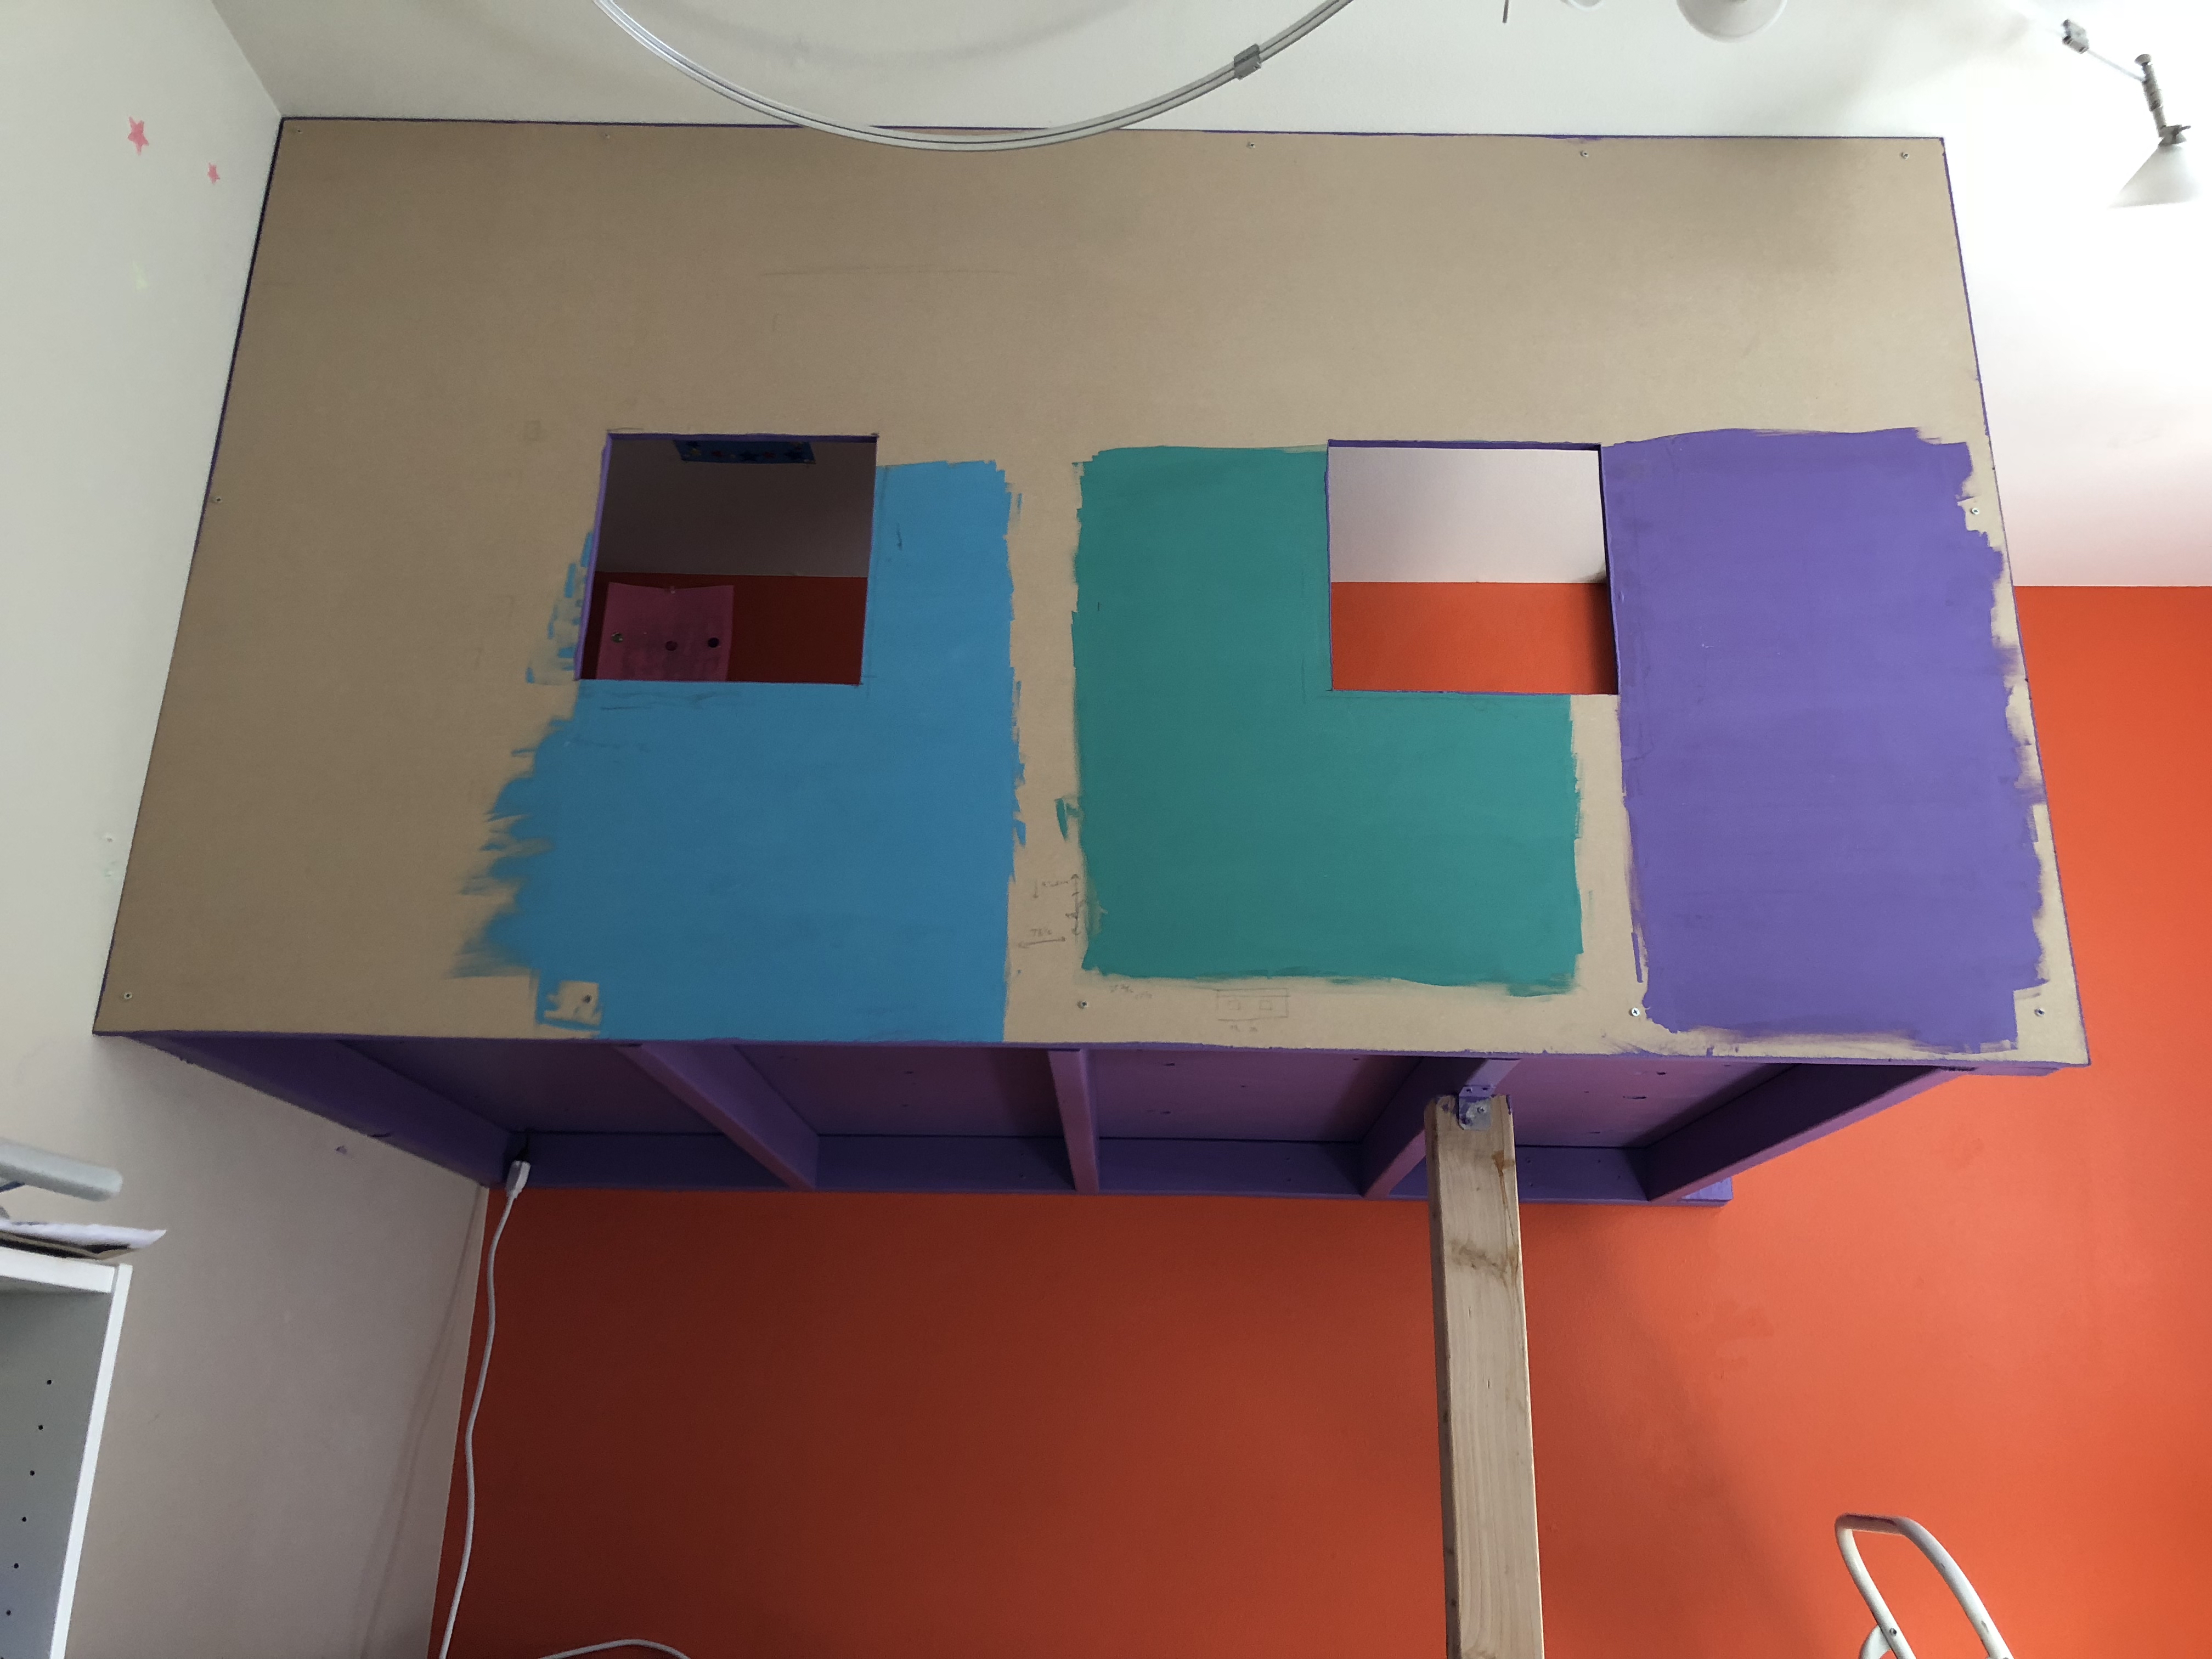
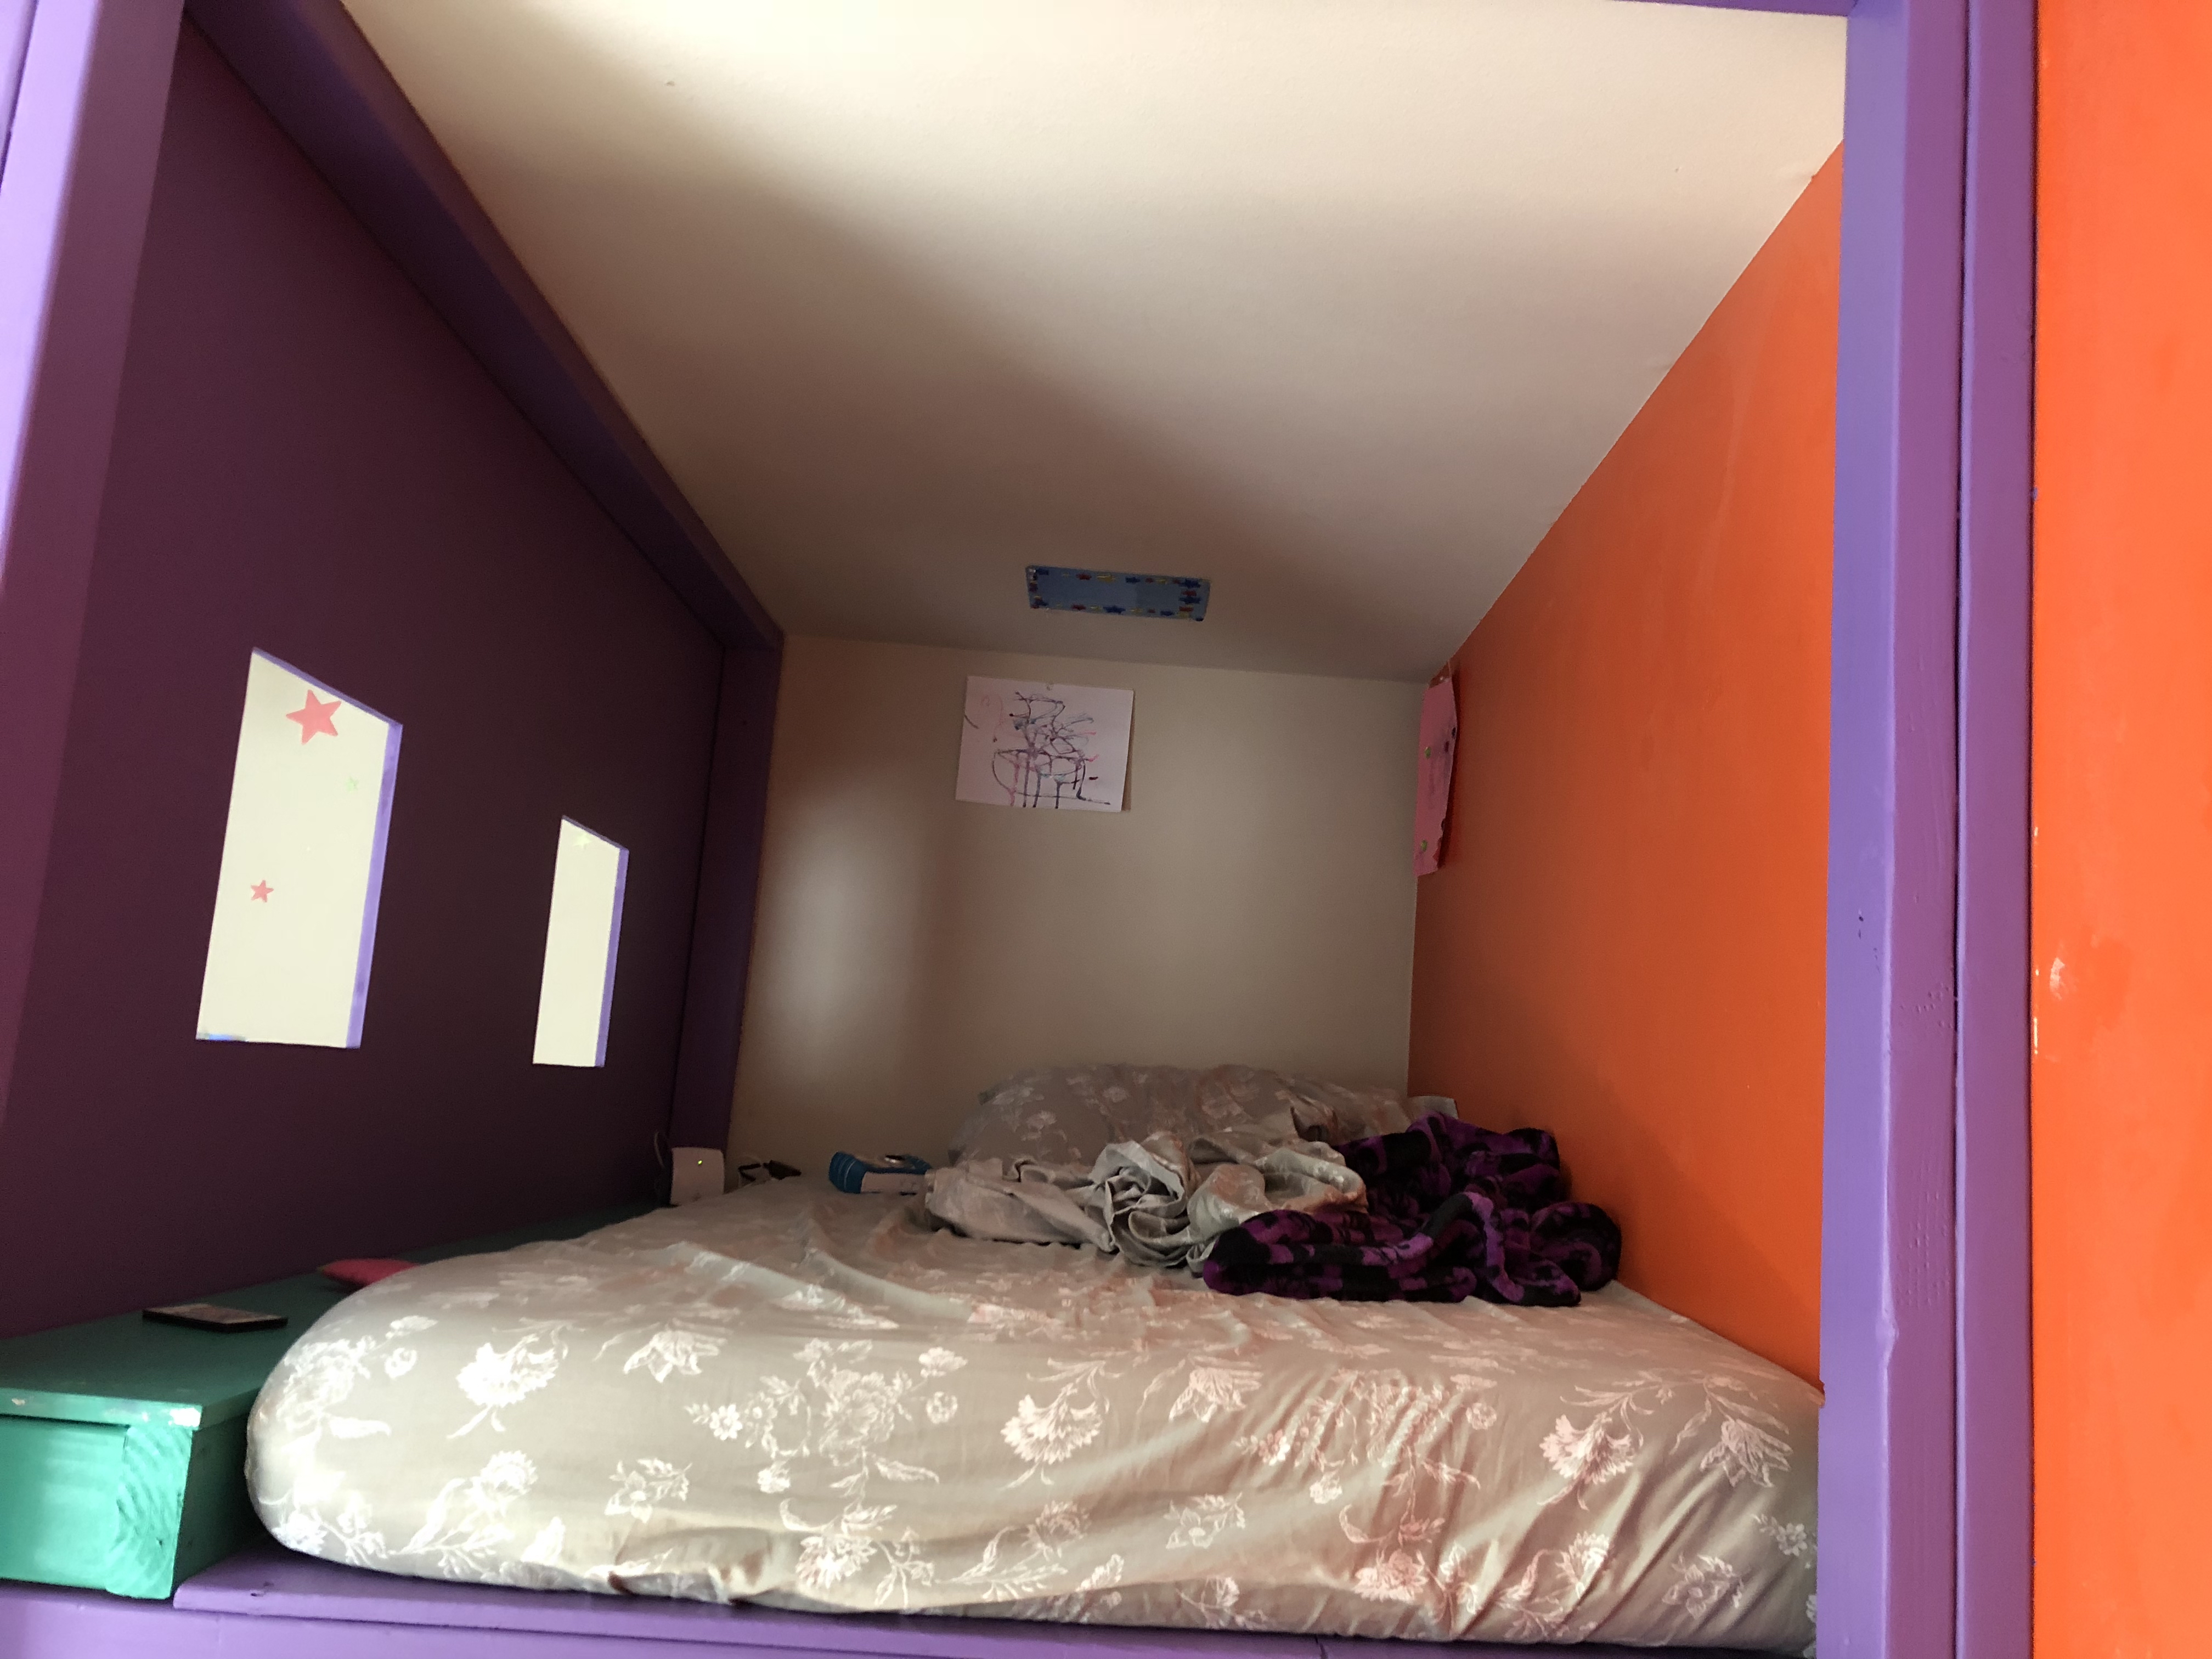
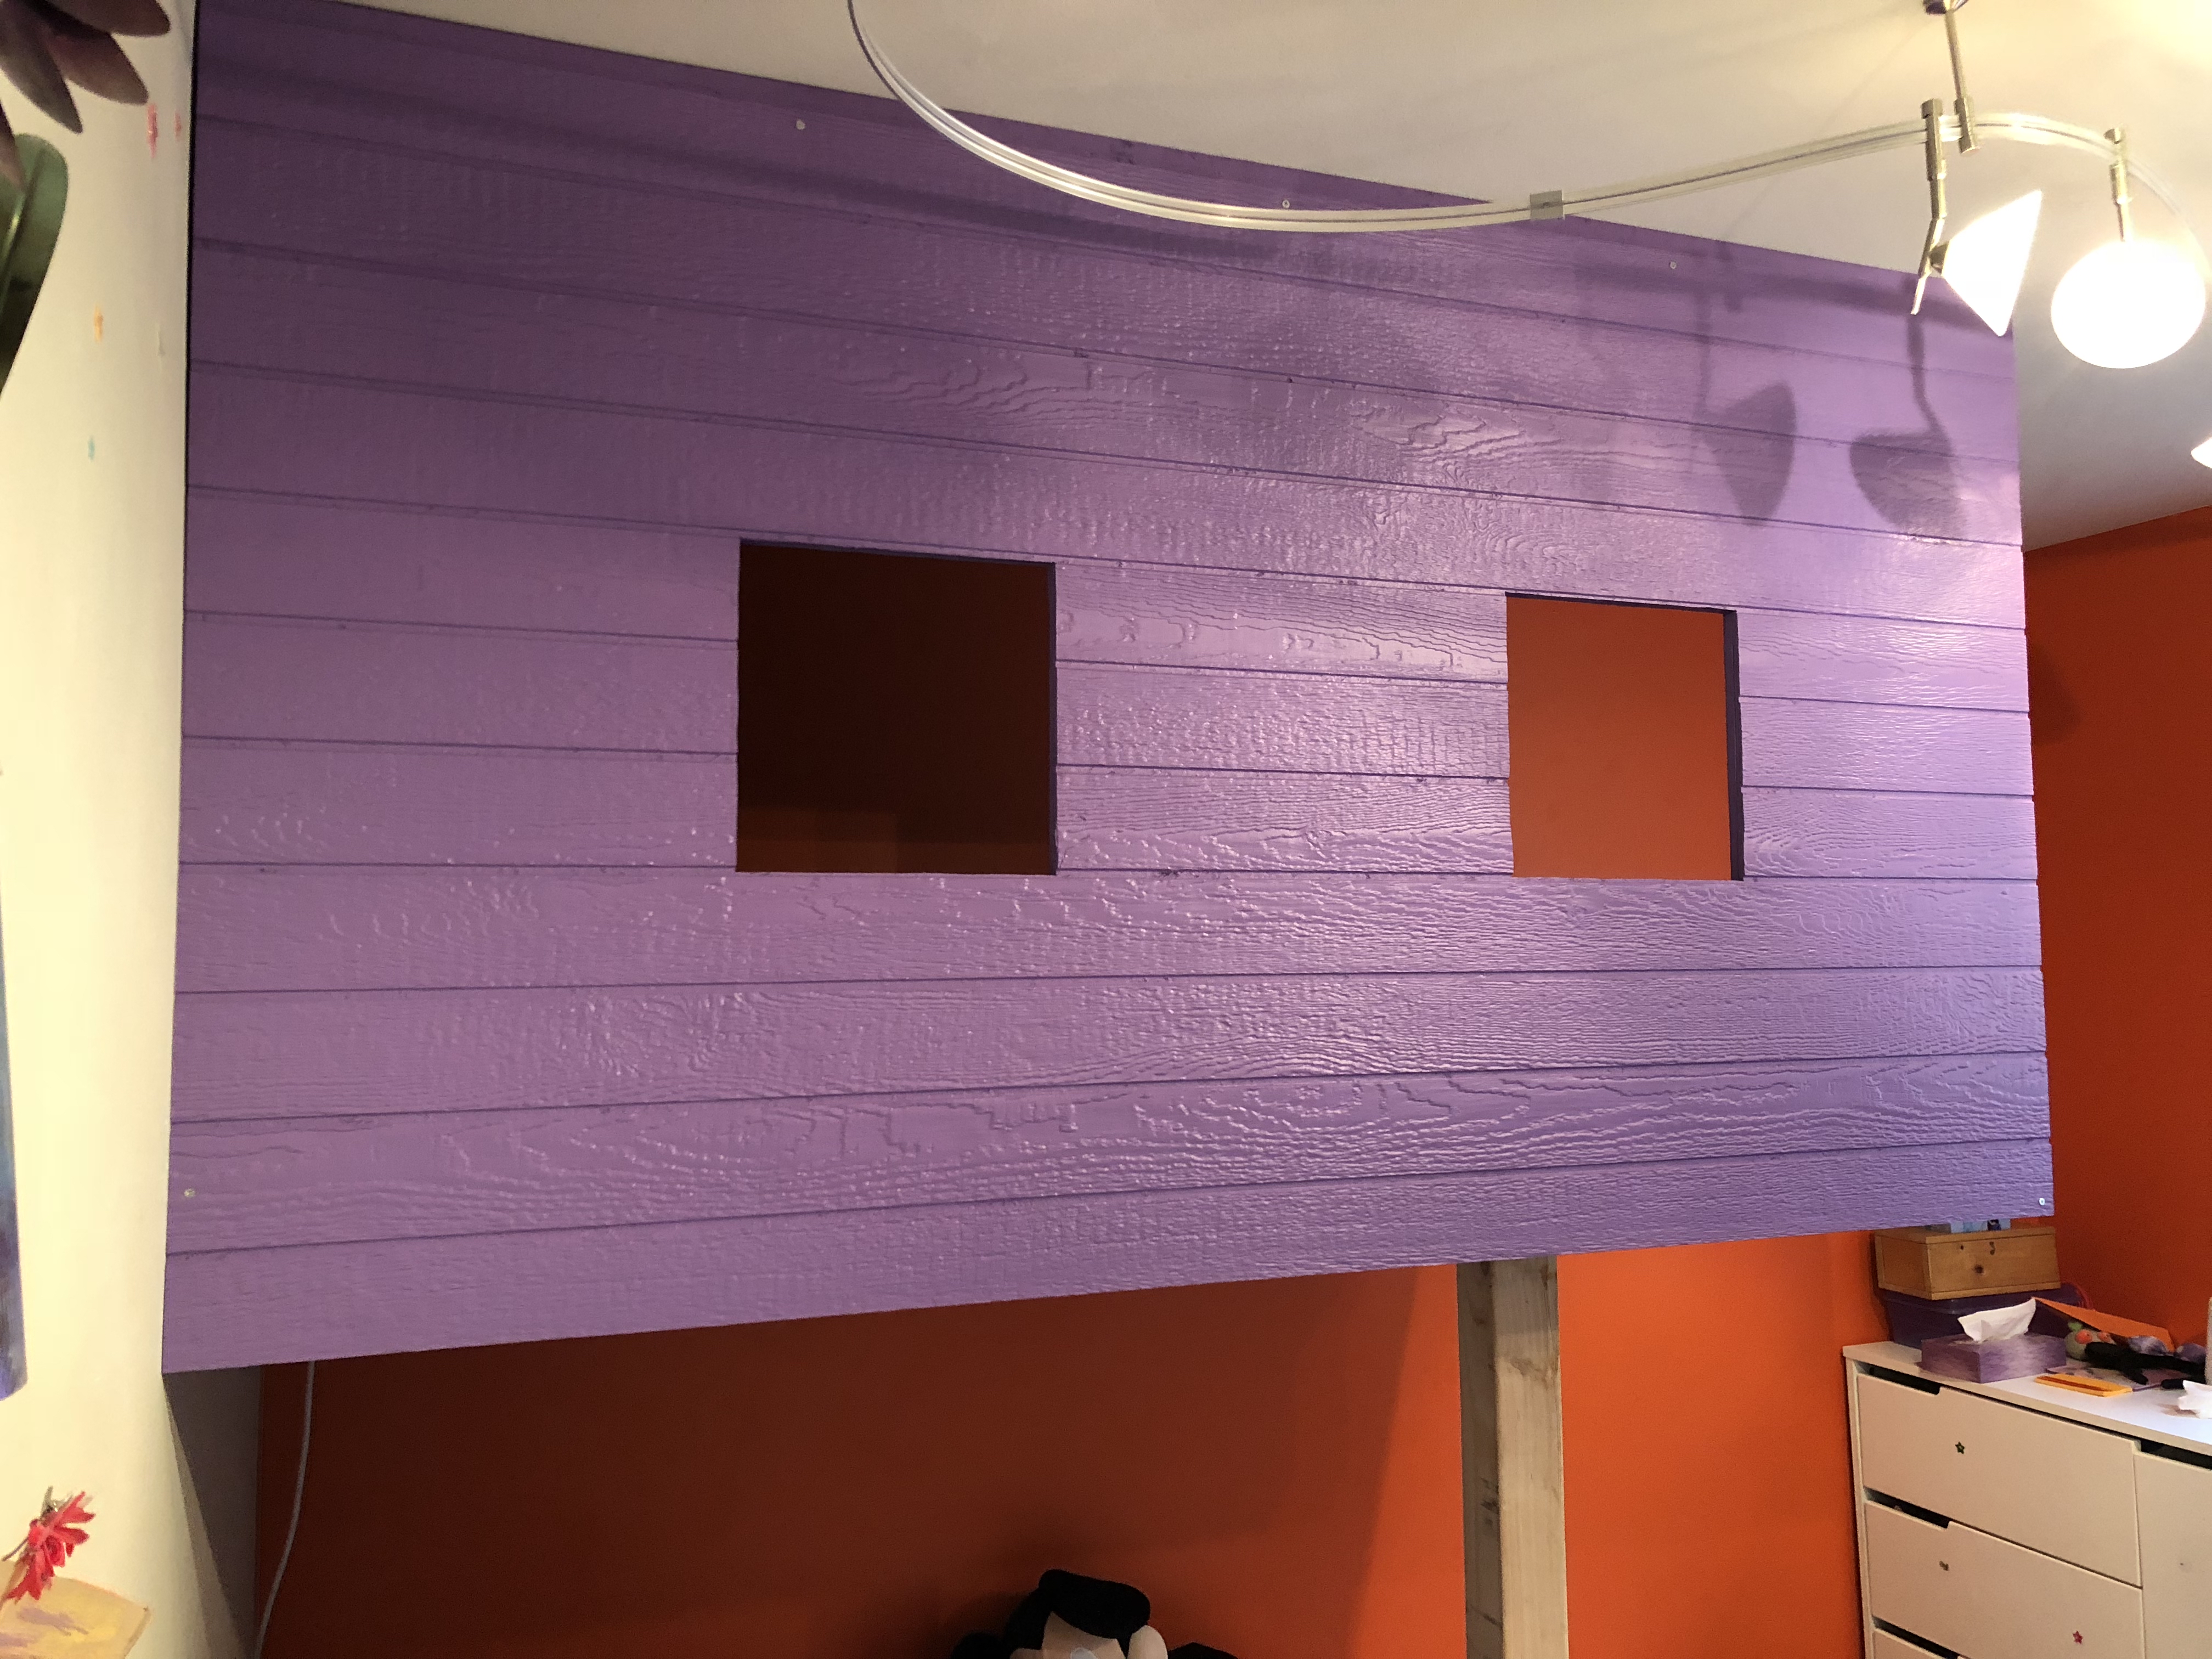
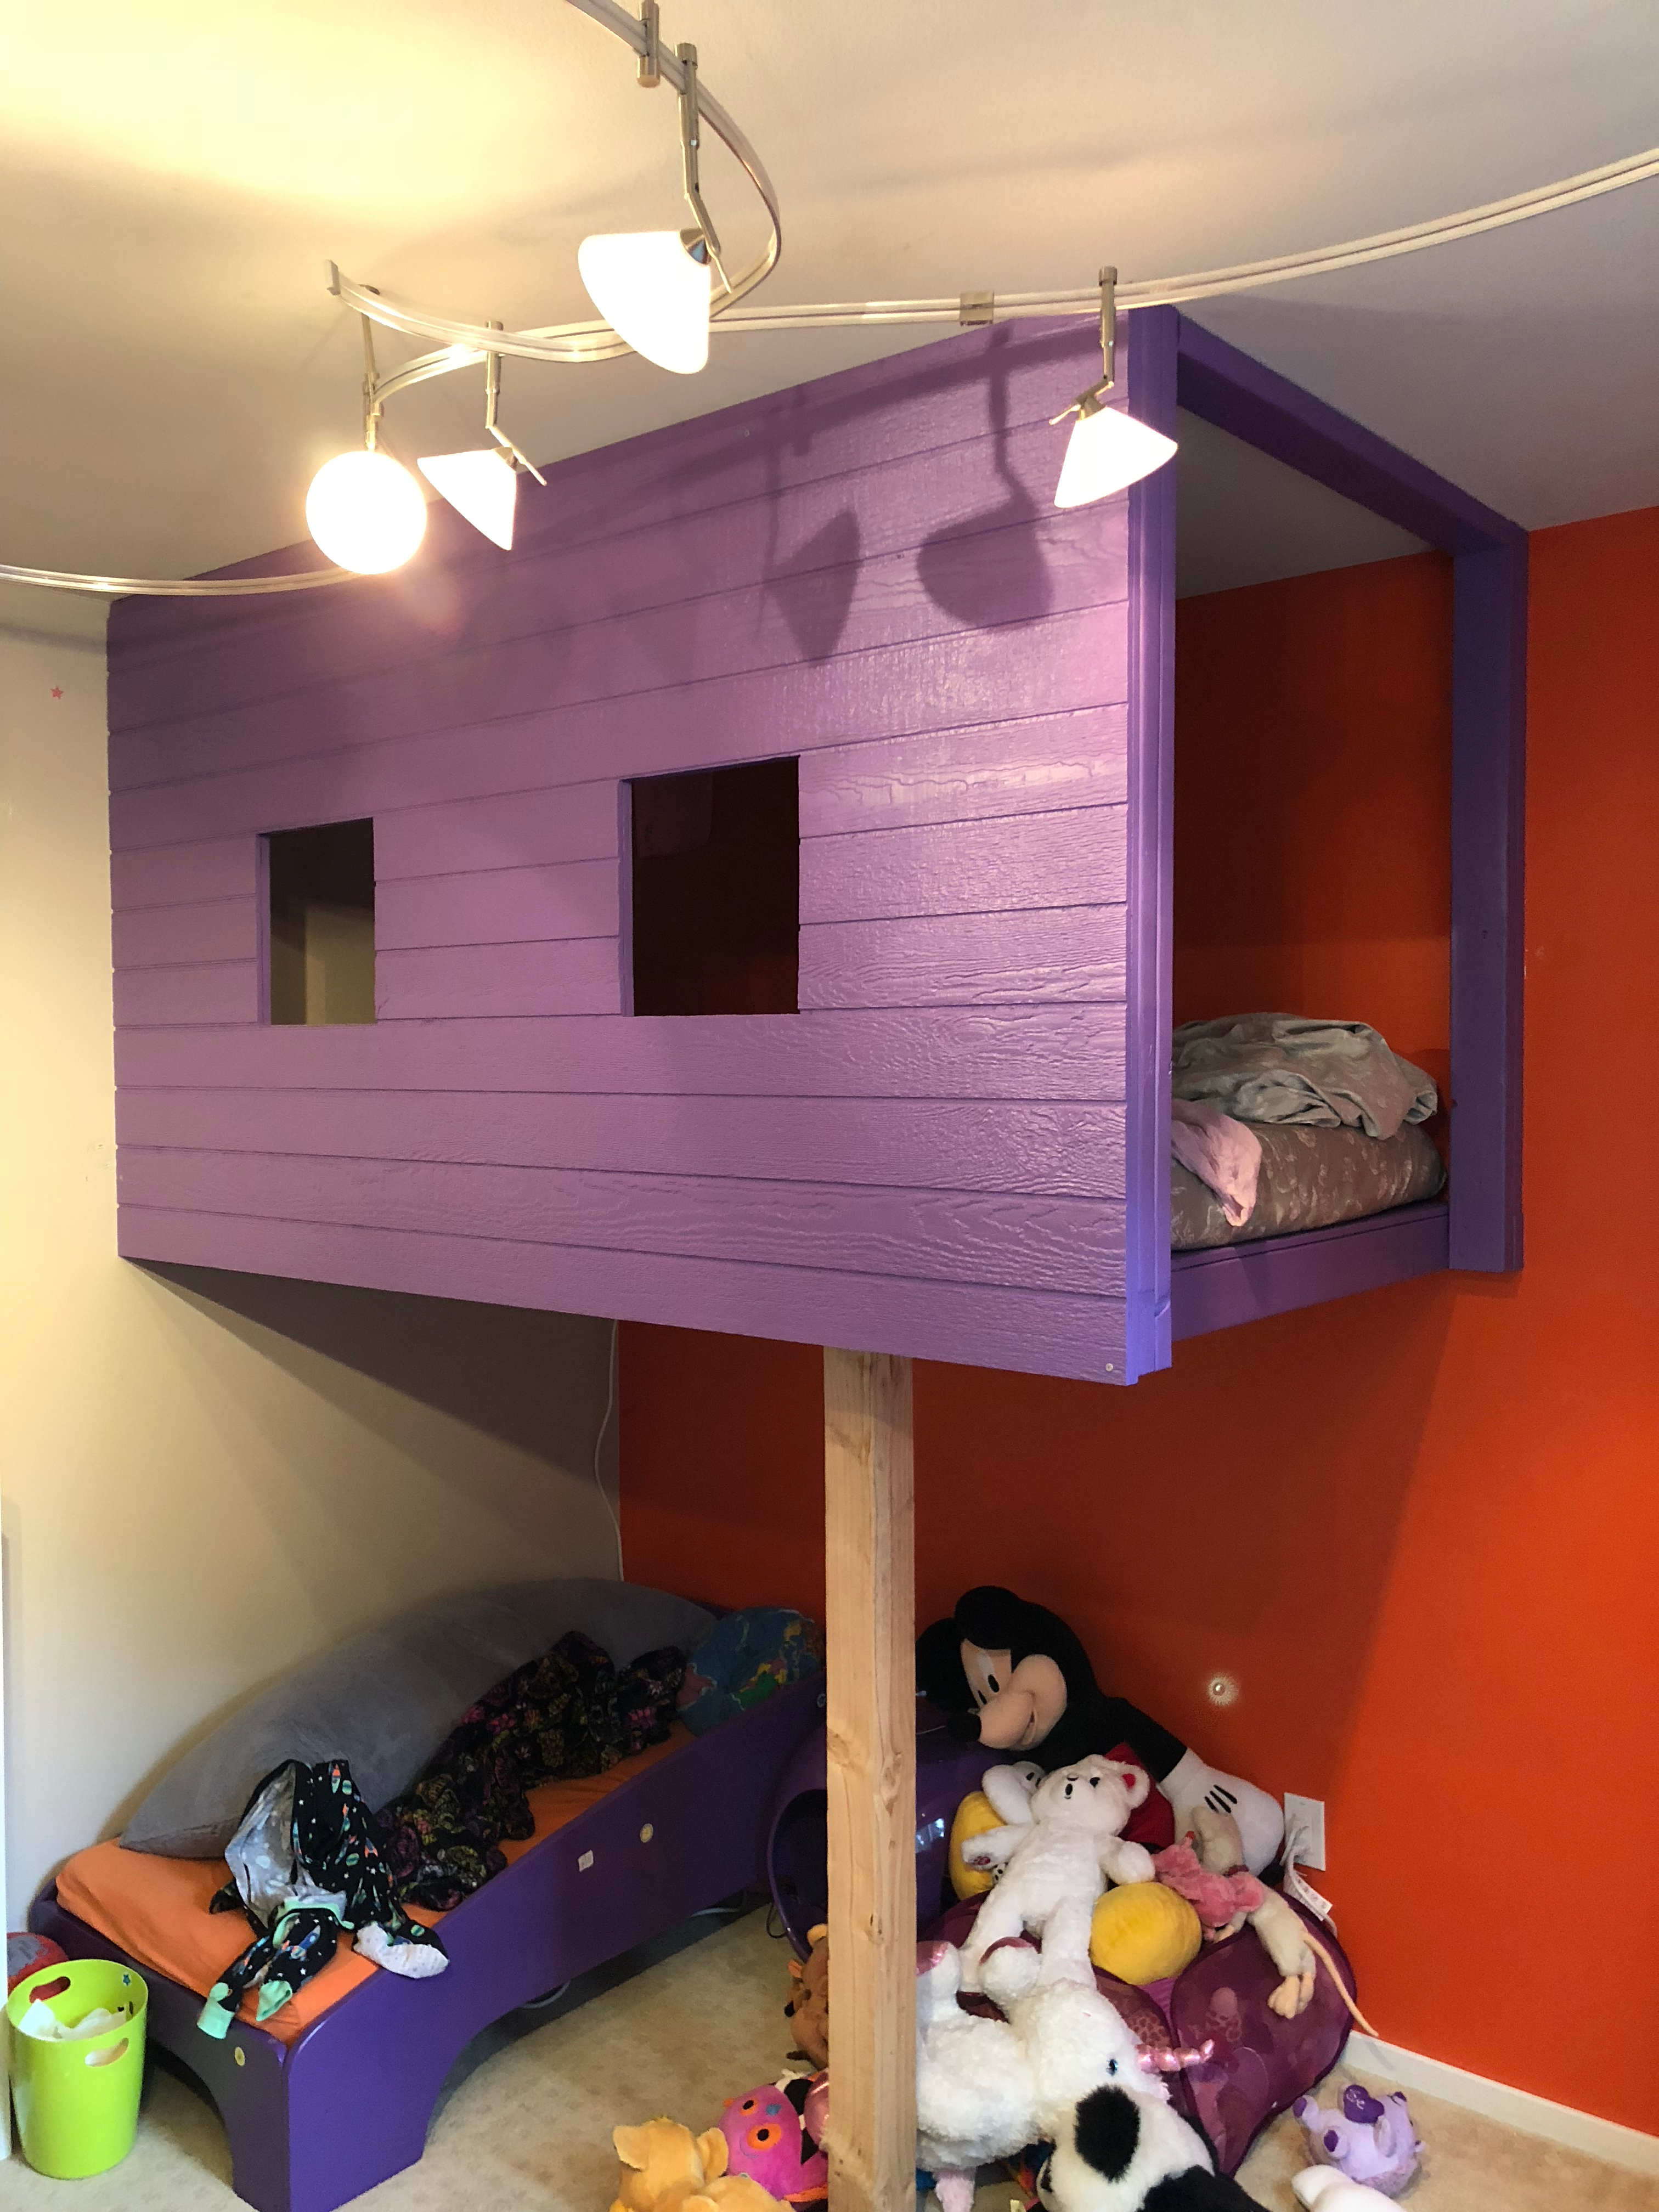
Over the next several weeks, our daughter used a paint chip book to select three potential colors for the tree house. We got small testers of each color, in eggshell for ease of cleaning, and together she and I painted sample regions on the MDF. After it dried, she chose the purple for the main color and the turquoise (in high gloss) for the window trim and shelf.
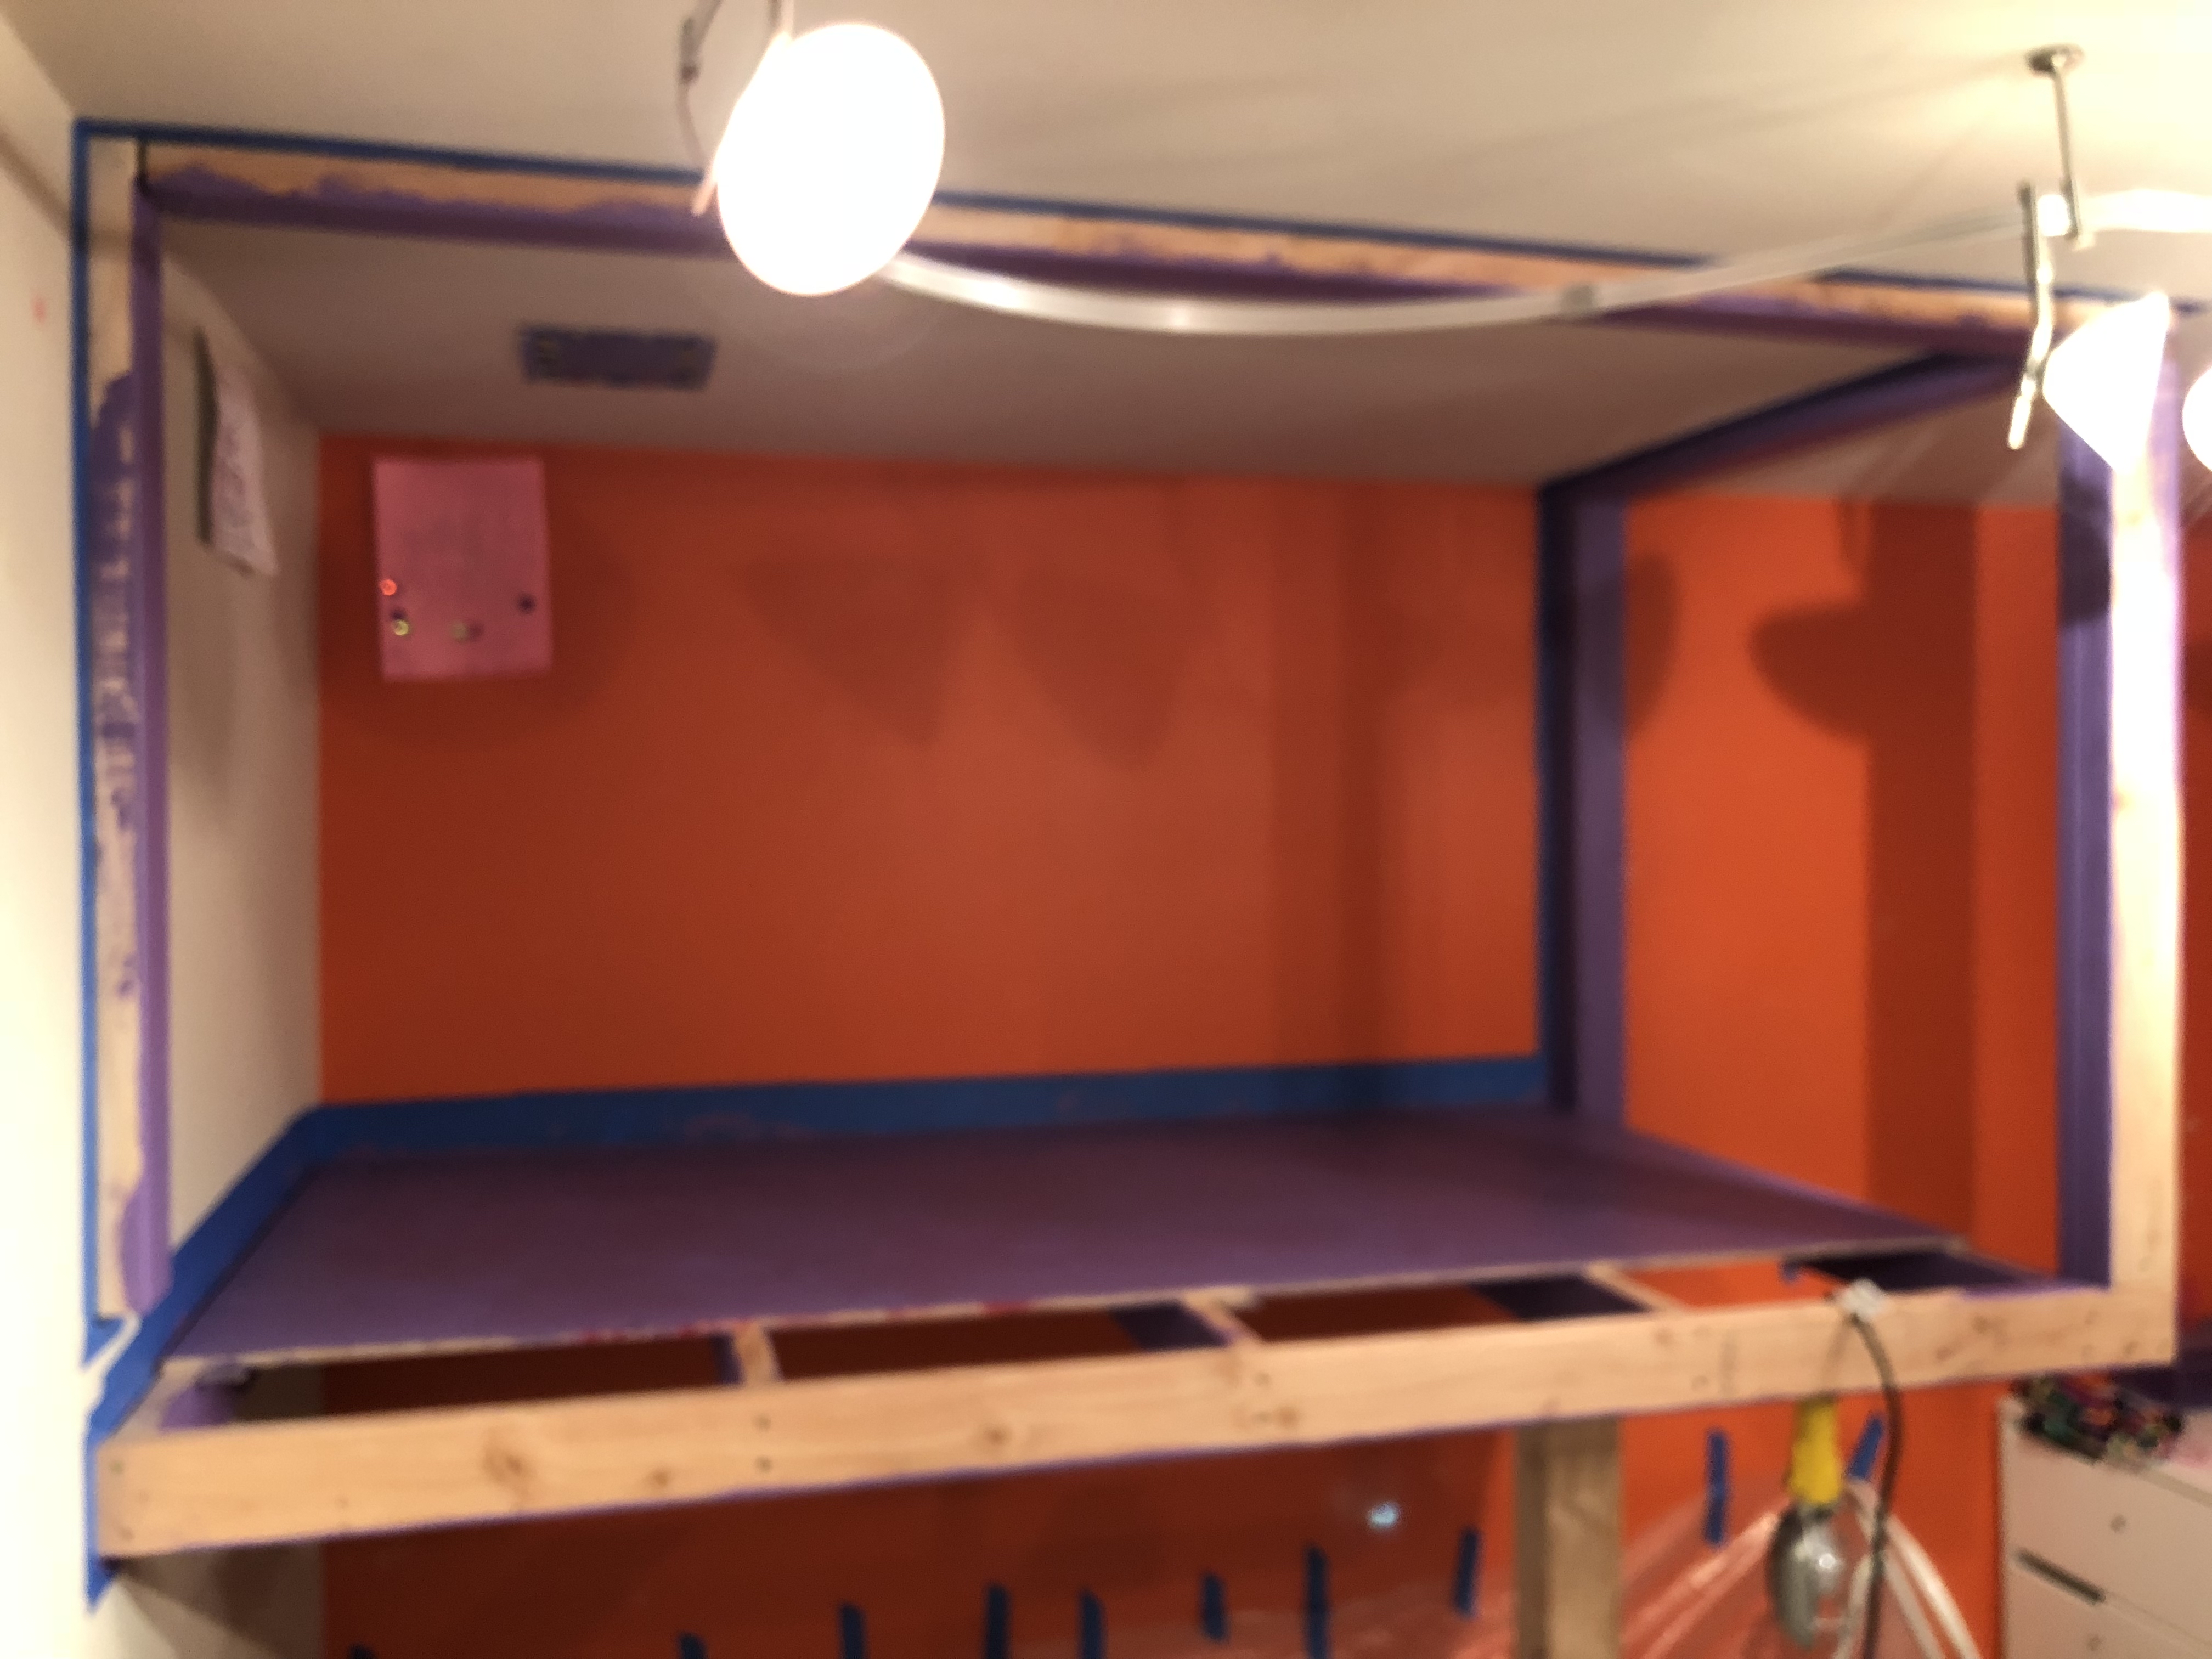
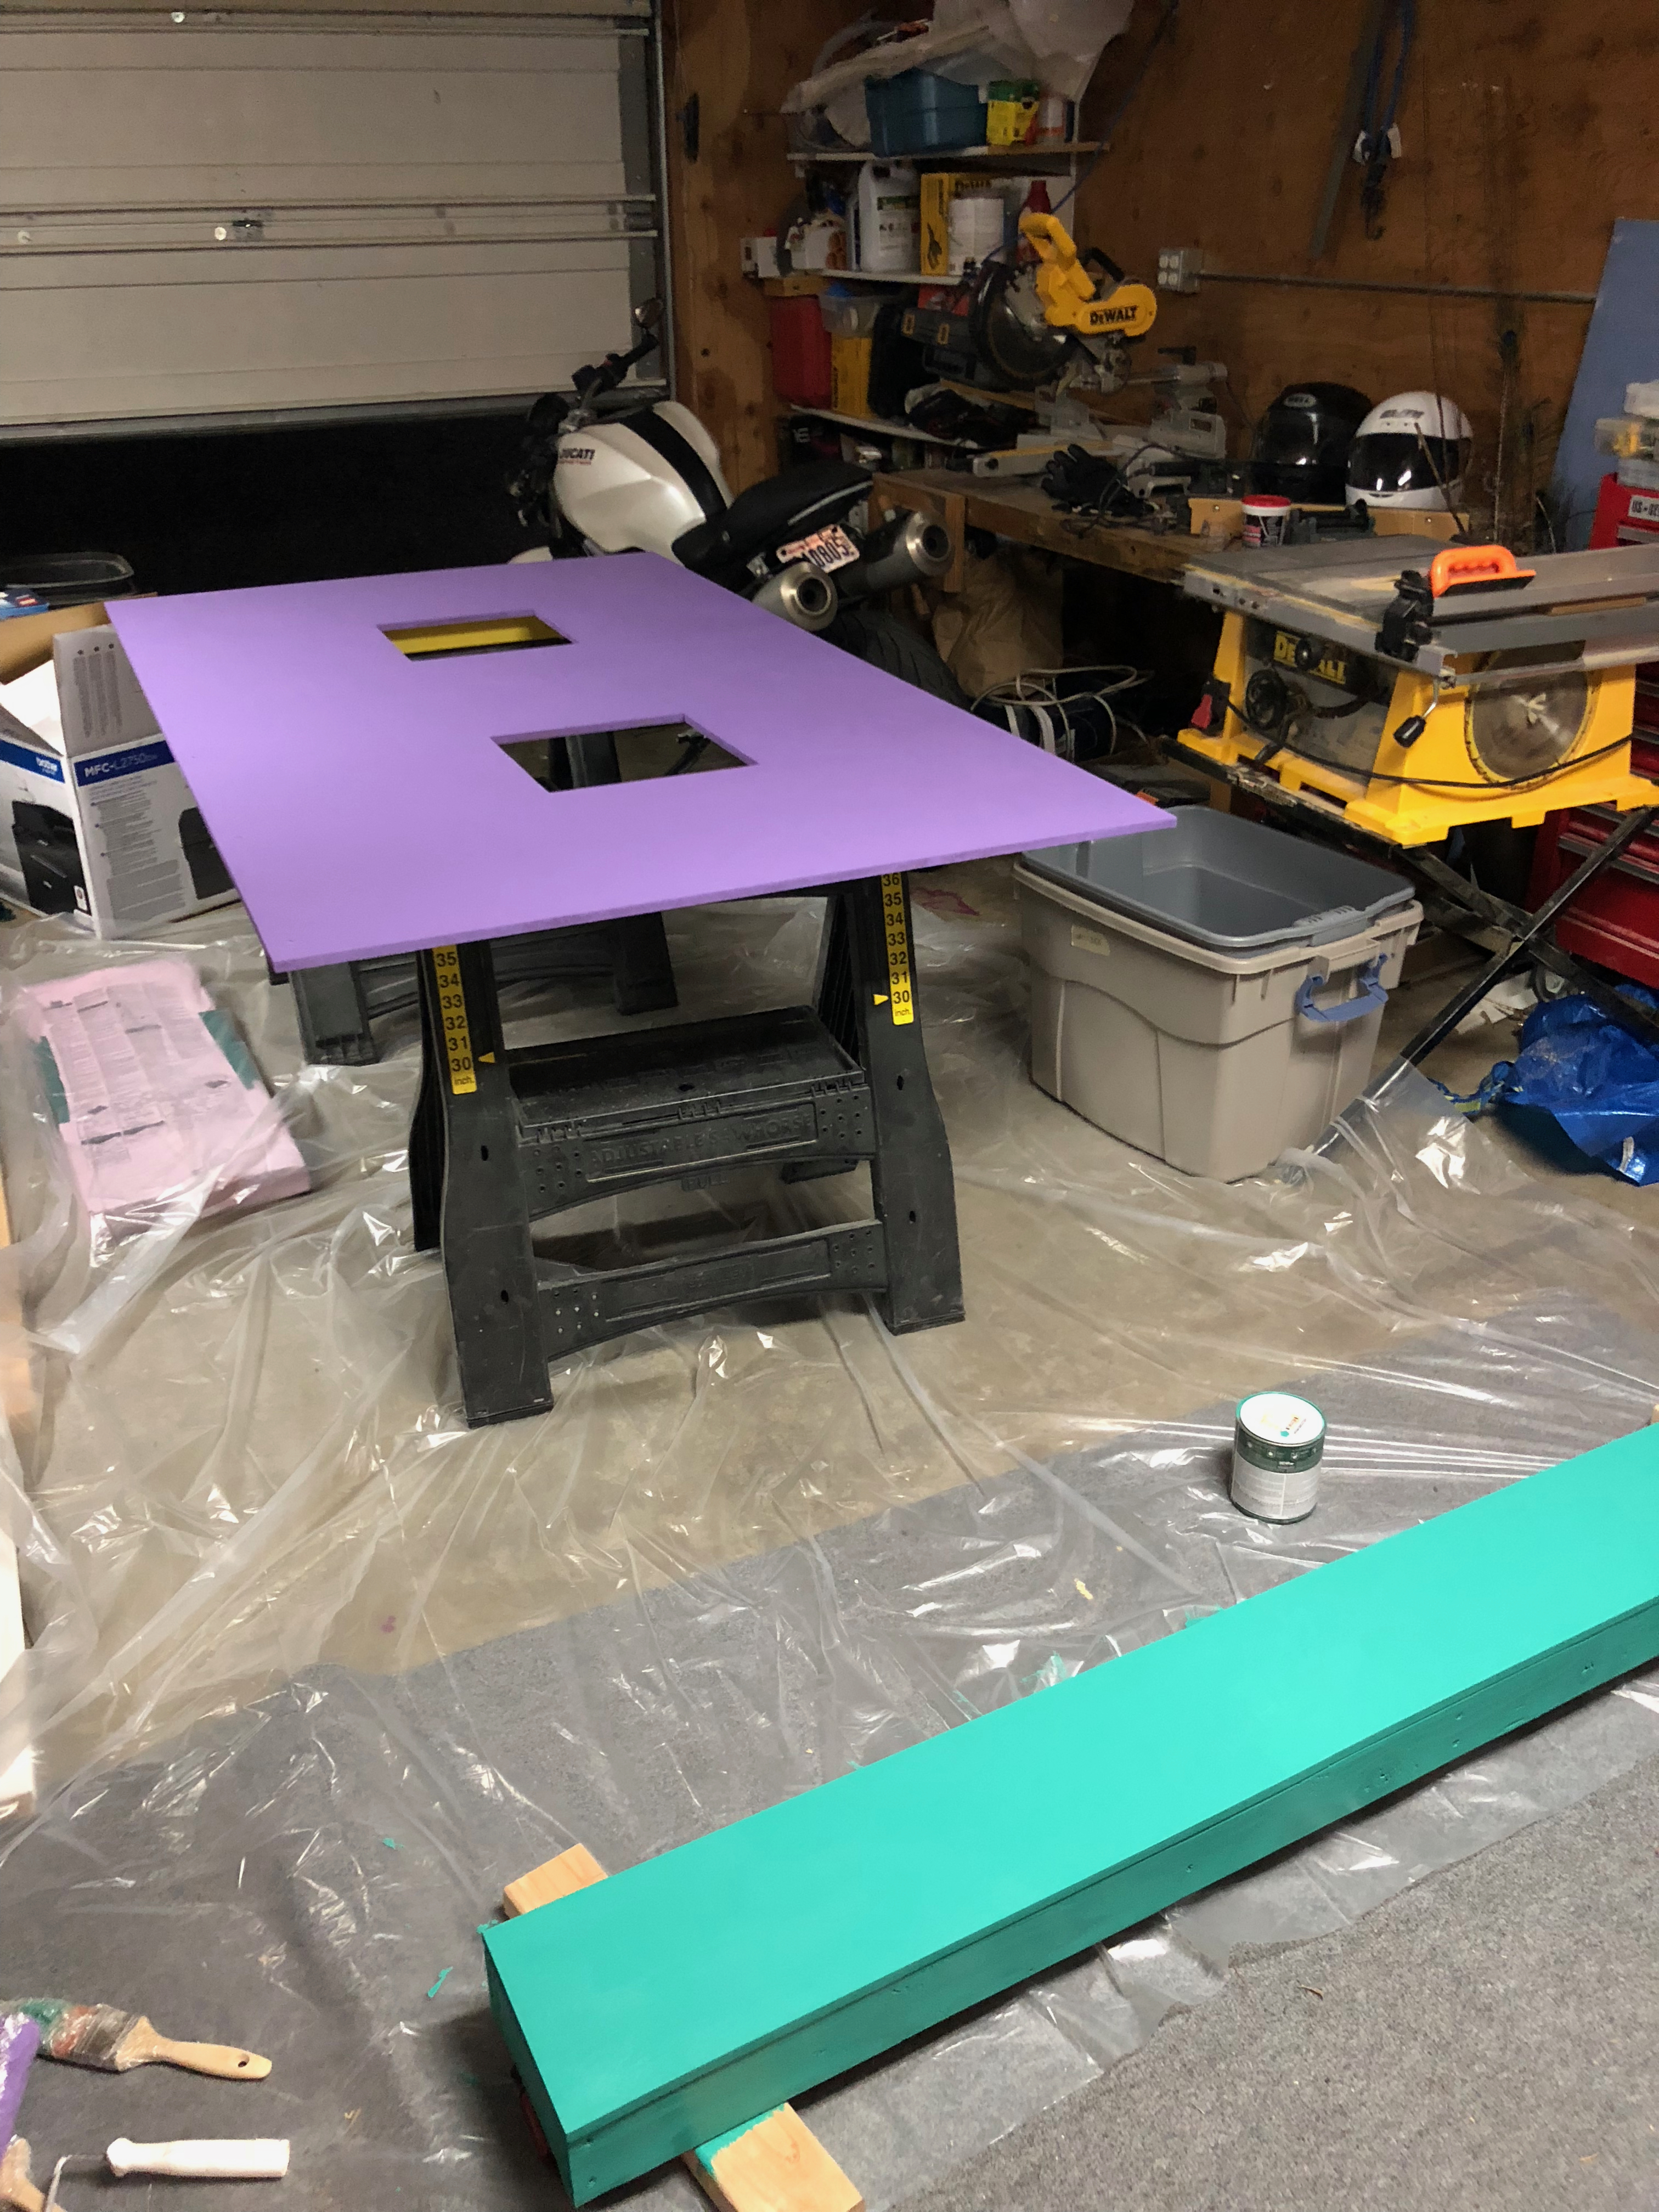
We knew we wanted the paint to cure for as long as possible before putting the mattress onto it, so we waited a few weeks to overlap the curing time with a family vacation out of town. The day before we left, we moved the kids into another bedroom, took off the tree house wall, and removed the shelf. Drop cloths were laid down, and painters tape was applied to the walls and ceiling. We then cut window holes in the MDF wall and plywood siding outdoors to avoid getting sawdust in the air near the paint. After dark, I frantically painted two coats of our Behr primer/paint 2-in-1.
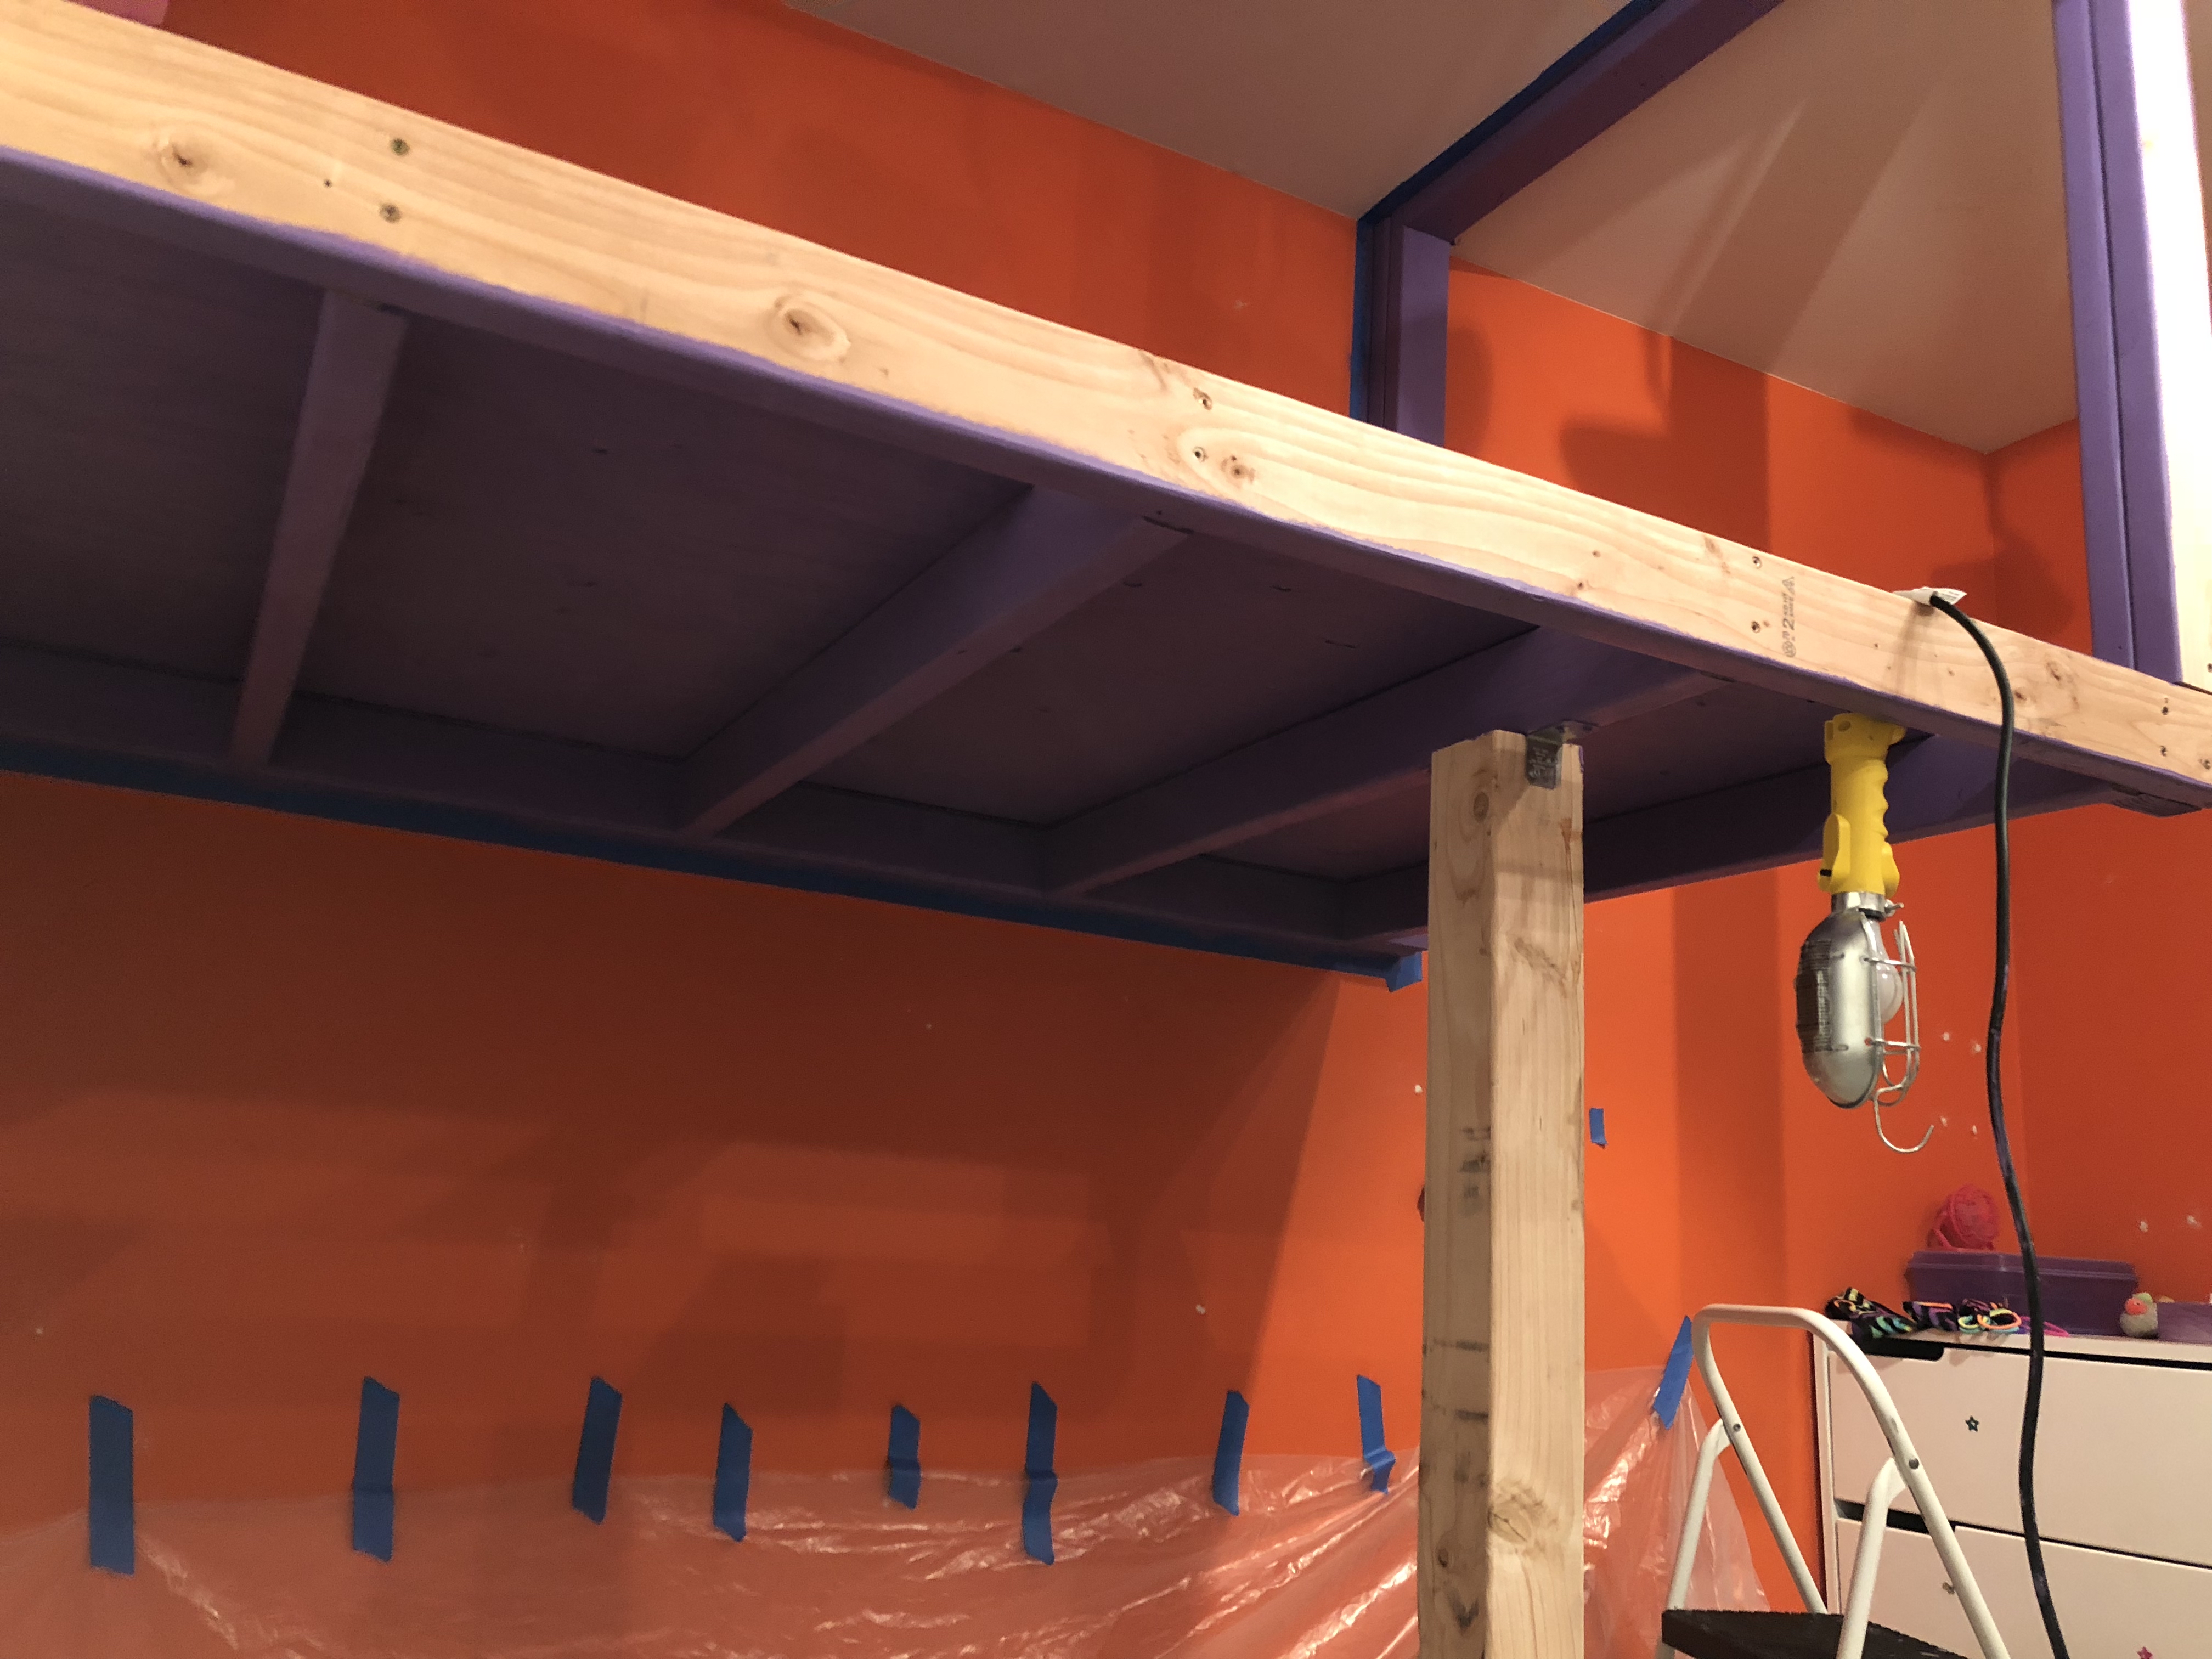
With the MDF out of the garage, I had the space to paint the plywood siding. A day later, voila. When we got back from the trip, the shelf was not quite done curing, but it was close enough that we decided to reassemble everything.
Getting in and out
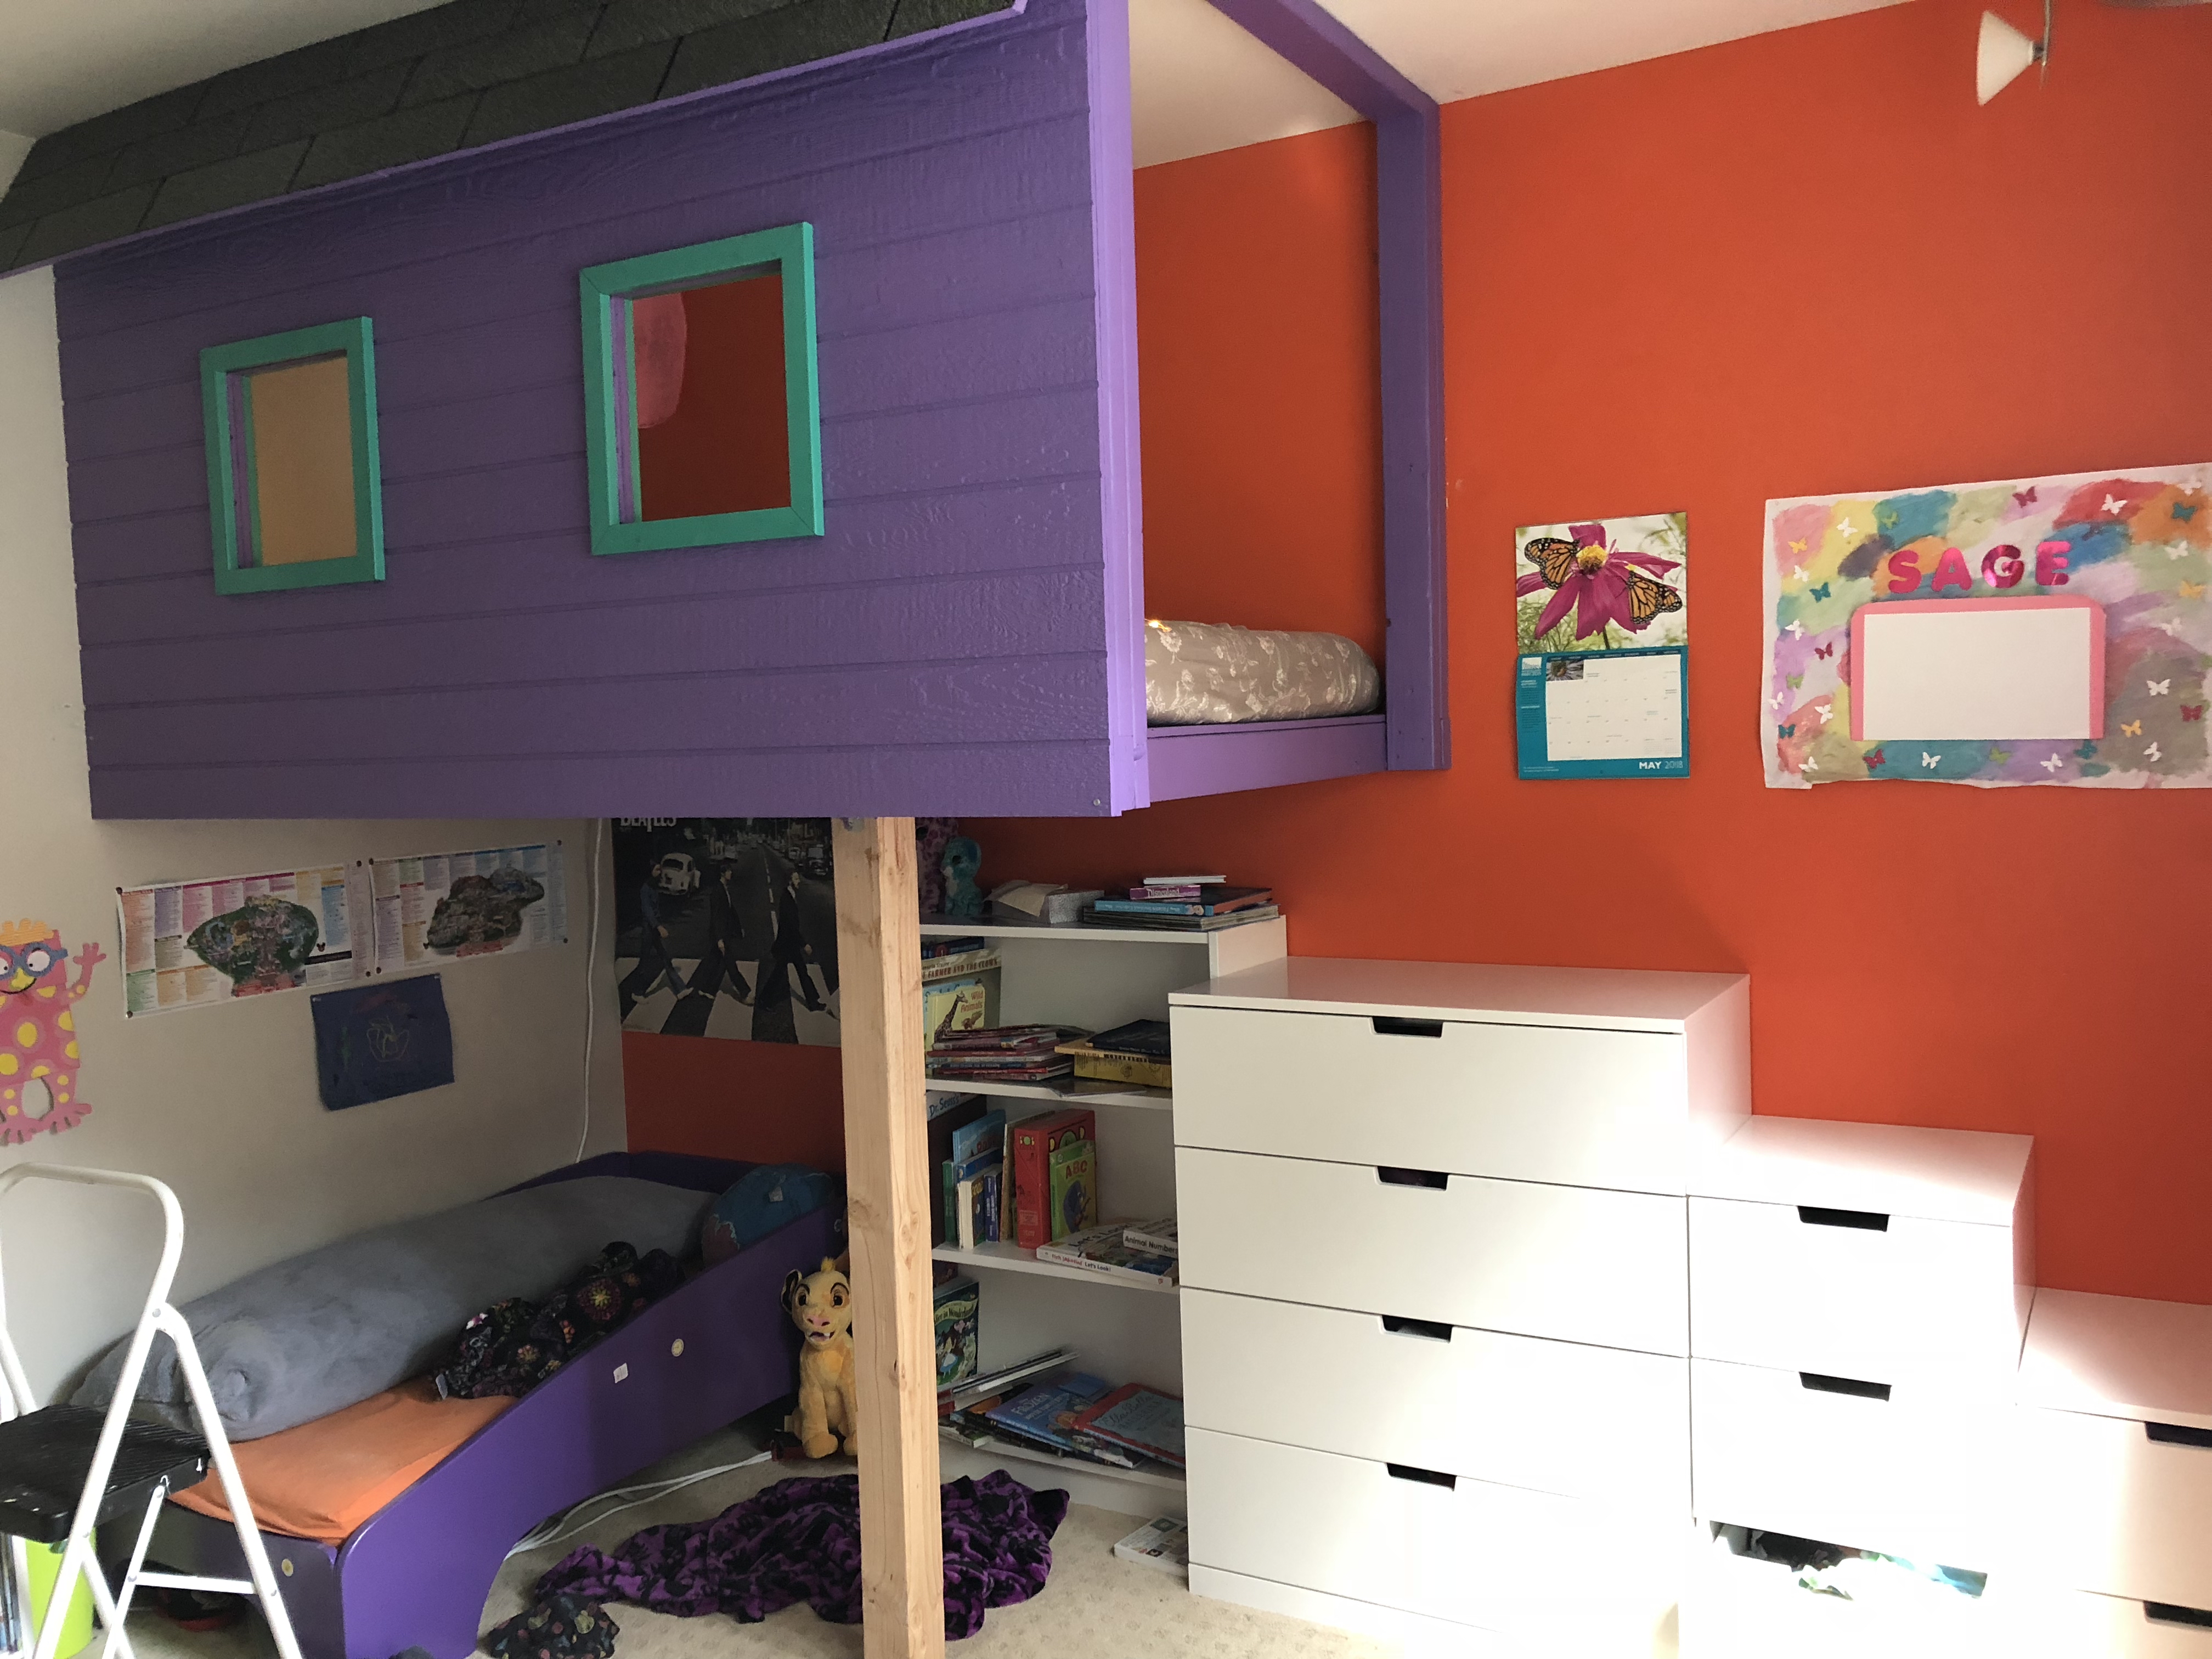
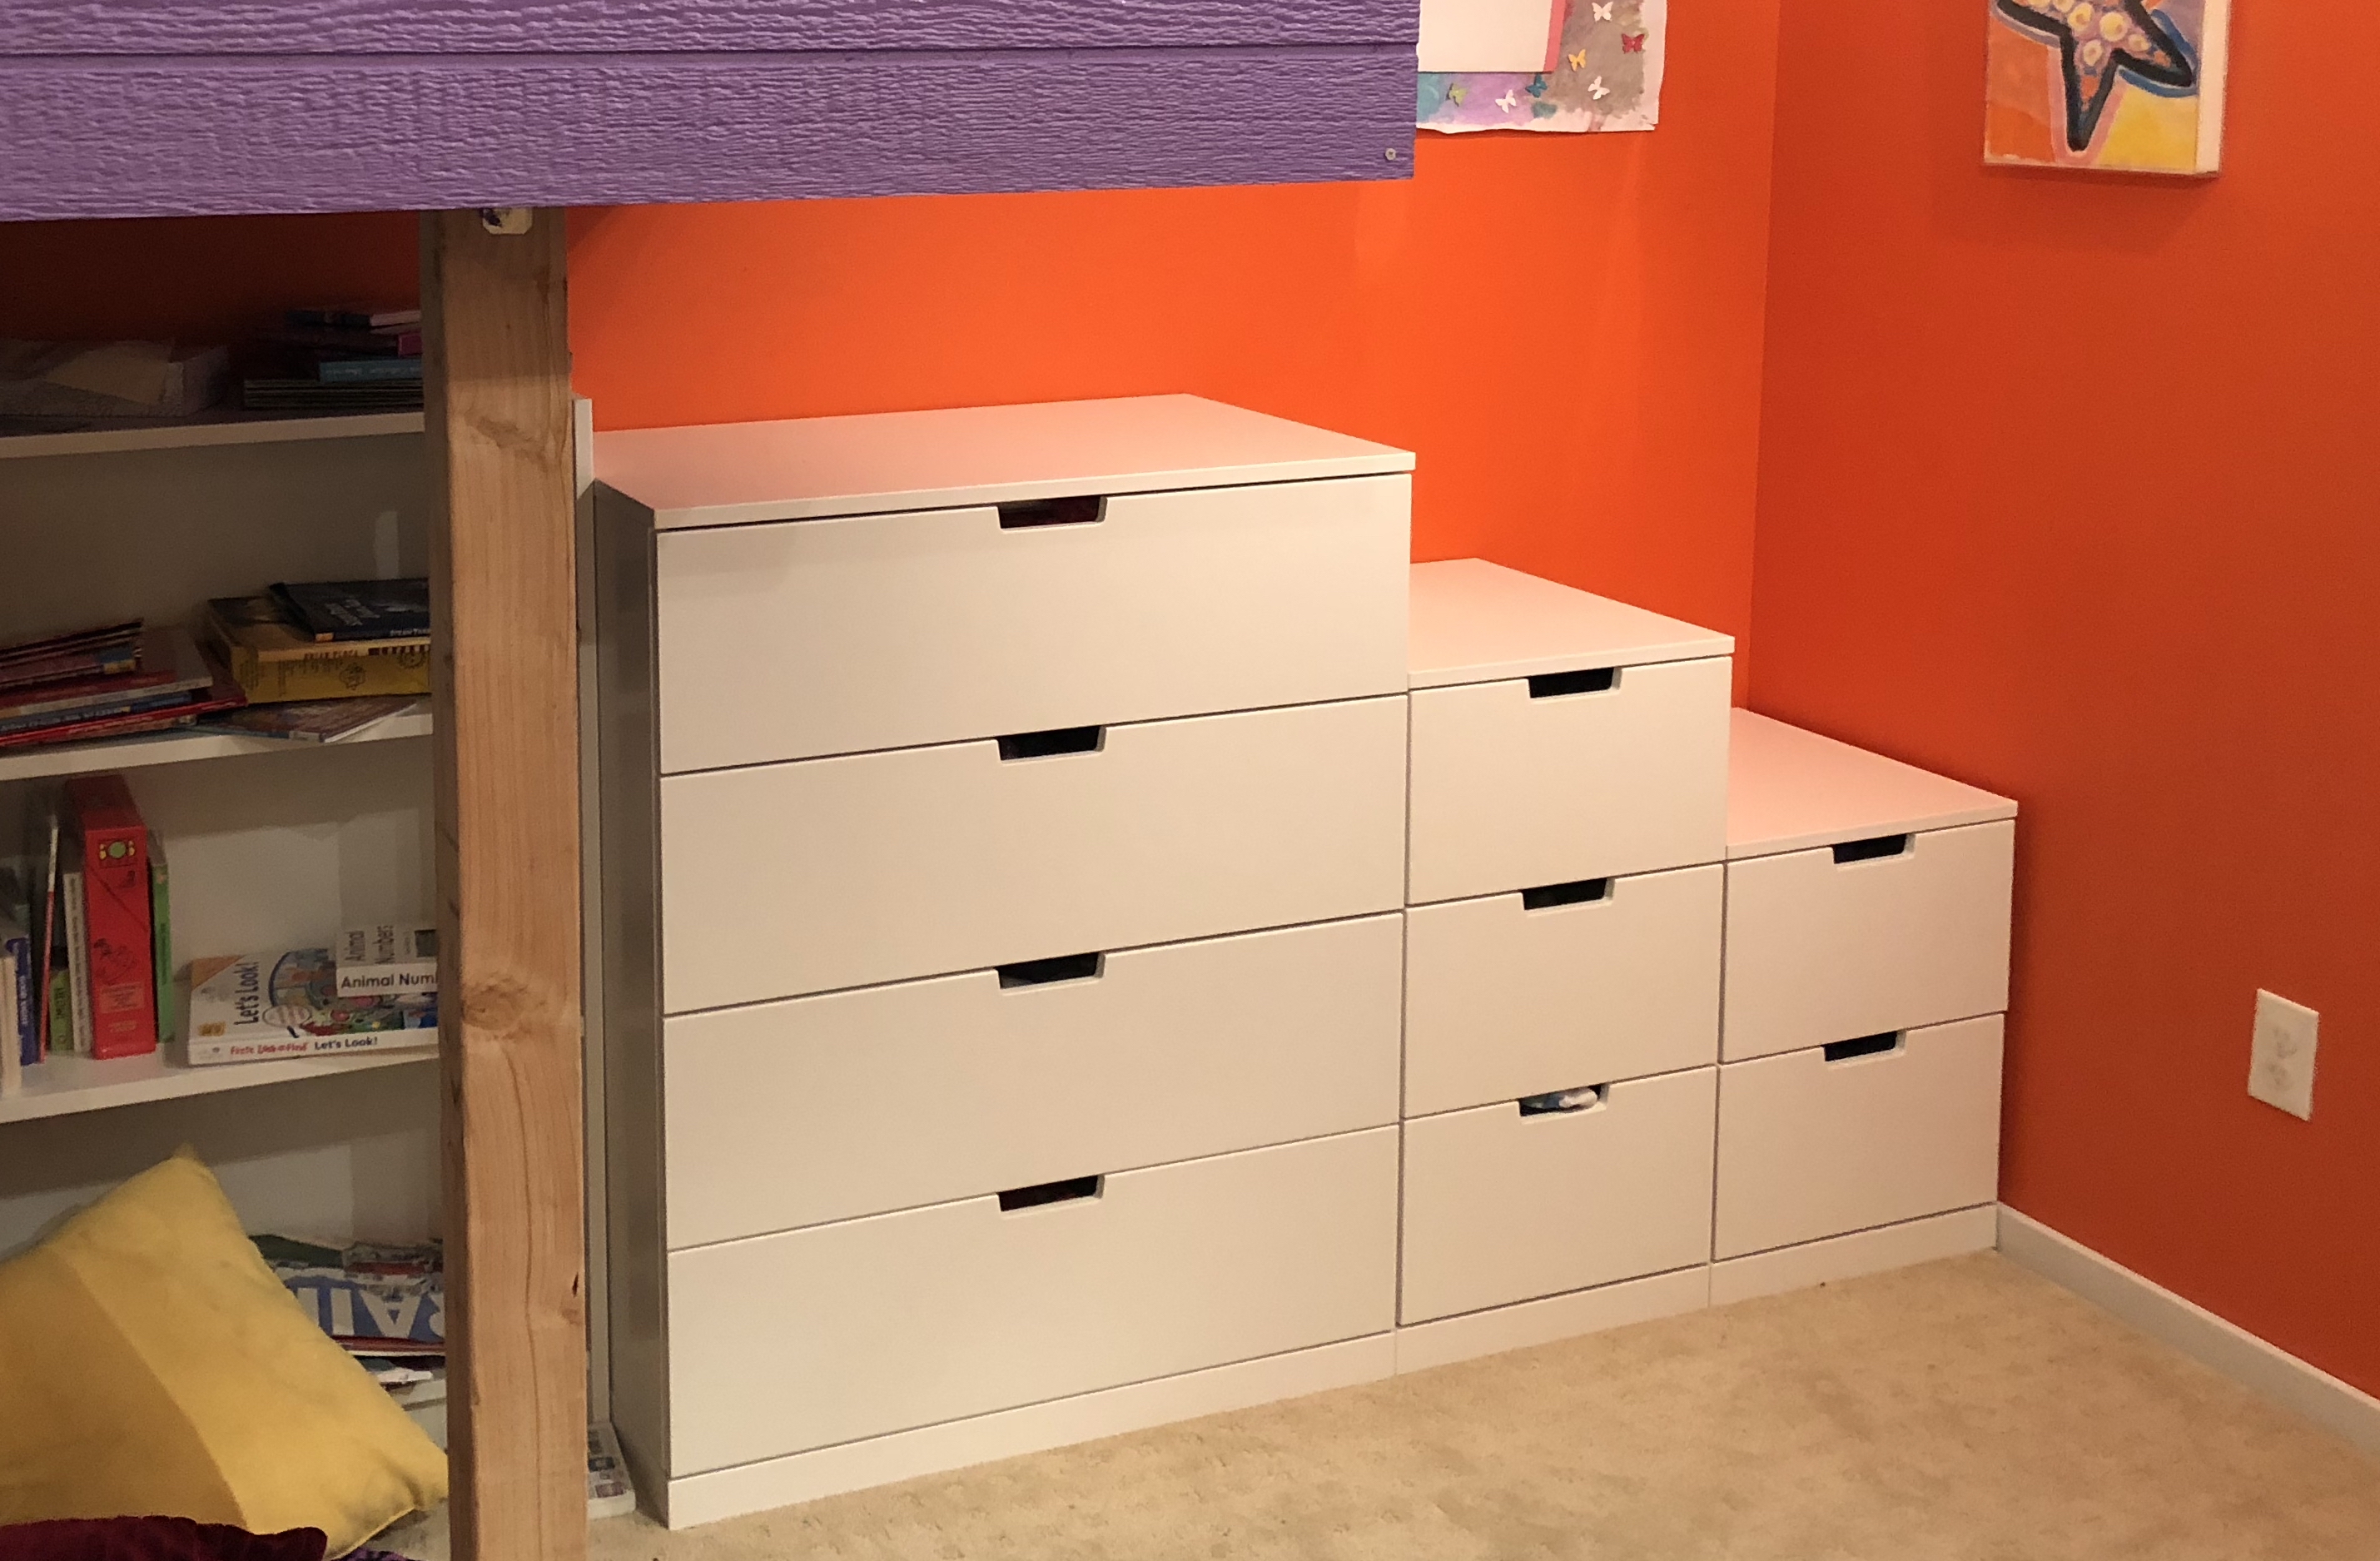
Up to this point, we had been using a slightly-too-short step ladder to get in and out of the loft bed. We toyed with the idea of a rope ladder, but eventually decided to combine storage with a staircase. We bought several different height Nordli dressers from Ikea and made sure to screw them tightly to the wall. Mostly this is working out great, but it turns out the dresser material is quite slippery. So we’re going to add some anti-slip something or other to the tops, but haven’t yet decided between tape, paint, or spray paint.
Adding the trim
Describe that here
Adding the roof
Describe that here —
I hope you enjoyed this project!